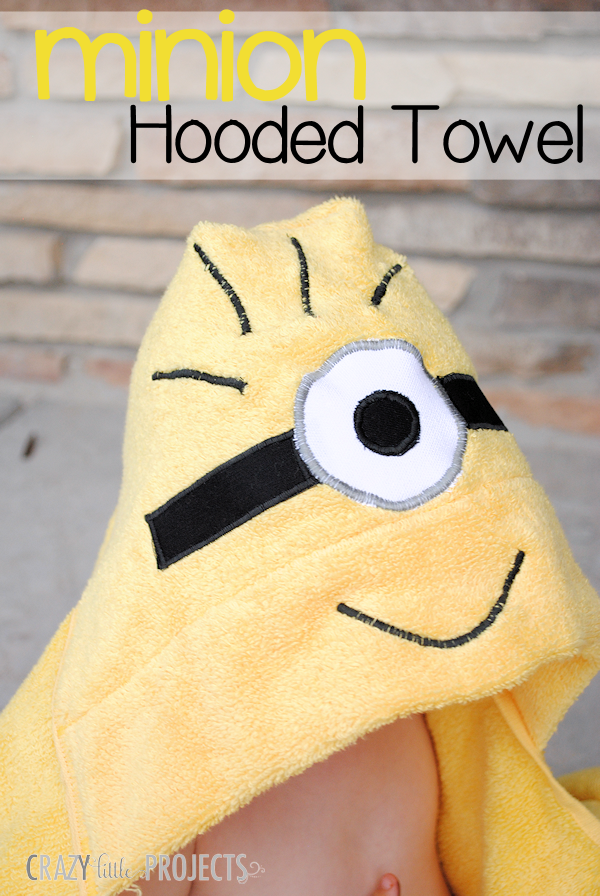
What do hooded towels and fusible interfacing have in common? Minions! We all need an extra set of hands in the workroom and this tool is a staple in my space.
Hello everyone! This is Amber from Crazy Little Projects here to talk about one of my favorite sewing tools and techniques today. I blog about lots of easy, beginning sewing projects and I’m the home of the Learn to Sew series, but I also do a lot of baking, kids projects and other fun on my blog. Come say hello!
But for now, let’s talk about Fusible Interfacing. I’ve really got a thing for it lately-it’s just so handy!
Each month I do hooded towel tutorial (think fun and crazy like frogs, Angry birds and sharks-there’s a different one every month) and one of the things that makes it the easiest for me is using fusing to adhere the eyes and face pieces before sewing them in place.
Let’s talk about how to do this and then let’s make a Minion Hooded Towel!
Minion Hooded Towel Tutorial:
Supplies Needed:
- A paper backed iron on fusing
- 1 bath towel (either yellow or blue)
- 1 yellow hand towel (you’ll only use half)
- Small amounts of white and black fabric
- White, black, gray and yellow thread
Instructions:
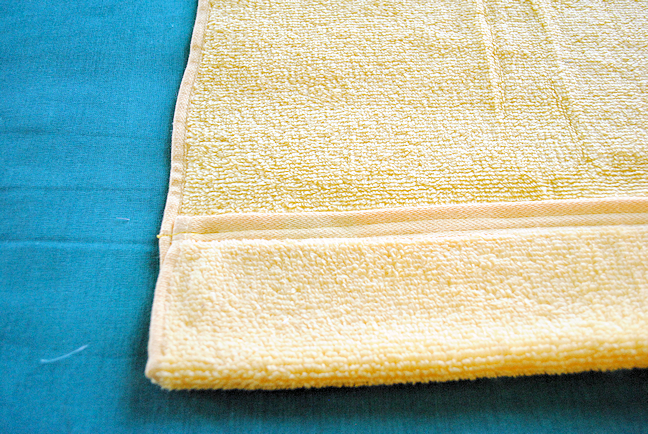
Cut your hand towel in half horizontally. Then fold under about 3 inches and sew that in place:
Now flip that towel over and we are going to create the face on the back.
Cut out your pieces from the pattern for the face. Then, cut the same pieces from your fusing.
Now, heat up your iron (it doesn’t have to be too hot). Iron the fusing to the backs of your face pieces.
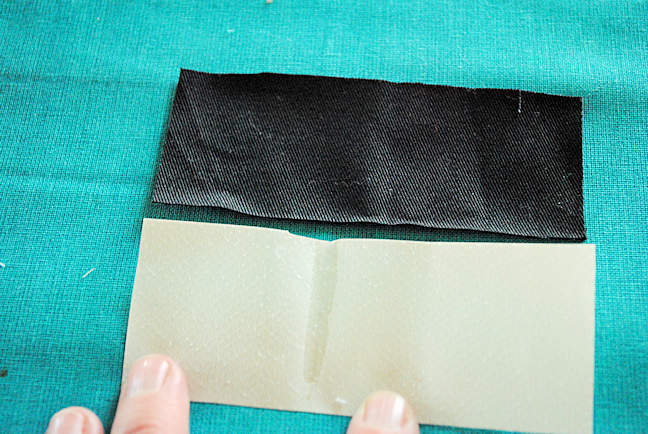
To do this, take your piece of fabric and your piece of matching fusing:
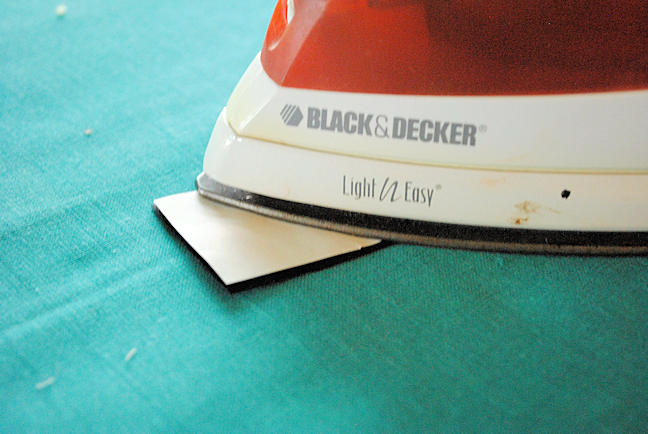
and place the fusing on the back of your fabric with the textured side down. Then iron the smooth side of the fusing for just a few seconds:
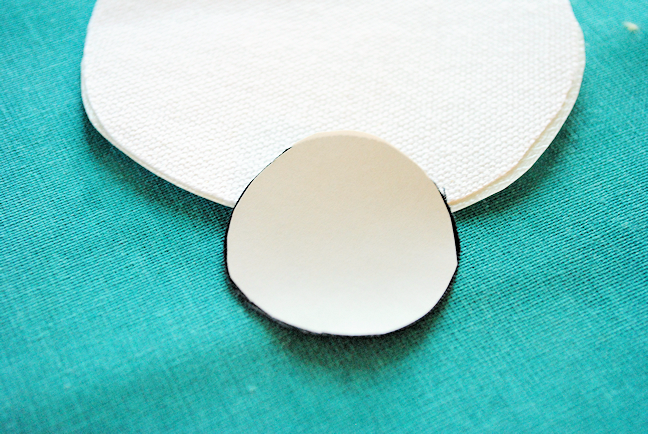
now it should have adhered to the back of the fabric:
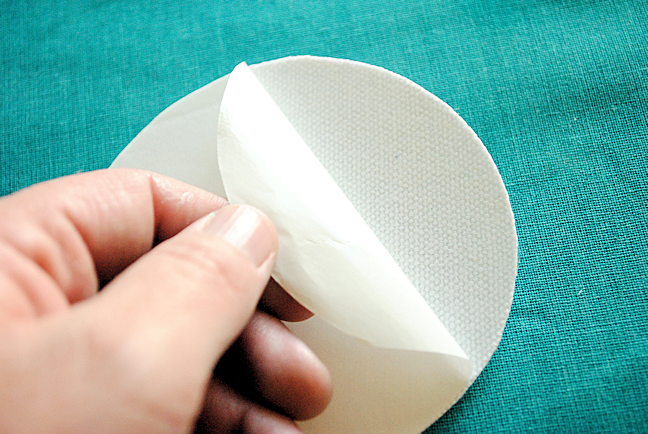
And now you can peel the paper backing off:
Now position your pieces where you want them on your towel:
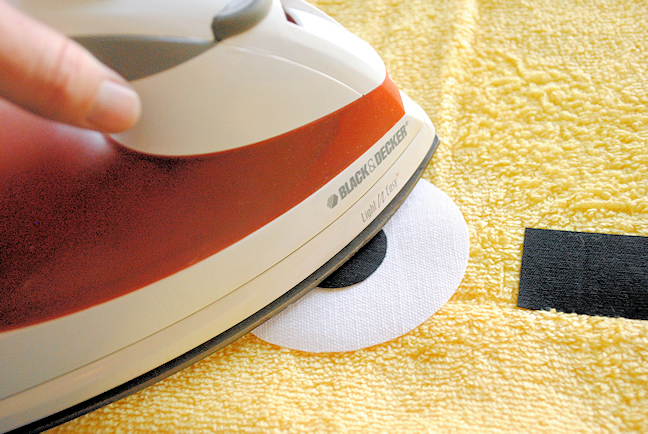
And iron them in place. This is just to hold them in place. We are going to applique them, but the fusing makes this work so much better. Now when you applique everything will stay where you want it when you sew and your end result will be so much better.
Once everything is sewn where you want it, sew a satin stitch along the outer edges of each piece in coordinating thread:
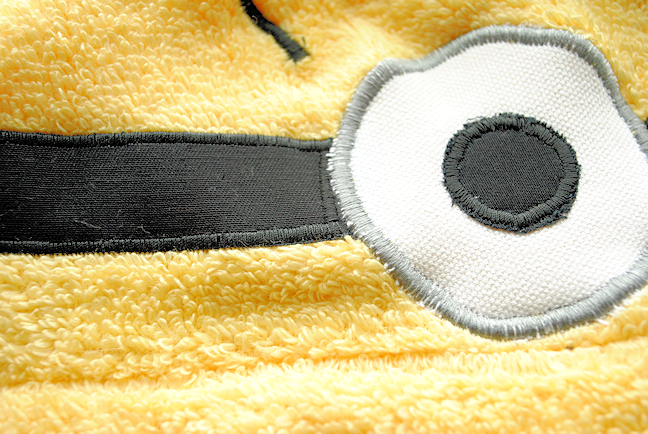
On this minion towel though we are going to do gray thread around the eye to look like the minion’s goggle.
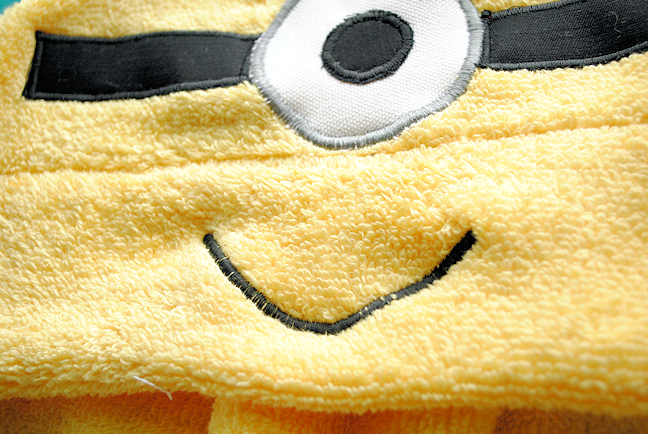
Once all of those pieces are appliqued in place you will want to sew a satin stitch for the mouth: (I usually go over this a couple of times)
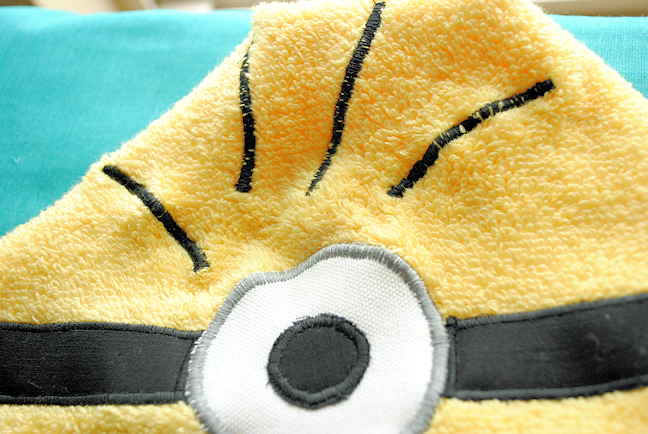
And maybe some hair strands too: (draw these on the towel first if you need help with where to sew)
Now, to finish this Minion hooded towel off, see the basic hooded towel post on my blog for the remaining instructions.
And you’ve got a little Minion. Really, you can go crazy with this and do it with any combination for the face-one eye or two, smiling, frowning, goofy, whatever. Every little Minion is different.
And be sure to check out all of my hooded towel posts (I do a new one monthly):
Join me on Facebook, Pinterest and at my Blog!
It’s funny how much I love these little guys. I keep telling my girls that I need a few minions to help around the studio! Paper-Backed Fusible(affiliate link) is like an extra set of hands when sewing. It helps keep everything in place while stitching. I use it all the time!
Up next is the incredibly talented Angelina from Jo Jo and Eloise. I can not wait to see what her favorite tool is!
National Sewing Month is one series that you do not want to miss. To have the latest posts delivered to your in-box sign up here or follow us on Bloglovin’.



Comments & Reviews
Thank you for sharing. Love this idea.
You had me at “Minion”!
I love them too Ramona!
What an adorable array of characters. Minion is joining a super bunch!
Very interesting !