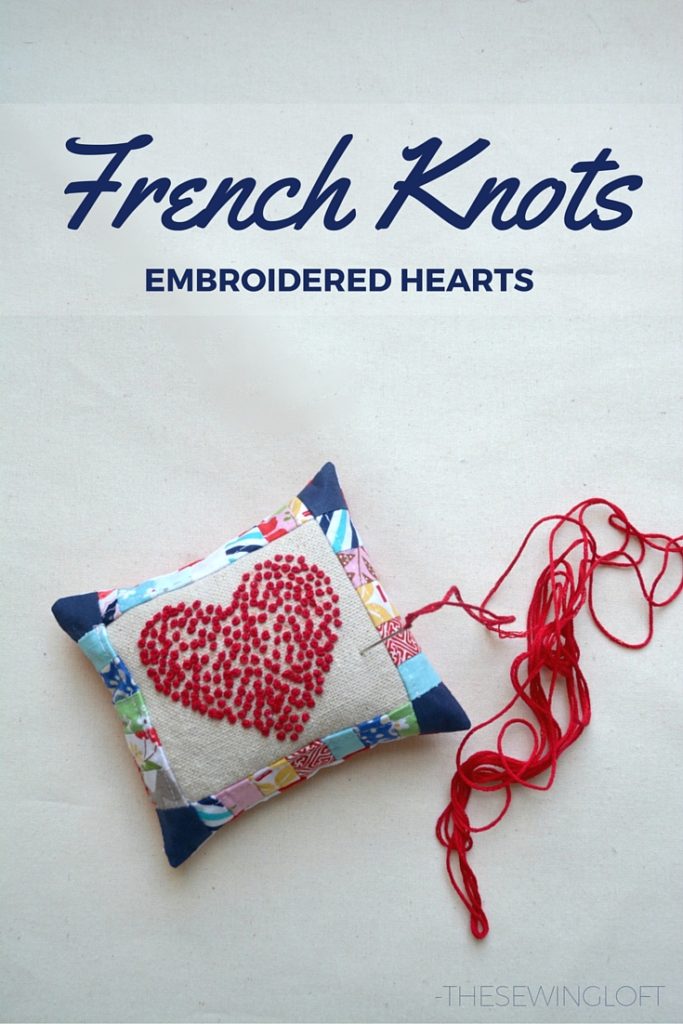
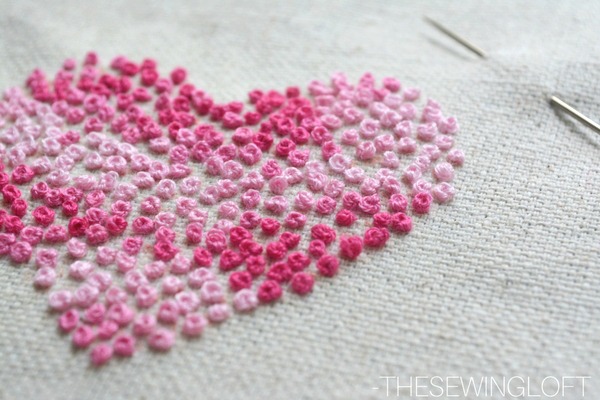
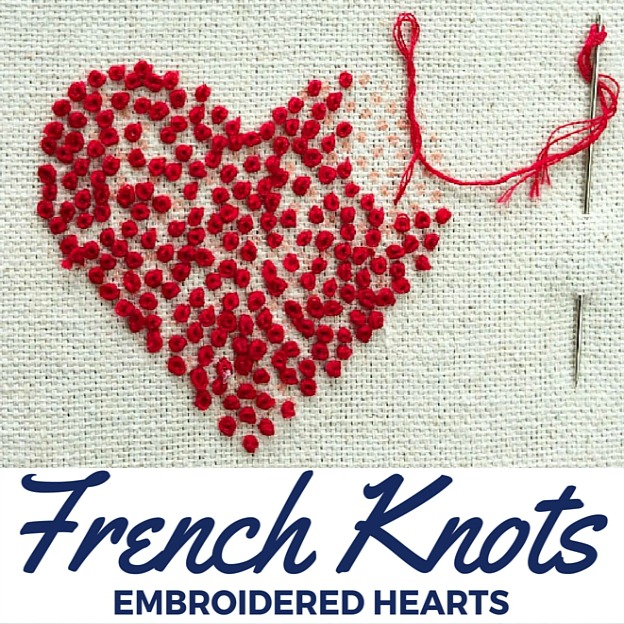
Wow, is it hot outside and that means pool time in my world. There is nothing better than veggin’ at the pool during the hot summer days but idle hands do not suit me. So, I’m getting back into hand stitching and since my friend Melissa is hosting a summer sewing series, I thought the timing was perfect to show off my french knot embroidered hearts.
Once you get the hang of them, they are really so simple!
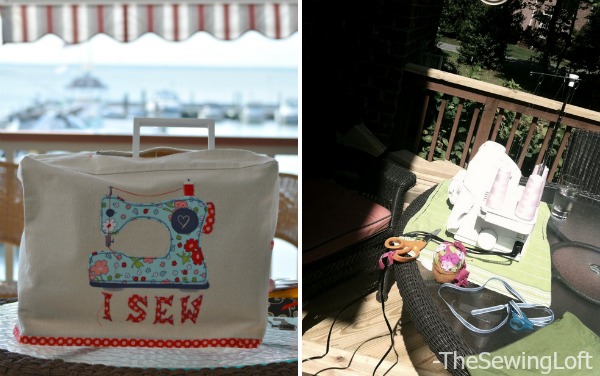
This girl always wants to be outside when the weather is warm and I’ve been known to pull my machine outside but let’s face it, a sewing machine at the pool is not common place.
So, I’ve packed my bag with hand stitching fun.
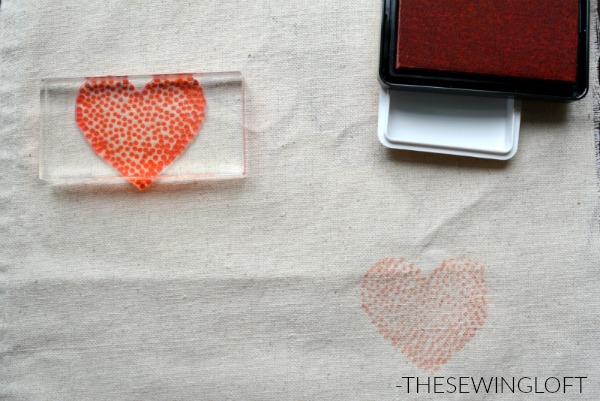
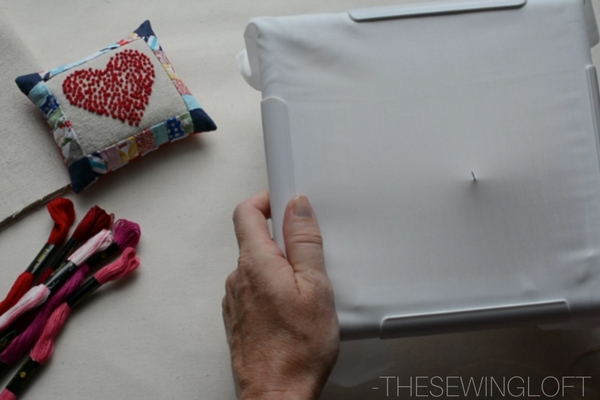
Even though this project is fairly simple, my prep work started well before I hit the pool. After selecting my base fabric (aka- painters canvas drop cloth) and design, I took a few minutes to stamp my heart shape all along the fabric. Since I knew that I would be making my finished hearts into pincushions, I wanted to make sure there was ample room around each heart. To be safe, I left 2.5″ all around the outside edge of each heart.
I used the heart shape from Spoonfuls of Love stamp by Simon Says but you can use any design you like.
Tools:
- Q Snap Frame
- Milliner Needle
- Embroidery Floss
- Pre Stamped Fabric
*Depending on the type of embroidery floss you select, you may need to separate them. I used JP Coats and separated it to 3 strands to create my french knots.
Before I get to the instructions for French Knots, I wanted to take a minute to share that as a child I struggled greatly with this stitch. For some reason my thread would always get tangled or knotted and I would become frustrated. So, I want to let everyone know that this is one of those hand stitches that takes practice and patience. It is not a stitch that will always look perfect. In fact, it’s the quirkiness of this stitch that I love.
French Knot Instructions:
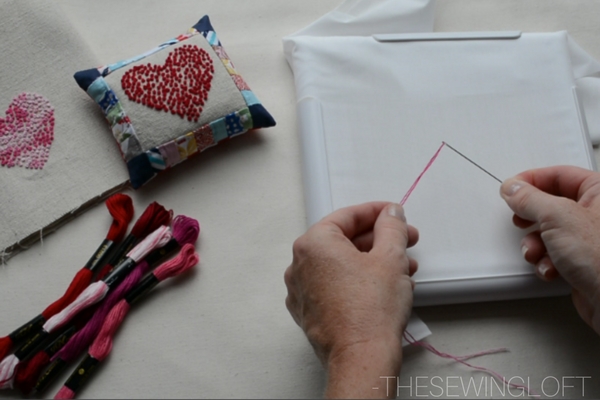
1. Prepare your sewing needle with thread, making sure that the thread is not too long and has a small knot at the end. Assemble your embroidery hoop or frame with fabric.
2. Starting from behind your embroidery hoop, pull needle and thread to the front of the fabric.
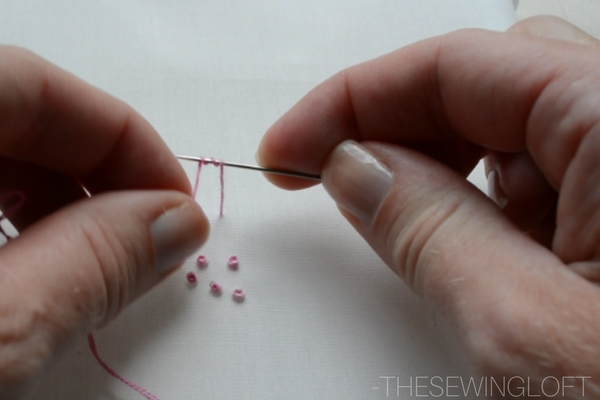
3. Wrap floss around the needle 2 or 3 times. Personally, I like the knot size 3 produces. Be sure to hold floss tightly so that it stays wrapped around the needle.
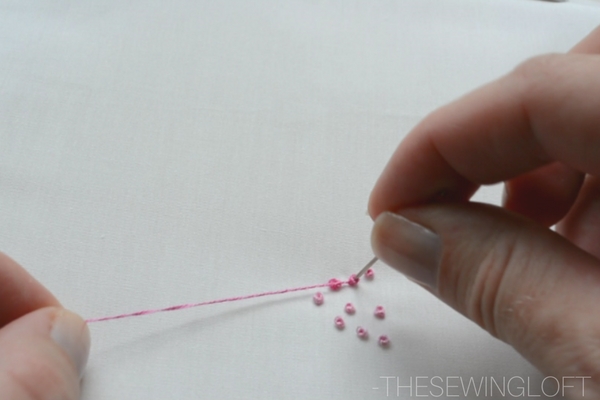
4. With your opposite hand, push the needle through the front to the back side of the fabric. Be sure to get as close as possible to the original exit point. Apply slight pressure and hold floss taught while pulling needle through.
5. Repeat.
French Knot Quick Tips:
- Use a milliner needle. This needle has a uniform shaft and allows for easy pass through the knot area.
- Work with manageable floss lengths to prevent unwanted knotting.
- Always use an embroidery frame or hoop. I prefer the Q Snap Frames.
- Apply tension to your thread while pulling through the knot to wrong side of fabric.
Now that you know how to make the french knot, what will you create?
For more summer sewing inspiration, be sure to check out the rest of the series at The Polka Dot Chair.
Hello! Are you new here?
Do you want to learn more about sewing? If so, be sure to sign up for our newsletter HERE and never miss a stitch! Daily Sewing Tips, Everyday Projects and Fantastic Inspiration delivered straight to your mailbox!
Bonus– free download with newsletter sign up.
Feel free to connect with me on Facebook, Pinterest, or Instagram. I look forward to getting to know you and stitching up a storm!


Comments & Reviews
I guess I’m just pulling to tight underneath. My knots never look that good. Thank you Heather.
Keep at it Linda. I only pull from the top thread.
~Heather
This is beautiful!
Thank you! I’m pretty happy with it and will be making more.
~Heather
This is just beautiful!
LOVE this! I like to wrap 3 times too. Thank you for also showing it on evenweave – what a great idea!