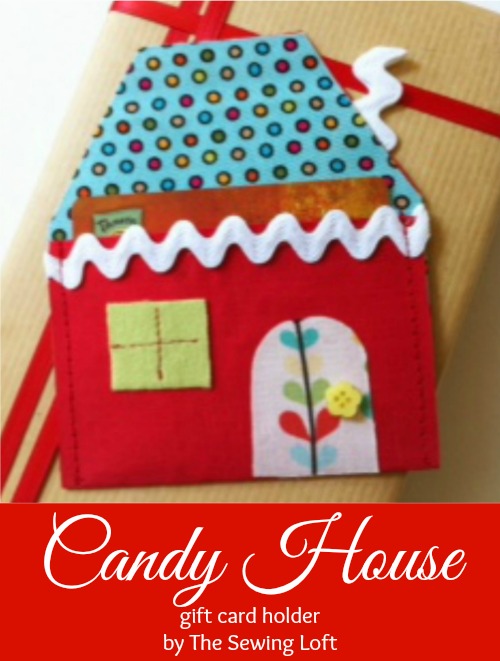
This year, I did my best to shop early but it never fails, I always seem to forget at least one item on my list which means gift card city. So, this candy house is going to do just the trick and dress up that gift card.
Candy House Gift Card Holder
This project is for all levels.
Skill Level- 1 Button
Supplies:
- Printer Paper
- Fabric Scraps
- Double Sided Fusible
- Small Trims

Tools:
- sewing machine
- basic sewing supplies
- iron/ironing board
Basic Instructions:
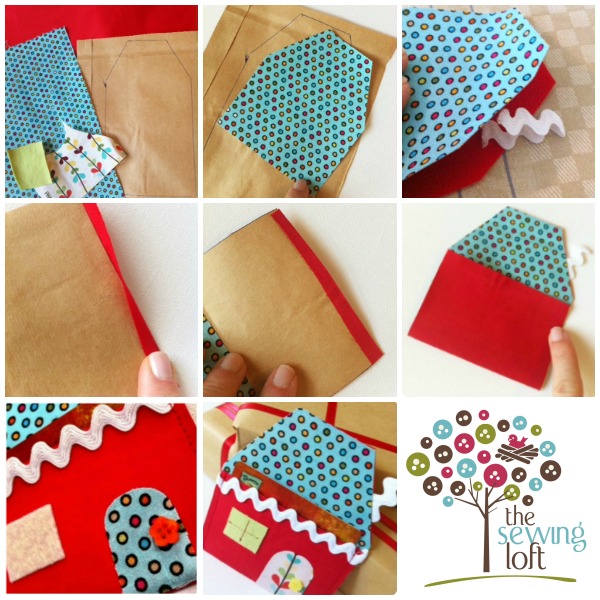
- Download and print candy house pattern. Trace all pieces onto fusible. Add 1/4″ to the bottom of house fabric. Roof line is to fold line.
- Iron fusible to the wrong side of fabrics and cut out all pieces.
- Remove paper backing and iron roof fabric to front side of pattern.
- To create chimney, cut 2 1/2″ of trim, fold in half. Sandwich the chimney between the back of house & fabric cover. Iron fabric to the back of house. *The is a 1/4″ over hang at the bottom. Fold over for a clean finished edge at top of pocket.
- Fold the house up 2 1/4″ to create pocket.
- Iron on the door and window. (Eyeball placement) Add stitching at the window + glue button door knob if desired.
- Glue trim along the top edge of pocket. Fold under edges to inside of pocket. Stitch the pocket closed 1/8″ from the edge. *Note – No machine- no problem! This can be glued.
- Insert card and you are set gift giving!

Hello! Are you new to The Sewing Loft? If so, I’m glad you stopped by and hope that something has inspired you to keep your needle moving! Don’t miss a single project and subscribe via email HERE! Bonus- free embroidery pattern with newsletter sign up. Another great way to connect with me is via Facebook, Pinterest, Twitter, Google + or Follow my blog with Bloglovin. I’m looking forward to getting to know you and creating together!


