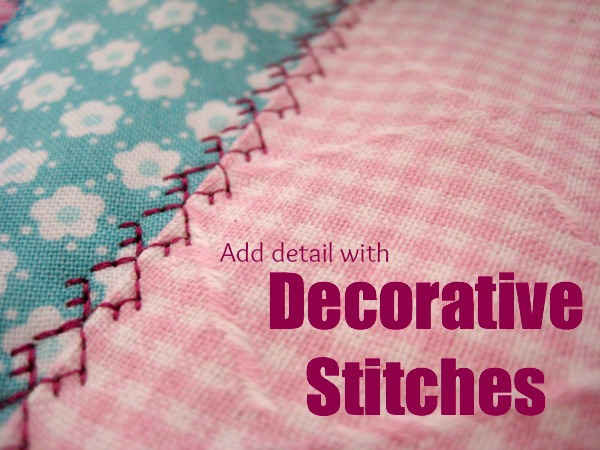
Decorative stitches can really can take your project from plain to POW!
Most sewing machines come with a variety of decorative stitches that we rarely use! Let’s make today different. Pick one simple project that you can enhance with a decorative sewing detail.
Tips for Decorative Stitches
Let me share a few tips and decorative stitching techniques:
- Take your time and stitch slowly.
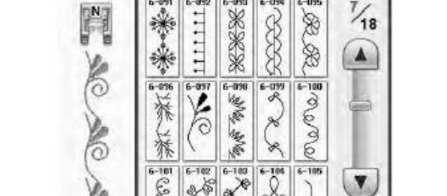
- Make a sampler! This is super important and will give you an instant visual on your stitch types. They really look so different from that small image on your machine when stitched out.
- Use a lighter weight thread in your bobbin. This is prevent a bird’s nest of thread in the bobbin area and prevent the bobbin thread from being visible on the top side of your project. If both sides of your seam will be exposed be sure to use embroidery thread in your bobbin.
- Use the correct presser foot. Most embroidery stitches require the Monogram foot. Remember this foot has the carved out channel in the back for thicker stitches.
- To avoid skipped stitches, use a ball point needle. *note this needle is also used on knit fabrics.
- Mark a few guidelines with a heat erasing pen. This simple disappearing line will be your friend on a long stitch line.
- Pre test your back-stitch or reverse button before stitching directly on your project. On some stitches, pushing this button means locking in the stitch while on others, it can interrupt the stitch. So, it is best to just double-check.
- Consider your thread options. There is a whole wide world of choices out there. Some of my favorites include metallics and variegated. I just love the shine the rayon offers!
- If you are not happy with your stitch coverage, consider sewing with two threads. Just wind a bobbin up with your top stitching thread and thread your machine like normal. This double thread will provide a nice compact stitch and amp up the “POW” factor!
- If needed, consider using a tear away or iron on stabilizer under your fabric to provide additional support or add a quick spritz of starch to give some extra body.
- Play with your stitch lengths and widths. You will be surprised at the different outlooks you can achieve with just a few simple adjustments. Heck- dig out your double needle and watch the magic happen!
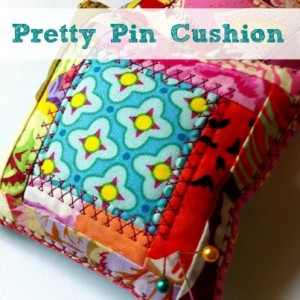
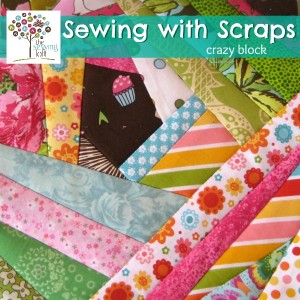
Overall, my suggestion is to test everything! My machines have a ton of different stitches and the manual pictures do not do them justice! The Pretty Pin Cushion Pattern and the Crazy Quilt Block are perfect projects to use up scraps and test out your decorative stitches!
Hello! Are you new to The Sewing Loft?
If so, I’m glad you stopped by and hope that something has inspired you to keep your needle moving! Don’t miss a single project and subscribe via email HERE! Bonus- free embroidery pattern with newsletter sign up. Another great way to connect with me is via Facebook, Pinterest, Twitter , Google + or Follow my blog with Bloglovin. I’m looking forward to getting to know you and creating together!


Comments & Reviews
Great tips!! I’ve linked to your post on Craft Gossip: http://sewing.craftgossip.com/heathers-tips-for-decorative-stitches-on-your-sewing-machine/2013/11/19/
–anne
Thanks for these tips! I have yet to use the decorative stitch feature, but I would definitely love to do so on a future project. I can’t wait to get started!
Great tips, I use my decorative stitches all the time, you can have such fun with them 😀