Foxy Applique Quilt Block
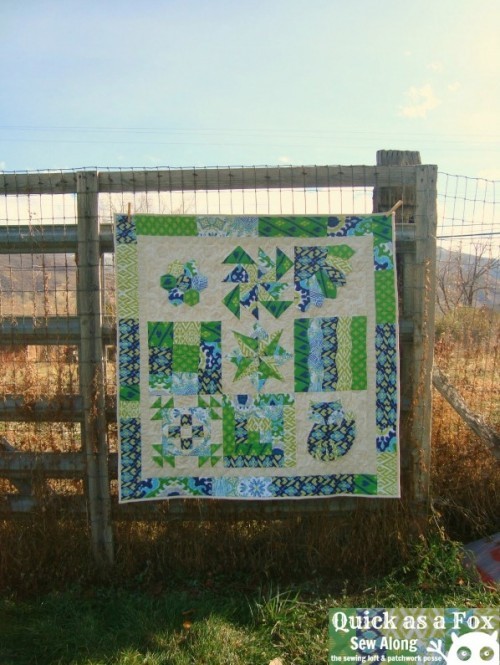
Welcome everyone to the Quick as a Fox Quilt Along! If you are just finding this for the first time, you can find all the previous blocks here and the photo gallery here.
Since we have been diving into the I go by my own rules for the last couple of blocks we are going to tackle something totally different for this last block. You will be making a block using raw edge applique technique AND using a coloring page for your template and pattern! How fun is that?!
Let me tell you that with the internet in your hand and your imagination you can go wild with this! You don’t even need to be an artist or have a fancy drawing program.
You will be given the templates for the fox- but I wanted to let you in on making your own template so you can choose your own character for the corner. You can change the title too- Quick as a Rabbit. Quick as a Bird. See? You are learning how to step out of your comfort zone and into your imagination. Trust yourself and give something new a try.
Site to use for templates. Please make sure that you can use the drawings and that they are copywrite free or open to the public. With that out of the way- let’s find some examples of shapes that will work for raw edge applique.
* simple shapes- don’t go to complicated. Very simple. Nothing embellished. The more complicated the drawing, the more pieces to cut, sew and stress over fabric choices with.
* use a lot of contrast in your fabric when layering one on top of the other
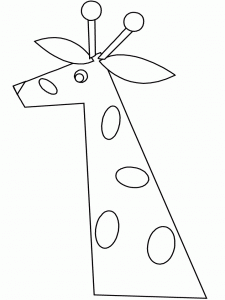
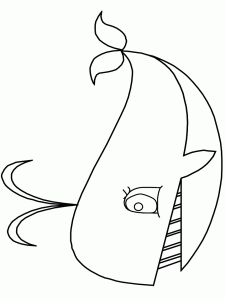
* giraffe- very simple neck and head shape, a few ears, and the dots would be fun to do too. Turtle- simple layered shell, a couple of feet, tail and head. I wouldn’t do toenails on the turtle. Whale- Simple body, cute tail and water spout. I think I would skip the smile on the Whale to make it a little simpler, and use a button for the eye instead of fabric pieces.
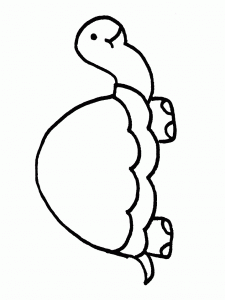
See where I’m going with this? Keeping it simple will let you enjoy your applique experience a lot better. The hardest part would be picking the animal I think!
Now that we have the animal chosen we need to pick it apart and make templates for cutting out our fabric with.
Materials needed:
Background fabric cut to 13″ X 13″
1) pile of paper to trace onto
2) sharpie marker
3) printed picture- blow this up to the size you prefer. The finished quilt block is 12″ X 12″. You can lay the paper on top of you block to audition the size. Make your adjustments before making the templates.
Let’s get started!
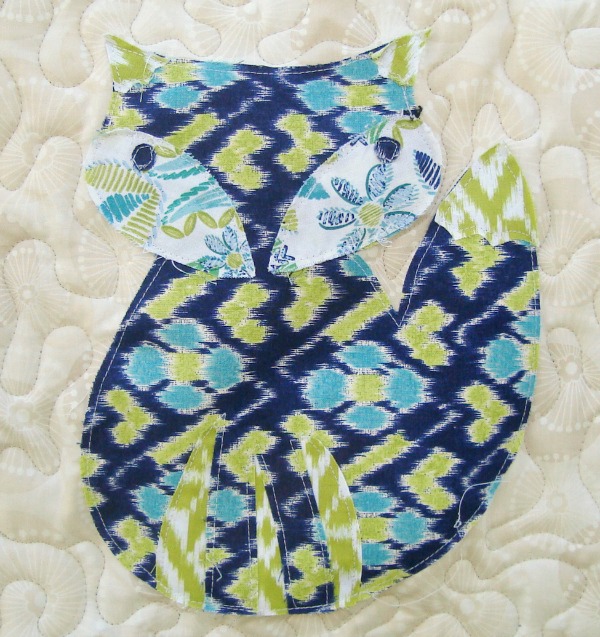
If you are sewing along and would like to use the fox for the block- download the fox template and continue with step 4 of the instructions-
1) Trace all the lines of the drawing with a dark and kind of wider sharpie marker. You need to see these lines when you lay another piece of paper on top.
2) Lay a blank piece of paper on top of the sharpie marker copy
3) Trace around the outside body line. The whole body. For the giraffe it would be the whole head and neck, for the whale it would be the top body part. See the process? Then move the paper so you have a fresh spot and repeat tracing around the next shape- say the ears. You will be cutting these out so you don’t want any of the templates to be on top of or overlap on another template. It looks a bit kooky, but this will keep you from tracing and retracing the parts over and over again.
4) Cut out the templates and pin on the right side of the fabric – cut out
5) Pin the fabric pieces on the right sides of your quilt block {i recommend cutting the background block just a little larger than the size, so if anything shifts or is miss-aligned you can make an adjustment with the final sizing of the block, that is why in the materials list it says to cut your background 13″ X 13″}
6) Pins get in my way when I am sewing with raw edge applique technique, so we need to replace them with a few dots of glue. I have used glue sticks….or roxanne, or whatever glue you prefer. Glue the pieces down layered correctly and remove the pins. A few dots or spots of glue on each piece will work just fine.
7) For stitching raw edge applique you can use a dark thread. This does show up a bit more, but gives it a more whimsy-ish feel to the block. You can also decide to use matching thread, light thread or whatever thread! For this quilt I used a light or white thread.
8) Sew around each shape, 1/8 inch seam. I know there are pieces overlapping other pieces, just sew them the best you can stopping and starting at the overlaps. When you sew the top piece it will of course be sewing all the other layers beneath it at the same time.
9) If you are going for a super whimsy look, sew twice! This will forgive any stitches that went crazy and are a little off. Don’t try to make all your stitching perfect. This quilt is about letting go a little bit and having a little freedom in how you are piecing and sewing. If you want, you can even put a quilting or walking foot on your sewing machine and guide the fabric with your hands.
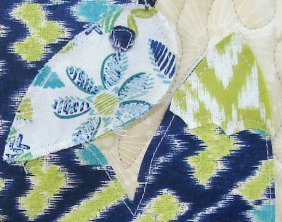
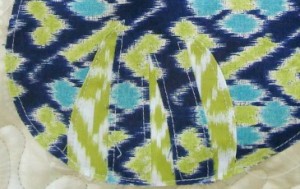
*notice that the belly on the fox is tucked behind the legs and that the part inbetween the legs has been cut out.
Want to sew along with us? Find all Previous Blocks and Instructions for the Quilt Along Quick as a Fox
To help us all connect and find inspiration from one another, there is a flickr photo gallery group- Share your progress, choices, and finished blocks there. If there is anything I know about quilters and sewists, it’s that we are very visual people. So, please share it so we can all see it.
The next post– Putting it all together! See you next Tuesday.
[ts_fab]
