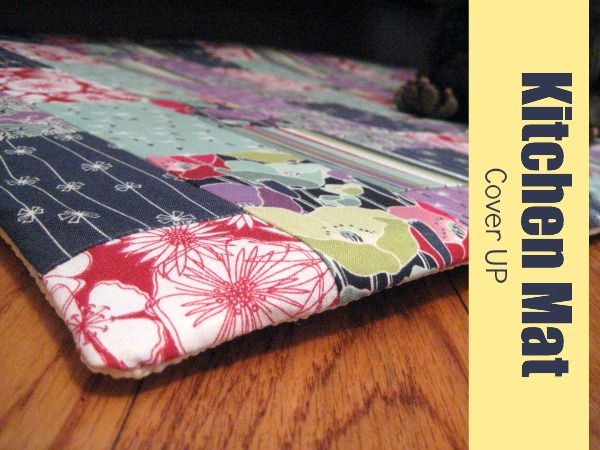
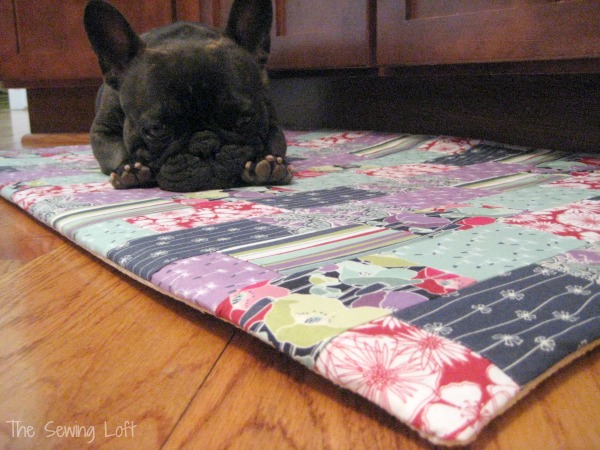
I like to update my kitchen mat from time to time. It helps keep things fresh and makes me feel like I have redecorated. (total fake out!) I originally shared this kitchen mat cover up project during National Serger Month with BabyLock but wanted to remind you that this project is perfect for clearing out smaller fabrics in your stash.
Kitchen Mat Cover Up
This project is for all levels.
Skill Level- 1 Button

Supplies:
- fabric
- kitchen mat
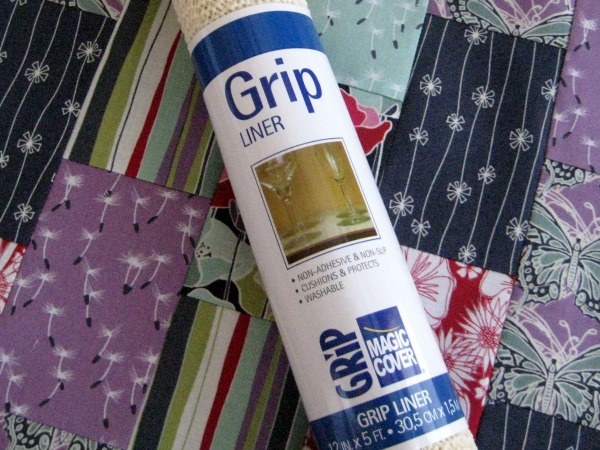
- 1 roll of grip liner
- interlining or additional strips of fabric scraps
*Fabric used in project is Meadow from Andover.
Basic Instructions:
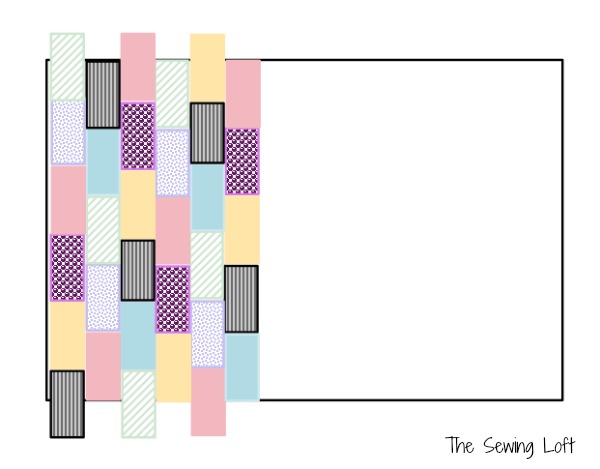
- Measure your kitchen mat and determine how many rectangles you will need to cover. My mat measures 21” x 37” and requires 90 rectangles. Cut rectangles 3” x 4.5” in your assorted fabrics.
- Create a pattern with your fabrics and start to line them up in rows. To keep things interesting, I suggest staggering them in a half drop pattern.
- Once you have your rows in order, it’s time to get stitching. To make quick work of this process, I used my serger. Each rectangle was placed right sides together and stitching along the 3″ edge, repeat to create the full vertical row. Press each seam and repeat for all rows.
- Assemble each vertical row together in the same manner. Sandwich rows right sides together and stitch. Press open and repeat until all rows are connected.
- Trim away overhanging rectangles with a rotary cutter and self-healing mat to meet your final measurement.
- Now it’s time for the unconventional material…. grab your grip liner and cut it to size. Two pieces for the length and two pieces for the height. Pin these strips to the right side of the kitchen mat topper/cover. They will overlap in each corner.
- Since the gripper is rubber, it will not slide through the machine. You will need to place a 1″ strip of scrap fabric or interlining on top of it. This will allow your machine to “grab” the materials without getting stuck in place. Stitch all 4 sides.
- Turn right side out and slightly press the kitchen mat cover on the fabric side. **It is extremely important that you DO NOT iron on the gripper. If you do, it can melt to your iron and you will need to grab your iron off to clean it.
This kitchen mat cover up project is an easy way to freshen up your space on a shoestring budget. So, what did you think of my unconventional material? Have you ever used anything out of the ordinary when sewing? If so, I want to hear about it. Leave me a note in the comments below.
Hello! Are you new to The Sewing Loft?
If so, I’m glad you stopped by and hope that something has inspired you to keep your needle moving! Don’t miss a single project and subscribe via email HERE! Bonus- free embroidery pattern with newsletter sign up. Another great way to connect with me is via Facebook, Pinterest, Twitter, Google+ or Follow my blog with Bloglovin. I’m looking forward to getting to know you and creating together!




Comments & Reviews
Hi Heather, I love the material you used for this but am puzzled as to what is a “kitchen mat”? Something on the floor in your kitchen for your dog to lie on? If it is for people to stand on in my kitchen it would get very dirty and I would have to wash it a lot. Puzzled in Venezuela!
Yes Juliet, it is a rug or floor mat that you stand on. I know it is pretty to look at and will get dirty over time but since it is removable it can be tossed in the wash for a quick refresh. Hope that helps solve the mystery!
~Heather
Hi, Heather. Thank you for this idea. I am having some trouble with your Step 6: “Two pieces for the length and two pieces for the height. Pin these strips to the right side of the kitchen mat. They will overlap in each corner.”
The gripper is 12 inches wide by 5 ft on the roll, isn’t it? Why is it not just two 12 inch wide strips 37 inches long? (Your mat is 21 inches wide so there is 3 inches to cut off?) Is there a seam allowance? What do you mean by “They will overlap in each corner”? I am a little confused by this instruction. Do you sew the gripper back together before you sew the mat together around the edge or do you just leave the edges butted together and (since the gripper will lay on the floor) just connect them around the edge. Thanks, in advance, for your help.
Yes, I kept it really simple and they overlap in each corner.
~Heather
Hi Heather,
I keep the rubber gripper “stuff” on hand at all times. I use it anywhere I want to keep things from slipping/sliding around….. Under my sewing machines. I use a small scrap of it between fabric I’m cutting, and ruler, to keep my cuts straight. I put it in drawers to keep things from sliding to back of drawers (where I can’t see them. I use it under my sewing machine foot control. Yes, it is one of my better problem solvers in my household.
Terry
Yuba City, CA
Heather
Very interesting. Is there an opening in the underside of the mat when you finish attaching the gripper strips? If so do you put this new cover over your old kitchen mat sort of like a fitted sheet or do you just used the pieced top with the gripper back?
Thanks
Juli
Yes, there is an opening. Think of this as a slip cover.
~Heather
I’m a little confused. By “kitchen mat,” do you mean rug? I see your dog is lying on it, so I’m guessing you mean rug. So, did you tuck your old rug inside, or just make a new one? If you tucked it inside, how to you keep it in there? Did you miter the back corners of rug backing? It was a little unclear, since you said you overlapped the rug backing on the back, and then somehow ironed it to the back. Or did you actually sew it to the old rug? Thanks for clearing this up! 🙂
Yes, rug is the same as a mat in my world. I just inserted the old rug/mat inside and treated this as a cover.
~Heather
sew cute, I love the fabric you used, do you know the name of it?
never mind, I see its meadow from andover 😀
Is the rug that has low stictch type or is one of those towel mat type? I know the carpet type won’t do well as non smooth surface so I am guessing the smooth mat type, non rubbery king?
I’d enjoy one in my bathroom as a bath mat! Cute idea.
can also be done for a bath mat!
You bet! That’s a great idea Susan.
~Heather
I like your idea. Its a lot easier to keep a fabric cover clean than it is a thick rug. It can be pulled off and shook out the door and easily goes into the washer, but not the dryer unless you want the rubber gripper stuff to shrivel up. Just give it a good shake after taking it out of the washer and hang it over a line or lay it flat to dry. This is one of those times that pre-washing the fabric might be appropriate or maybe not if you wash it in warm to cold water. I wish that I’d tried this on the white bath mat that instantly looked dirty when I used it. Maybe this is the idea that will save it from being passed on to a new owner?