Last time we started the prep work for an easy T Shirt quilt. We gathered our favorite tees, fused with interlining, determined finished quilt size and cut our blocks.
No worries if you missed the prep work- Just click here and you will be up to date in a flash!
This project is for all levels.
Skill Level- 1 1/2 Buttons
For a full list of the materials needed, check out post 1 in this series.
For today’s How-To, you’re going to need your prepared (fused) quilt blocks, a sewing machine, and your pressing supplies.
Let’s get stitching!
How to Assemble a T Shirt Quilt:
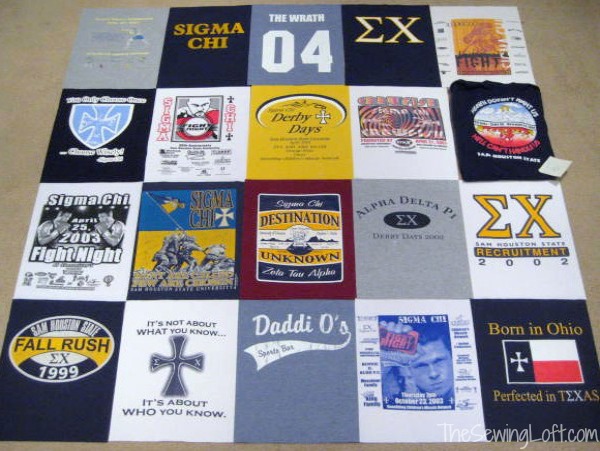
1. Plan your final quilt layout. I like to find a large clear & clean open space on the floor for this part. Starting with my center block, I work my way outward, building from there. This part takes time. I often create what I think is the layout, then walk away and revisit later. If I am still happy with the layout, then it’s a green-light to step 2.
Tip: Snap a picture of your final layout before you move to the next step. This way, there is no mistaking where that crazy T-shirt goes!
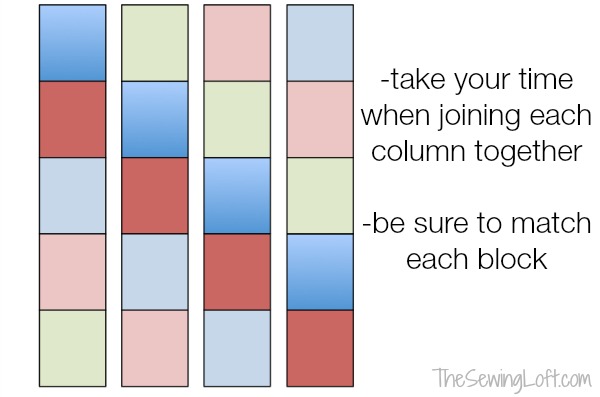
2. Assemble the blocks in columns. To make my life easy when stitching, I stack each column of my T-shirt quilt layout into a pile by order. Then I take the 1st two blocks, position them with right sides together and join them using my 1/4″ seam allowance. (Since most of my quilt is made with knits, I am using my serger. A straight-stitch machine is fine to use, too. ) Continue to add blocks until you have finished your column.
3. I cannot stress enough how important pressing is. After each column is joined, I like to press my seams. Pressing will not only “lock” your stitches in place but it will also reduce puckering and rippling. (And yes, there is a difference between pressing and ironing, and it’s important!)
4. Now it’s time to join your columns together. With right sides together, line up your seams. To prevent blocks from shifting during stitching, I pin everything in place approximately 2″ from the edge. (This way, I do not have to remove pins as I stitch.)
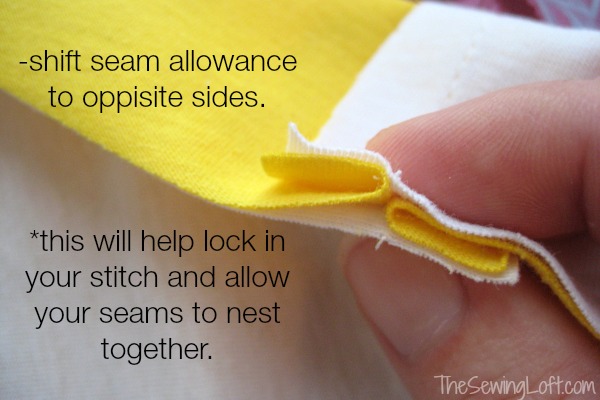
5. When matching my seams, I like to shift the seam allowance to opposite sides. (See photo.) This helps reduce bulk and locks the seams together. Stitch columns together using your 1/4″ seam allowance.
6. Press open each seam once you finish a row, and continue until your quilt top is completed.
Click here to learn how to put the quilt sandwich together!
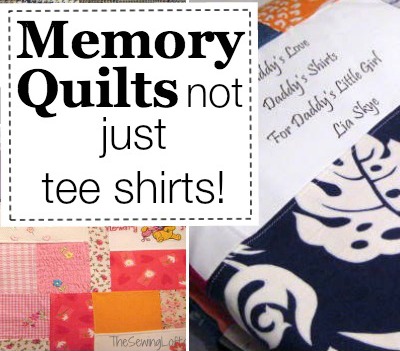
Memory quilts are not just for tee shirts. Here are some fun options!
Hello! Are you new to The Sewing Loft?
If so, I’m glad you stopped by and hope that something has inspired you to keep your needle moving! Don’t miss a single project and subscribe via email HERE! Bonus- free embroidery pattern with newsletter sign up. Another great way to connect with me is via Facebook, Pinterest, Twitter, or Follow my blog with Bloglovin. I’m looking forward to getting to know you and creating together!


