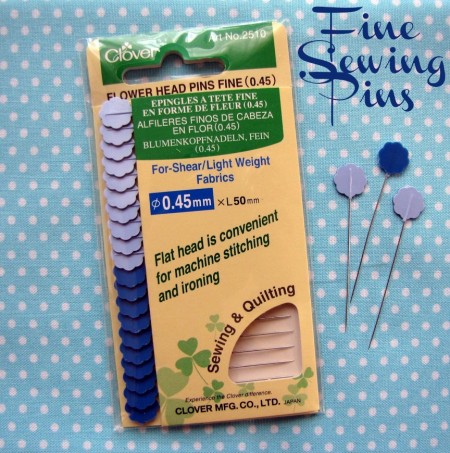
Fine Sewing Pins
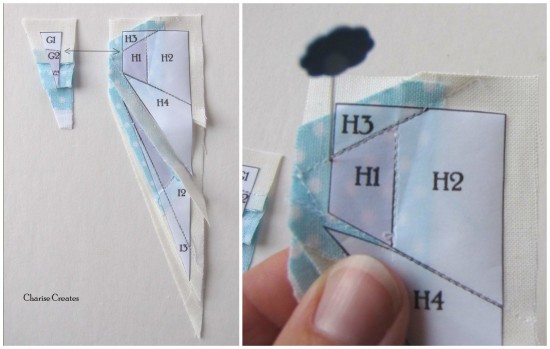
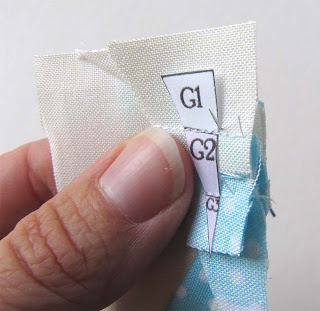
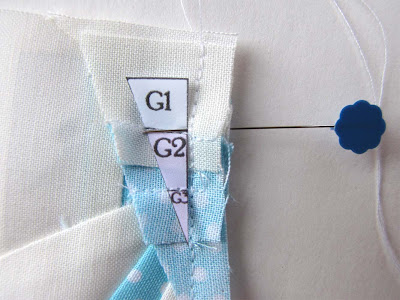
In the example I am showing you, I will be stitching smaller units together to make a larger unit or piece of the block. This pattern in this example is my pattern – “Vintage Apron” I am going to use the pins to match the seams in the bow on the apron.
Pin through your seam, back to front and find the corresponding seam on the adjacent piece.
Pin through the front of the seam you are matching on that piece with your fabric right sides together.
At this point I change my stitch length to a larger stitch. Stitch the seam, stitching over the pin, carefully, making sure your machine needle does not hit the pin. Take the pin out and check that your seams match. If they do, proceed to stitch over the basting stitch.





Comments & Reviews
Ooh! That’s so cool! I’ve never seen that!
Innovative! Gorgeous use of the apron image! Thanks for the paper piecing tutorial.
I know Samina, isn’t amazing! I love her work- it looks flawless!
These are one of my favorite pins, too! They’re long enough, sharp enough, flat enough, and cute enough to get the job done (if only they came in green for me!) Love the detail of the bow on this pattern.
Just a quick question? what am I doing wrong. I have the pattern for the vintage apron. When I was making it, for some reason the pieces came out backwards or reversed. And then the bow on the side of the apron was backwards too. I’m new at this, but I thought I had figured it all out. I’m just confused at this point. Feel free to email me if you get a minute…thanks. Love your patterns.
Hi Lynette
I am just now seeing your comment. Sorry not to respond sooner. You want to use the pattern for foundation piecing which is reverse of the finished block. place the right side of the fabric on the wrong or unprinted side of the pattern. You can see the bow is reversed in the image above. Pls email me at charise_randell@yahoo.com and I’m happy to answer your questions. : )