These days, if you get inspired to start a sewing project, you don’t have to make a trip to the fabric shop to sort through binders and drawers full of patterns. There are several resources available to download sewing patterns online – from sites like Etsy or Craftsy, online fabric retailers, and even sewing designers’ web sites. Just click to buy and print, and the pattern is ready to go.
The only down side to this process is that the patterns you print yourself must be assembled before you can sew with them. Since you print the pattern pages on standard 8.5”x11” paper, it just takes a little cutting and taping to turn them into pattern-sized pieces.
Printing PDF Patterns
This sewing tip is for stitchers of all levels.
Skill Level- 1 Button
Let’s walk through the process and demystify printing PDF patterns.
Step 1: Print the test page.
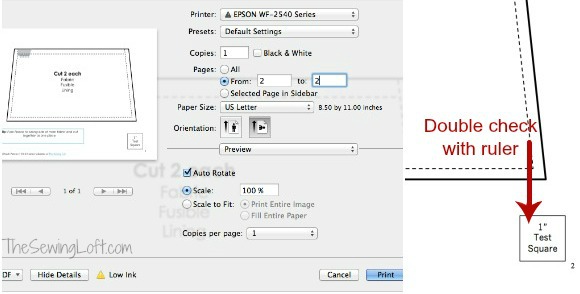
Most PDF patterns come with a square – usually on the first page or two, but not always – that measures exactly one inch on all sides. Print this page only first, and make sure your printer is set to print “actual size” and not “scale to fit.” When you take this page out of your printer, measure the square against a ruler to make sure the measurement is still one inch. If so, you’re cleared to print the remaining pattern pages. If not, adjust your print settings and try again!
Step 2: Print the remaining pattern pages.
You may notice for a PDF pattern that some pages contain sewing instructions and others contain the actual pattern templates. You’ll have to decide for yourself whether you’d rather save the paper and ink and only print the pattern templates, at which point you can read the instructions on your computer or other device. Otherwise, go ahead and print everything so you’ll have it on hand when you begin to sew.
Step 3: Assemble the pattern puzzle.
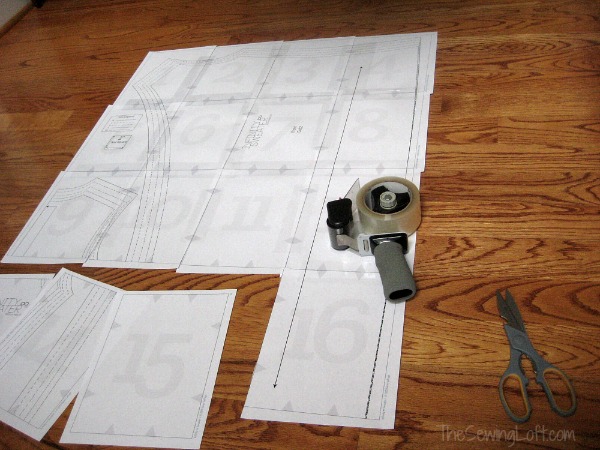
Putting together a PDF pattern is a lot like assembling a puzzle – this piece fits into that one and before you know it, it looks like a dress (or a bag, skirt, toy, etc.)! Most pattern instructions will tell you which pieces to put together, so spread them out on a large table or floor and get to work matching them up in the right order.
Step 4: Cut & tape the pattern pieces.
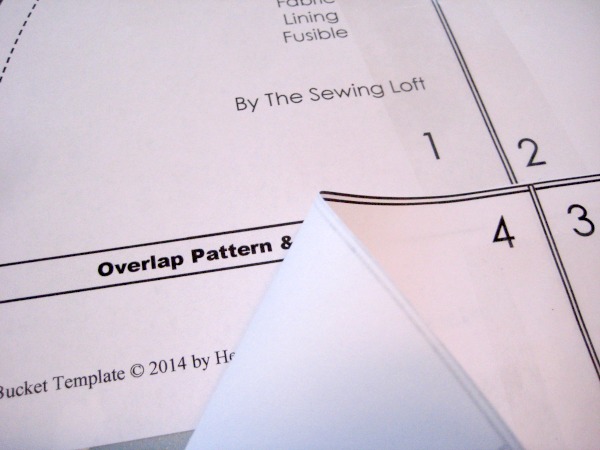
When you get two adjoining pattern pieces that need to be put together, line up the lines of the pattern so that they meet but don’t overlap (unless otherwise directed by the pattern instructions). You may have to cut one of the pages so that the cut edge is flush with the end of the drawn pattern line, but it is helpful to keep the extra paper on the second page so you have something to stabilize the join between the two pages. When you have the lines meeting correctly, use clear tape to tape the two pattern pages together.
Continue this process on the remaining pattern pieces.
Step 5: Optional – transfer to pattern paper.
Some sewing enthusiasts find that traditional printer paper is too thick to use as a sewing pattern, so they prefer to transfer the PDF pattern to a piece of pattern paper. This can also be useful if you want to reuse the pattern several times so you don’t want to mark up the original pattern pieces with pin holes and accidental cuts or tears.
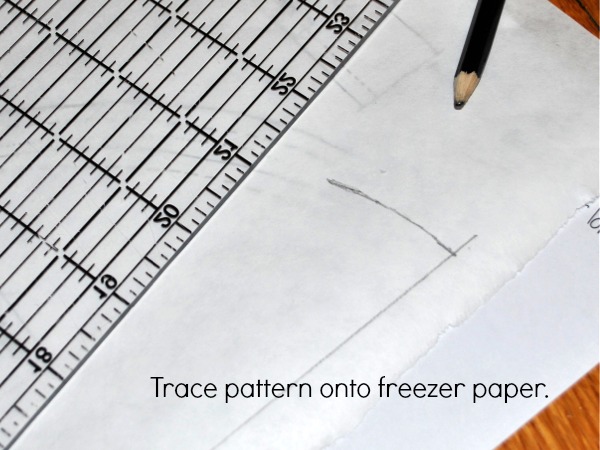
To transfer the PDF printed pattern to pattern paper, lay the PDF pattern on a hard surface such as a table or a hard floor. Tape it down at the corners so it won’t shift as you’re working. Position a piece of pattern paper on top of this, and use a pencil to trace the outlines of the pattern markings onto the pattern paper. Make sure you transfer all of the pertinent markings, and not just the outlines of the pattern pieces! Remove the pattern paper and cut around the edges to use it in your sewing project. Store and save the original PDF pattern for another use.
Do you have a favorite downloadable pattern, or a tip for using printable pdf patterns? Share it with us in the comments below!
Hello! Are you new to The Sewing Loft?
If so, I’m glad you stopped by and hope that something has inspired you to keep your needle moving! Don’t miss a single project and subscribe via email HERE! Bonus- free embroidery pattern with newsletter sign up. Another great way to connect with me is via Facebook, Pinterest, Twitter, Google+ or Follow my blog with Bloglovin. I’m looking forward to getting to know you and creating together!


Comments & Reviews
Great tips, Heather! i love PDF patterns because I can print them over and over. So if I mess up one I can just print it again! Or if I decide to alter it to suit me (which I seem to always do) then I still have the original for reference. One thing I like to do is transfer my printed, taped together PDF pattern to light weight poster board – like we used on the factory floor – that way it’s whip fast to trace around with a chalk pencil and easy to move around on my fabric. Weights hold the pieces down perfectly. I store them hanging (big pieces) or in an artist canvas portfolio. Thanks for sharing your printing tips with us – I didn’t realize that was what that little 1″ square was for – now I know 🙂
Thank you for sharing. But is there a site I can go to to learn the best way to take my patterns and make them downloadable? Do most people scan them and change them to PDF files?
Thank you very much for explaining this. I’m new to the whole sewing world and printable patterns looked very confusing and intimidating until I read this.
I transfer my pdf patterns to sheer fabric that pockets in mens trousers is made from. It is easy to see through and easy to write on and doesn’t tear. I can keep these patterns for further use.
Hello Glenda,
That sounds really interesting. Do you worry about it fraying or do you clean finish the edges somehow?
~Heather
Thanks for the pdf pattern tips Heather. I’m getting back to sewing after 30ish years and pdf pattern files weren’t around when I was sewing for my children.
Am I to understand that pdf files don’t add on the seam allowance and that is something we have to do ourselves? What would be the easiest way to cut the fabric with a seam allowance?
Hello Jacquie,
Seam allowance is up to the designer. Personally, I prefer to add it and make it easier for the end-user. Be sure to check the pattern instructions before cutting into your fabrics.
-Heather