Curved Piecing Block 7
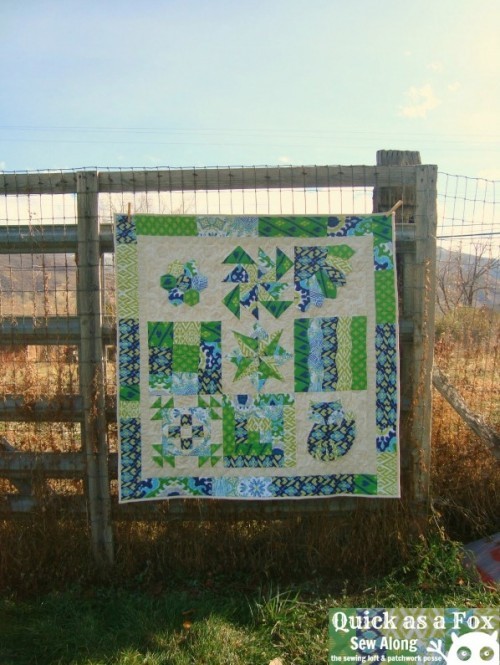
Welcome everyone to the Quick as a Fox Quilt Along! If you are just finding this for the first time, you can find all the previous blocks here and the photo gallery here.
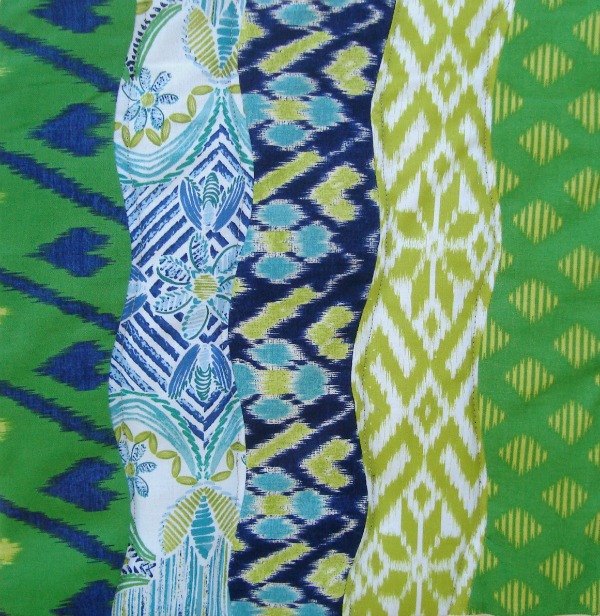
We are down to the last 3 quilt blocks for the Quick as a Fox Quilt along and they are the funnest! I am so excited to get these started! These are the kind of blocks that I just love. They let you experiment and loosen up your sewing just a little bit. The last couple of blocks- the dresden plate and hexagon you sort of started this with making your own template…but we really get to play with these! This first block- is all about curved piecing. The curve isn’t as extreme as an apple core quilt block, but it will give you a good idea of how to deal with curves when they come your way.
Download the scallop or wave template: scalloptemplate
Cut 5 strips out of different fabric 3 1/2″ X 15″
1) Lay all strips on top of each other and cut a curve on one side
Remove 2 strips. Cut another curve on the other side of 3 strips.
* hints: the template will not be as long as the strip. Just move it to the next part and continue cutting
Match up the template edge to the edge of the strip, that is why the length of the strip is longer than the quilt block.
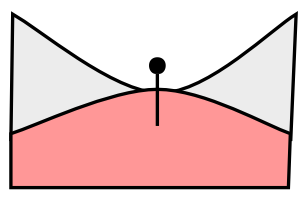
2) Line up right sides together 2 pieces. You will be matching up the ‘valley’ and the ‘hill’ The sides WILL NOT match!! Don’t worry about it. Line up the hill and valley
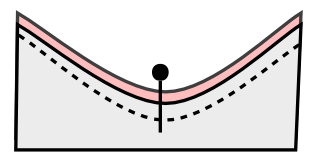
3) Pin the top of the hills to the bottom of the valley. The pin will only be on the top of hills on one strip and only the valleys of the other strip. You will not be pinning the whole strip…. it will look weird, but you will be moving and adjusting things, so just go with a few pins.
4) Sew the 2 strips together.
* You will be fiddling with the fabric and pieces from now on…..just remember to sew slow and steady. Watch your seam allowance- keep it consistent and 1/4″ and watch those edges that they stay together. You don’t want to find any holes when you are ironing them because the edges snuck away from each other. The strips might need to curl up a little bit so the other hills that are not pinned get lined up properly. Make a few stitches-needle down, readjust the sides, a few more stitches- needle down, readjust the side.
5) Iron
6) Repeat the process until you have all of the pieces sewn together. The 2 strips with flat sides will be on the outside of the block.
7) Square up to 12 1/2″ X 12 1/2″
Want to sew along with us? Find all Previous Blocks and Instructions for the Quilt Along Quick as a Fox
To help us all connect and find inspiration from one another, there is a flickr photo gallery group- Share your progress, choices, and finished blocks there. If there is anything I know about quilters and sewists, it’s that we are very visual people. So, please share it so we can all see it.
The next block– Cranky piecing! See you next Tuesday
[ts_fab]


Comments & Reviews
How pretty!