Dresden Plate Block 6
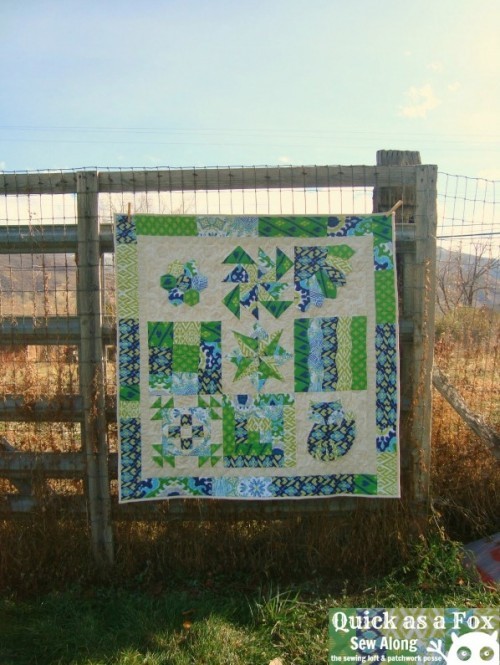
Welcome everyone to the Quick as a Fox Quilt Along! If you are just finding this for the first time, you can find all the previous blocks here and the photo gallery here.
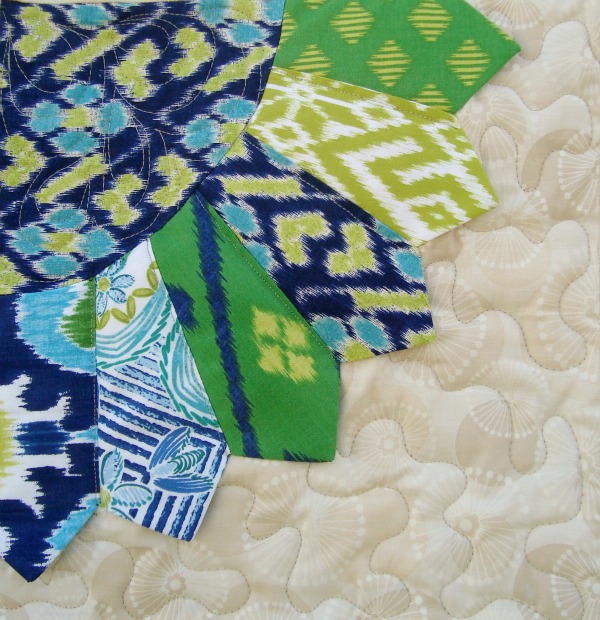
Today we are going to be working on a dresden plate quilt block. Last week we learned a little bit about templates….and even made our own hexagon template! YAY for you!! Today, the template will be made for you, but we will be stepping into a little more difficult use with it. No raw edge applique here, we will be sewing them to each other. gasp! You can do it though. It’s a little intimidating at first…and then off you’ll got and before you know it your dresden plate quilt block will be all done and you will be all inspired maybe to sew up a few more.
Dresden Plate Quilt Block Instructions:
Print and cut out template
Cut out 7 using the template
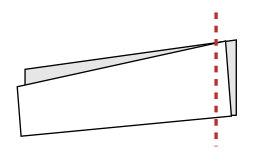
Fold the larger edge in half and sew 1/4″ seam. Repeat with all 7 pieces
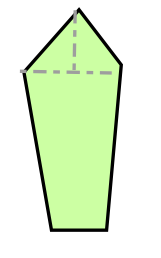
Push the point right sides out and iron
Lay two pieces, right sides together and sew along the edge. Match the top point- shown by arrow, the bottom will not match {this will be covered up by the circle later} Continue this process until all 7 are sewn together. The angle of the edge allows the wedges to curve naturally. Iron
Cut your background 12 1/2″ X 12 1/2″ square
Place the dresden wedges onto background square. Now, before you all wig out— I will let you know that this will not fit perfectly!! The wedge works best when going from one side to the other….so please be aware that the end wedges will be cut off. This is ok, because there are some fun and funky or ‘cranky’ quilt blocks coming up in the quilt and will help this little issue blend in.
Because they are kind of floating at this point you will want to pin them down.
Sew ‘in the ditch’ in between each wedge. You can choose for yourself if you want to sew those tips down. They do kind of blend into the quilt being 3-d like a previous block. They are almost like a little pocket tube! You can sew the whole tip down, or take a few stitches right at the point…..or leave them alone. You decide.
Corner circle– you have two choices here. You can raw edge applique the top circular edge, or you can sew two circles together and then sew the 1/4 circle down. Instructions for both methods:
First method-
Cut the quarter circle out and place on top of the corner of the quilt square.
Pin in place and sew 1/8″ inch seam allowance on the curved edge of the quarter circle- raw edge applique
Second method-
Cut out two circles 1/4″ larger than the template. Sew together along the curved edge. Snip the edge- turn right sides out. Iron
Place in the corner and zig zag with invisible thread, hand stitch it. or even use a button hole stitch to secure
You are finished with the dresden plate quilt block.
Want to sew along with us? Find all Previous Blocks and Instructions for the Quilt Along Quick as a Fox
To help us all connect and find inspiration from one another, there is a flickr photo gallery group- Share your progress, choices, and finished blocks there. If there is anything I know about quilters and sewists, it’s that we are very visual people. So, please share it so we can all see it.
The next block– Curved piecing! See you next Tuesday
[ts_fab]


