Quilting and Binding
Welcome everyone to the Quick as a Fox Quilt Along! If you are just finding this for the first time, you can find all the previous blocks here and the photo gallery here.
Today we will be finishing up the quilt along. It has been so fun to see your quilt blocks and progress of the quilt! I am doubly impressed with those who are learning to step out just a little bit and explore, making their own templates for the fox block. Finding your own voice in the quilting world is an adventure! Glad I could be around to see you stretch yourself and grow. Small sewing steps….one at a time is how it happens.
We will be going over quilting your quilt, and making a quilt ‘sandwich’ today. I am not going to go into too much detail, just an overview on the process. There are some super fantastic tutorials out there that show step by step. If I did that here, we would seriously be here all night long and you would lose interest.
Let’s start with the sandwich since this needs to be all done before we can do the quilting. A sandwich is just a term used to describe putting the batting in between the quilt top and backing. The backing is typically 4″ larger on all sides than the quilt top. Your machine quilter will thank you for this. Promise. 4″ larger means….2″ on each side. This allows for a little bit of movement of the quilt top. That does happen when quilting.
Between the top and back is where your batting lives. Now, batting is really up to you as to what kind to use. A lot of quilters like to use the cotton batting. This crinkles and shrinks up when washed leaving the quilt looking more vintage. If you are wanting a more ‘puffy’ look, use a poly batting –one with large loft. I have even used wool blankets for my batting. These are super heavy and super warm. Perfect for beds and winter. Take a look around and see what others are using. Ask questions, take notes. Find out what your favorite blend and loft is. Your choice might also be determined by the use- is it for snuggling? warmth? a wall hanging? You don’t want to put something super heavy if it is hanging from the wall.
Now that we have our favorite batting ready to go let’s make ourselves a sandwich.
You will want to layer your quilt top, batting and backing together. With this size of quilt, if you can find a place to lay the backing down {wrong sides up} on a wood or laminate floor this will help.
Lay the backing out and tape the edges down. This will keep the back nice and stretched and prevent puckering when quilting. Lay the batting on top and then the quilt top on the very top- right sides facing up.
Pin like a crazy pinner! Use safety pins, and pin every 4-5″ or so. This will keep all three layers together while you are quilting. It will also ward off puckering on the backside.
To prepare your sewing machine you will need to drop the feed dogs {mine do not, so i just set the stitch length to 0} and use a walking or quilting foot.
Let’s talk quilting designs real quick, shall we?
When you quilt you will want to start in the center and quilt out from there. This will allow the fabric to move to the outside of the quilt. If you start on the outside edge and quilt to the center you will end up getting bunches or puckers. No good.
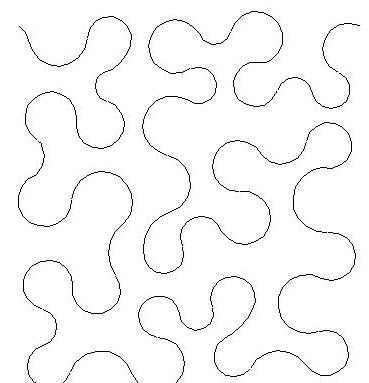
There are some easy quilting patterns out there– an all over pattern or meandor. This is a puzzle shaped quilting. You typically don’t cross the lines. This is the ideal quilting design for beginners. It is very forgiving. Easy to learn. You don’t have to worry about what to quilt in each different block, you just quilt. If your fabric is a little bunchy in places, the quilting will hide this. {try really hard to not get bunches though}
I have done this pattern on soooo many quilts I can’t count them all! It is a great way to get your feet wet when starting out with quilting. When you are quilting the 3-d Quilt block you can decide if you want those little pockets to be tacked down or miss them all together, so the 3-d stands out.
For a modern look you can go with straight lines. They aren’t as forgiving as a meandor though, so you have to be careful when quilting this.
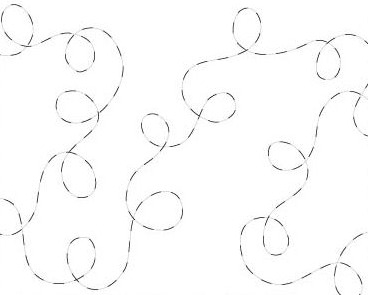
The next best quilt design is the loops. It’s sort of a meandor, but crosses over with loops. You can make the loops different sizes, large and small. You can also do a second loop inside the first loop to mix it up a bit.
When quilting you want to watch your stitches!!! This is very important. You don’t want to have toe catchers as I call them. That is a 2″ stitch that your toe will catch when snuggling up with your quilt. If you move your quilt faster than the sewing machine is stitching, you will get toe catchers. This means…..slow down the movement! The idea is to keep all your stitches the same length. Overall it looks better.
Quilting when you have a large space of time is ideal. Having time allows you to get the hang of the design and movement of the quilting technique. Your arms will memorize the movement and the proper speed making quilting fun.
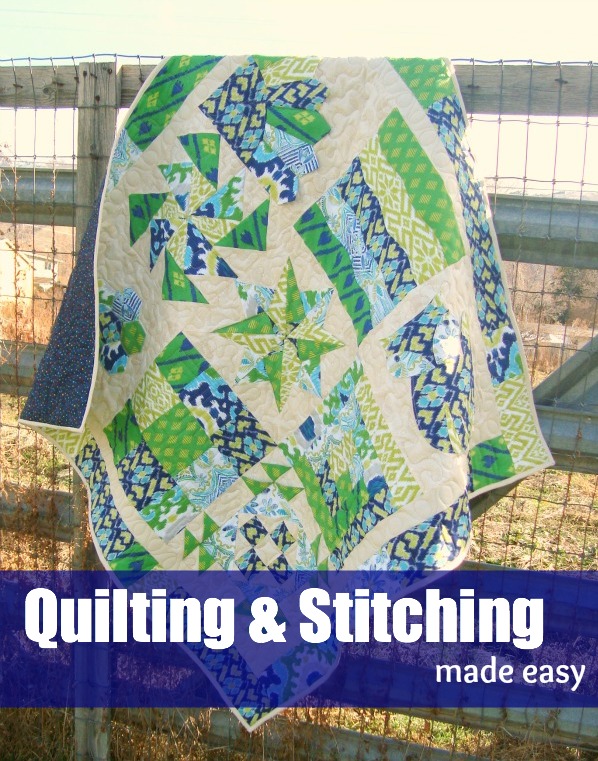
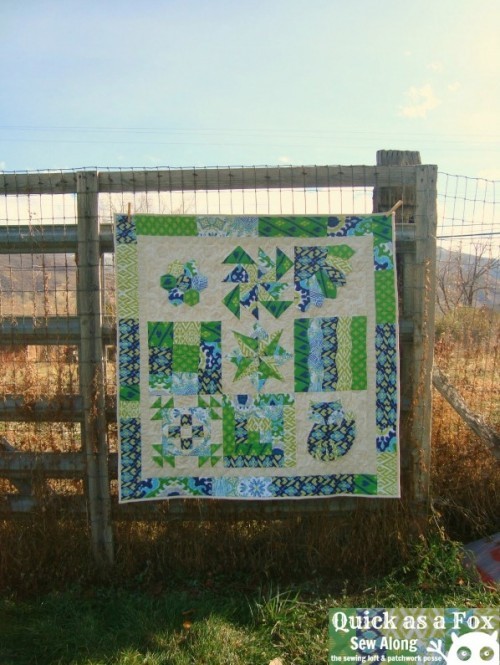
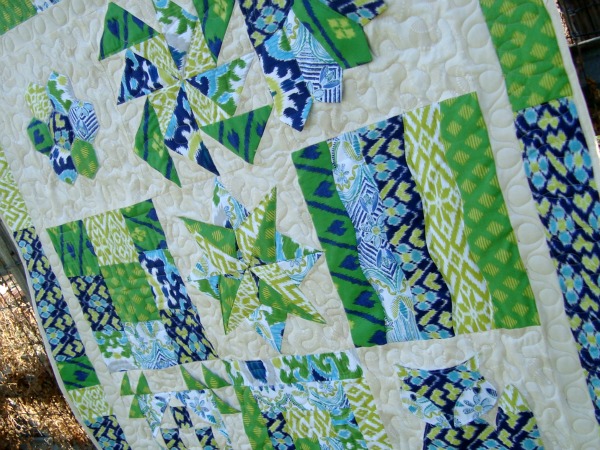
You can see that I did a variety of quilting for the Quick as a Fox quilt. In the block I did the simple meandor- skipping the dresden place ends, the 3-d parts. I kept mostly to the background of the blocks. Inside I did a mix of straight lines, quilting 1/4 from the seam, or outlining the applique pieces. In the first border, I did a loop and the outside border I did a skinny tall loop with a short loop in between mix.
Do you have a favorite quilting design?
Want to sew along with us? Find all Previous Blocks and Instructions for the Quilt Along Quick as a Fox
To help us all connect and find inspiration from one another, there is a flickr photo gallery group- Share your progress, choices, and finished blocks there. If there is anything I know about quilters and sewists, it’s that we are very visual people. So, please share it so we can all see it.
Next Tuesday we will be wrapping it all up with some binding tips! See you then!
[ts_fab]
