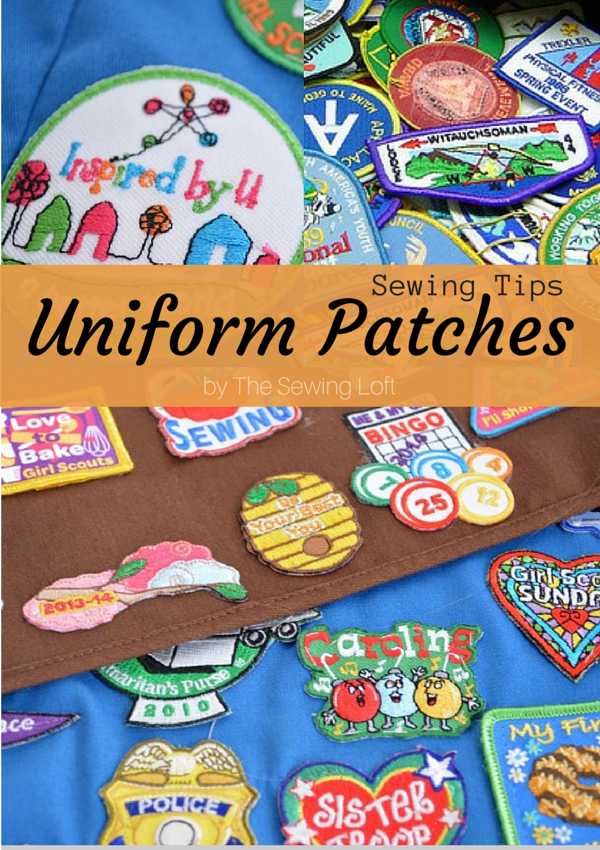
Whether you’ve got a Scout or a military member in your household (or maybe several!), chances are you’ve been asked to sew a patch onto a uniform. What seems like a simple task can often turn ugly if you aren’t prepared, so we’ve got some quick tips to help make sewing uniform patches a breeze!
Sewing Uniform Patches
This tip is for all skill levels.
Skill Level- 1 Button
As a former Girl Scout Troop Leader, I have done my fair share of sewing uniform patches onto each girls vest. Actually, at times I would go on a marathon sewing binge and stitch the entire troops badges on. This normally took place around Memorial Day. The girls wanted to look their best during the parade!
Tips for Sewing Uniform Patches:
- For a guide on where to position the patches for Boy Scouts, visit the Boy Scouts interactive guide on uniforms. The Girl Scouts have a guide of their own as well.
- Use a larger sewing needle on your machine – one that is made for heavy-weight fabrics, I have found that a 90/14 works well. The uniforms themselves can be heavier (especially military jackets), and the patches are very thick so this type of needle will last longer in your patch-sewing efforts.
- For machine sewing, try using a small amount of washable glue to hold the patch onto the uniform before sewing. This method is faster than pinning and may be easier for such thick patch material.
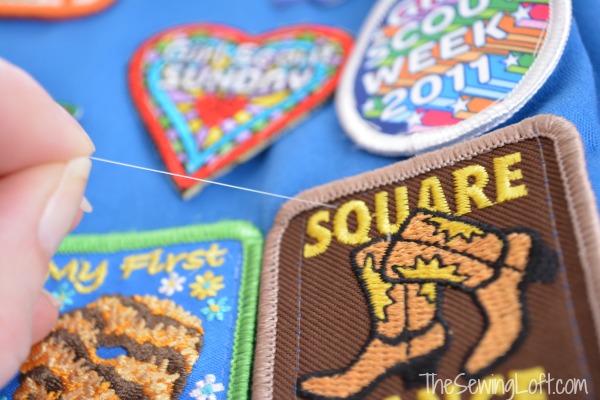
- Use a clear or invisible thread to attach patches. This will make quick work when attaching multiple patches in one sew session.
- Stitch on the inside of the patch instead of along the thick edge wrapped in thread.
- Or a tight, narrow zigzag stitch to sew the patch to the uniform, matching the thread to the edge of the patch or to the color of the shirt or jacket. Keep your stitching just along the edge of the patch, catching the shirt or jacket fabric in the edge of the zigzag stitches.
- If you want your patch sewing to be very subtle, try hand sewing. Come up from the inside of the shirt or jacket and carefully catch just a small amount of the fabric and an edge of the patch using a whipstitch. (Tip: this method may be required if sewing onto sleeves, which can be too narrow to fit comfortably into your sewing machine.) Using a thimble will help protect your fingers.
- Teach your scout or military member to sew! This can be a great learning opportunity, and if it’s a scout then he or she can probably earn a merit badge at the same time!
Do you have any tips to make this dreaded sewing task any easier? We’d love to hear them in the comments!
Hello! Are you new to The Sewing Loft?
If so, I’m glad you stopped by and hope that something has inspired you to keep your needle moving! Don’t miss a single project and subscribe via email HERE! Bonus- free download with newsletter sign up. Another great way to connect with me is via Facebook, Pinterest, Twitter, Google+ or Follow along with Bloglovin. I’m looking forward to getting to know you and creating together!


Comments & Reviews
Most of the Girl Scout patches are now on their sashes, which makes it a bit easier. I am sewing them for my granddaughter, and my grandson is now in Cub Scouts, so I am sewing them on his shirt! I have taken the pocket off the shirt to sew the patch and then sewed the pocket back on. Keeps the pocket usable!
If hand sewing, use a Glover’s needle. It has a chisel point and makes it easier to sew thru the thick skin of the badge/crest.
That’s a great tip Marjorie. Thanks so much for sharing!
~Heather
I use invisible thread when sewing on patches. That way I don’t have to change threads when sewing on many patches.
I position Tear Away stabilizer on the underside of the shirt, jacket, etc. i prefer to use matching thread as on the edge of the patch & a leather needle(really strong). Use long quilting pins or painters tape to hold in place, sewing with a wide zigzag stitch. Afterwards remove the stabilizer. Voila!
I highly recommend basting the patches to the garment first. Just use a large machine basting stitch and put an x through each patch. This will hold them in place securely while you’re sewing your zig zag stitches and is easier than trying to force a needle through the thick patches. It also gives you an opportunity to be sure the patch is straight, which can sometimes be hard to tell when you use a pin since it tends to buckle. When you are done the basting stitches pull out easily with a few tugs of the seam ripper.
I use clear thread, and first thing I do is sew a line straight down the middle of the patch from top to bottom. Use very large stitches. Then reset your stitch length and sew just inside the edging of the patch all the way around. The patch won’t twist on you this way. When you are done, backstitch and remove shirt from the machine. Pick out the center line of stitches and your patch looks perfect!
Best thread thickness for hand sewing patches?