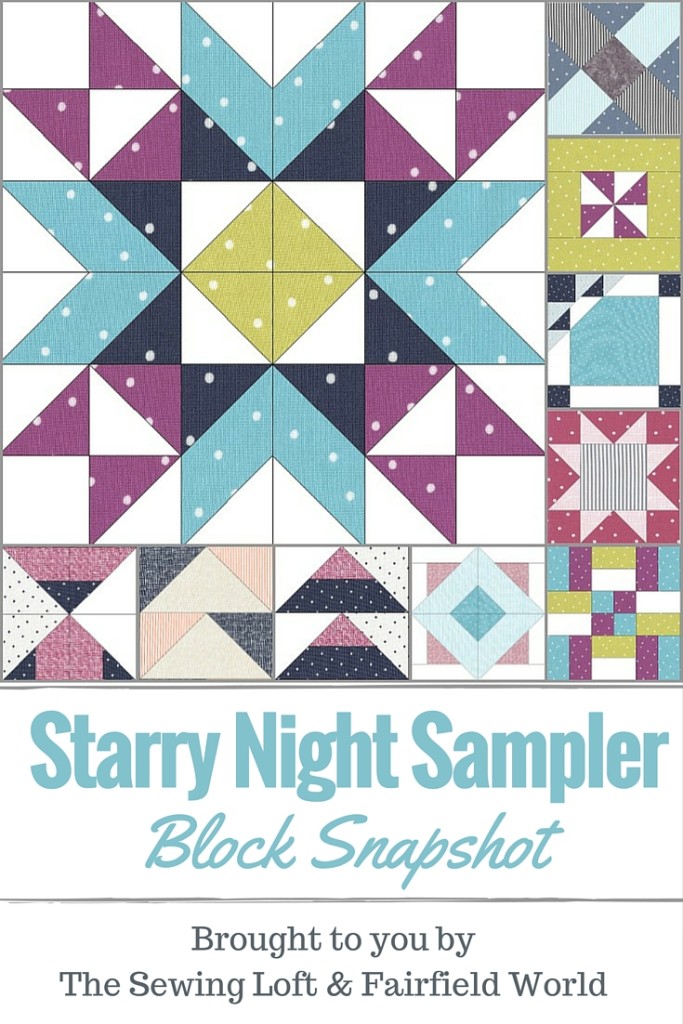
Wow, this year went by so fast!! Last month I shared the very last block in the 2016 Block of the Month Sew Along, Wyoming Valley and now it’s time to start stitching the Starry Night Quilt top together.
I can hardly believe that we are in the final phase of our Starry Night Quilt Sampler. When I designed this quilt, my goal was create something beautiful that would help improve your skills, stretch your comfort zone and build your confidence. When you look at the
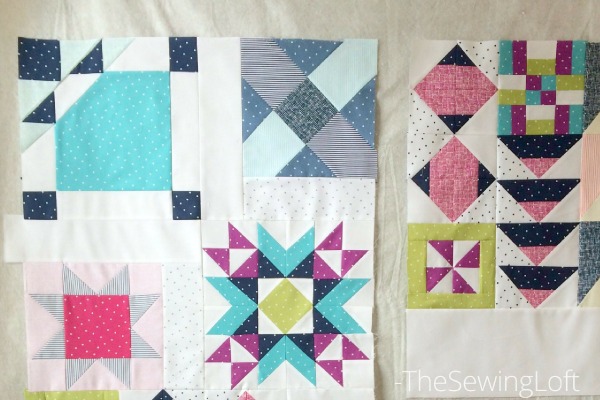
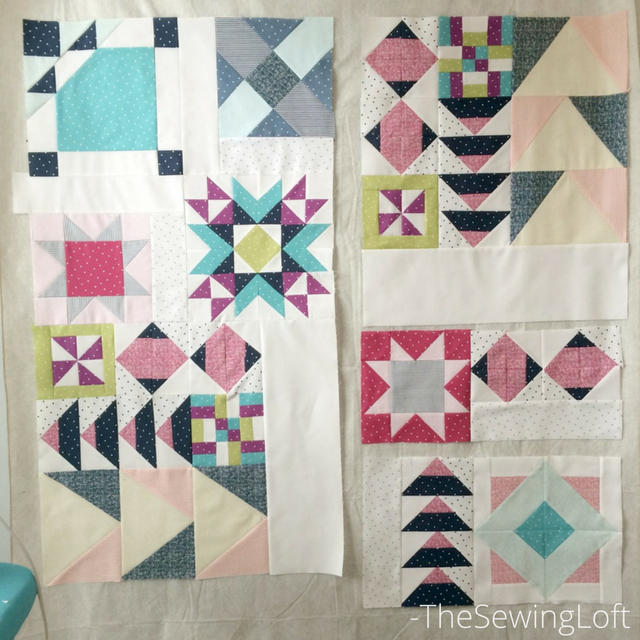
Each month I normally share tips to help you achieve block success but this time I wanted to share a few of my WIP photos. You can see my blocks being shuffled around on my design wall and with each new block, I watched a new quilt come to life.
Seeing the Starry Night Quilt top hanging on the wall was so exciting. I could hardly wait to finish those last few seams.
This year long journey has been so much fun for me and I truly hope that you have enjoyed it. See the full assembly details here.
Starry Night Quilt Top Layout
Remember that even though today’s post is the final assembly, I will still be here to help guide you through the finishing stages like sandwiching, quilting and binding. But the reality is that many of you stitching along will most likely wish to finish this quilt up before the new year. Either way, I want to see your progress! Please be sure to come find me on social media and share a few pictures of your finished block using #StarryNightQuilt as a tag, I want to see your blocks stitched together!
Instagram | Facebook | Scrappy Girls Club
Hello! Are you new here?
Do you want to learn more about sewing? If so, be sure to sign up for our newsletter HERE and never miss a stitch! Daily Sewing Tips, Everyday Projects and Fantastic Inspiration delivered straight to your mailbox!
Bonus– free download with newsletter sign up.
Feel free to connect with me on Facebook, Pinterest, or Instagram. I look forward to getting to know you and stitching up a storm!


