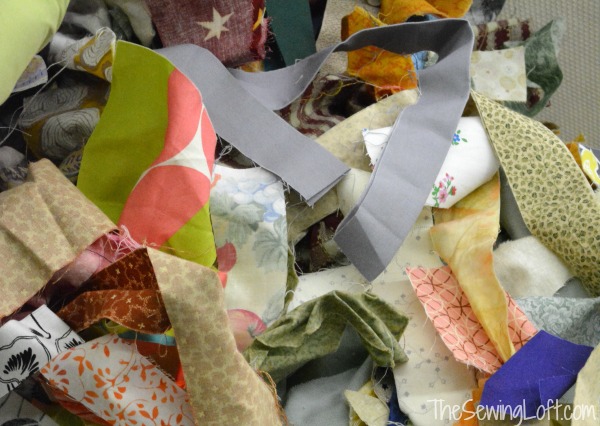
It’s pretty safe to say that I have a problem with scraps. You see, I tend to save every little, tiny bit of fabric that crosses my path. At times, it’s been said that I need an intervention. So, when things get rough, meaning the scrap basket is overflowing, I like to start stitching!
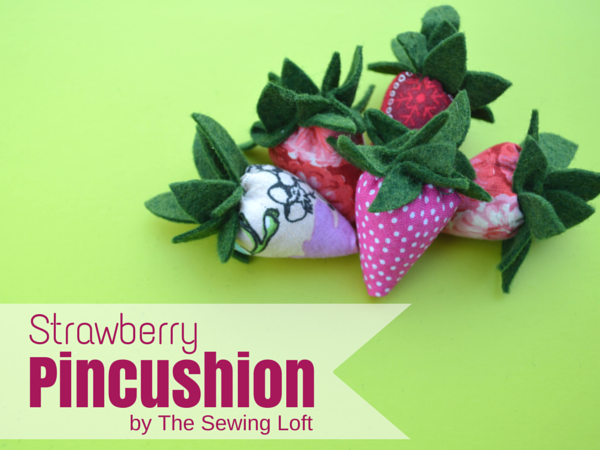
Two of my favorite things in the workroom are fabric scraps and pincushions. So, I thought it would be fun to put them together!
Strawberry Pincushion Pattern
This project is for all levels.
Skill Level- 1 Button
Supplies:
- fabric scraps
- felt
- crushed walnut shells
- strawberry template
Tools:
- sewing machine
- basic sewing supplies
*This blog post has been converted to an optional PDF that’s optimized for printing and ad-free. Find more here. The blog post is totally free to read, print, and sew! The PDF tutorial & download for $2 is totally optional.
Instructions:
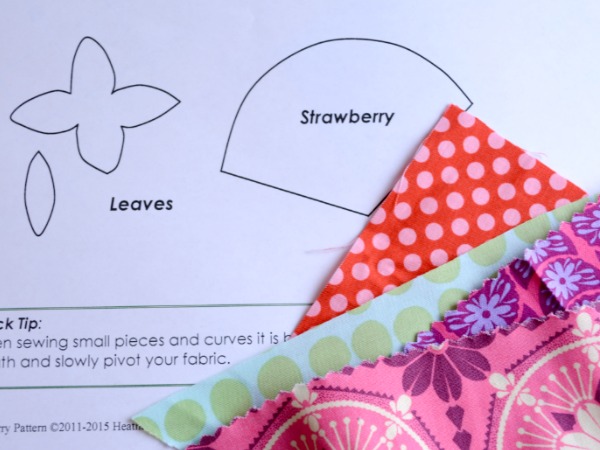
1. To get this party started, let’s print out the template and press our scraps nice and flat.
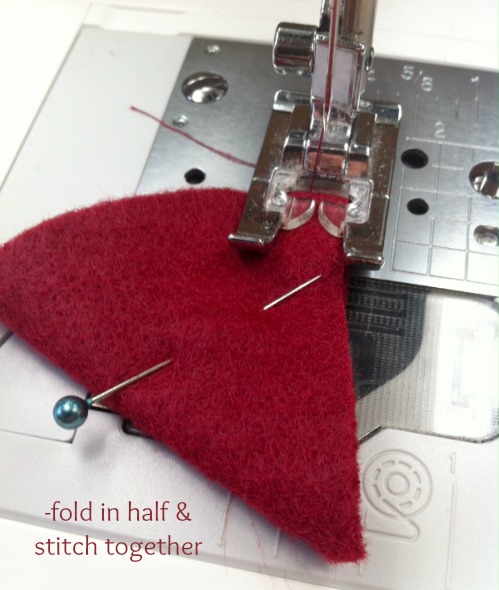
2. Fold in half, wrong sides together and stitch with a small straight stitch along the straight edge. Back stitch at the start and stop. Resist the urge to clip the corner and turn right side out.
**TIP: Resist the urge to clip the corner before turning! This extra bulk of fabric will help form the dimple along the bottom edge of the strawberry.The extra seam allowance from the corner will help create the dimple at the bottom.
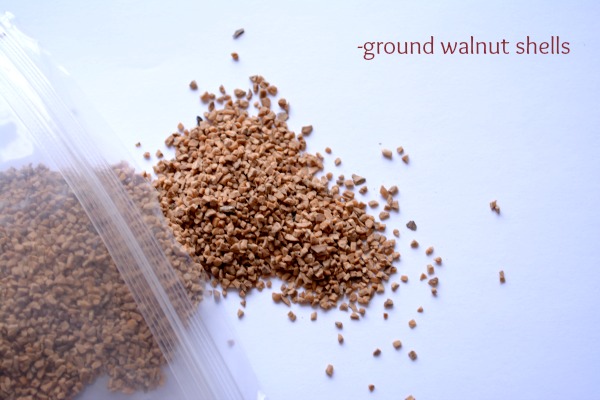
3. Carefully fill with ground walnut shells, stopping about 3/8″ below the top edge. Now, a word to the wise- if you have never worked with ground walnut shells they are small and get everywhere. I like to put a piece of paper down on my work surface to catch any dropped pieces.
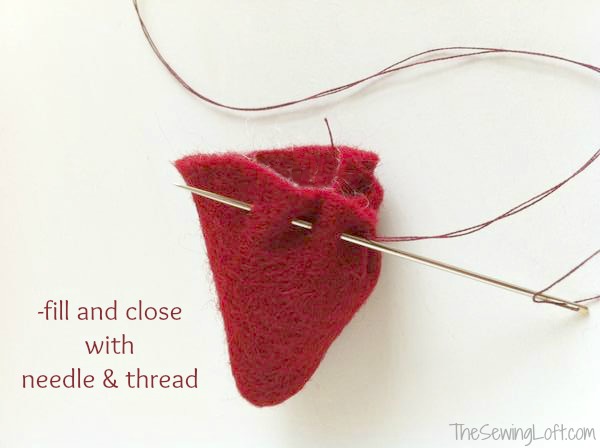
4. Close the opening with needle and thread. Be sure to pull this tight and do not worry about it looking pretty. Knot in place to secure.
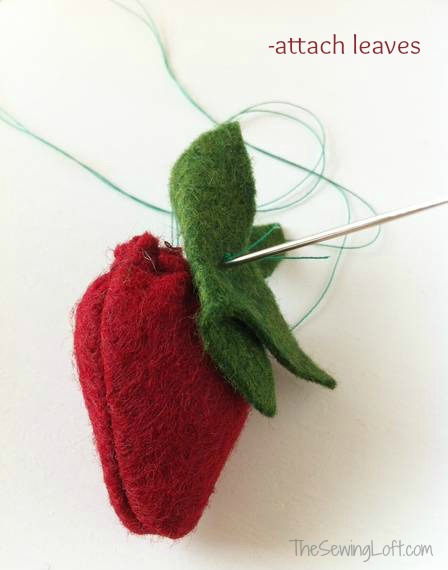
5. Change out the thread color and start adding the leaves in place.
I love to make these in batches and give them to sewing friends along the way!
Even though this strawberry pincushion project is extremely simple, it packs a sweet punch. So don’t forget to download the free pattern today.
After cutting a bunch out, I sat at the machine for about 5 minutes, pressed them and turned. The rest was completed while chatting it up with the ladies at my local American Sewing Guild meeting. Super easy!
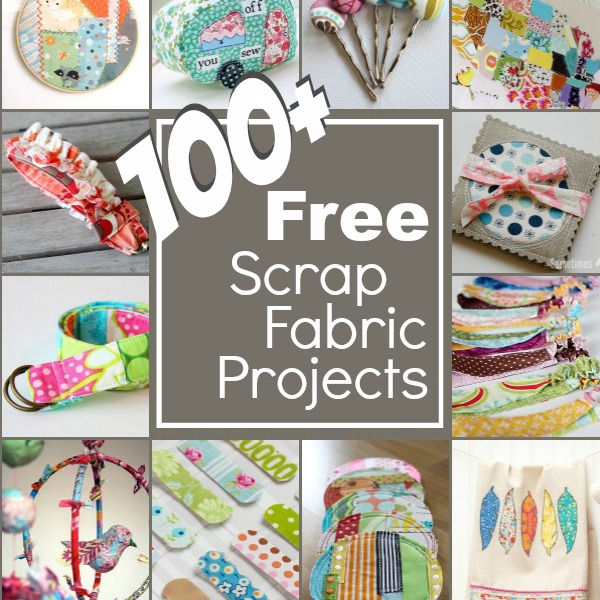
Feeling inspired to clear out that scrap basket? Here are even more scrap busting projects!
Hello! Are you new here?
Do you want to learn more about sewing? If so, be sure to sign up for our newsletter HERE and never miss a stitch! Daily Sewing Tips, Everyday Projects and Fantastic Inspiration delivered straight to your mailbox!
Bonus– free download with newsletter sign up.
Feel free to connect with me on Facebook, Pinterest, or Instagram. I look forward to getting to know you and stitching up a storm!




Comments & Reviews
I love the strawberry pinchshion/what would you use instead of the crushed walnuts? I would like to have my granddaughter make this but she is allergic to walnuts. At one time my mother made one using dried used coffee grounds. But that has been years ago. Thanks Cynthia
Thanks so much Cynthia. I think a good replacement for the crushed walnuts would be crafting sand. You can pick it up inexpensively at your local craft store and it is small enough that you can really pack it into the pincushion.
Keep me posted!
~Heather
Cute!! I’ve got a Craft Gossip post scheduled for this evening that links to your tutorial:
http://sewing.craftgossip.com/free-pattern-strawberry-pincushion-2/2015/03/18/
–Anne
Cool idea! Put it on a lanyard or strap for around your neck, and it goes back & forth btw the sewing machine & ironing board. Handy for hand sewing too. I always end up sticking my needle in a blanket, or something; then forget and lose it. Not pleasant when found!
Where do you find the crushed walnut shells? What kind of store? Thanks for the post.