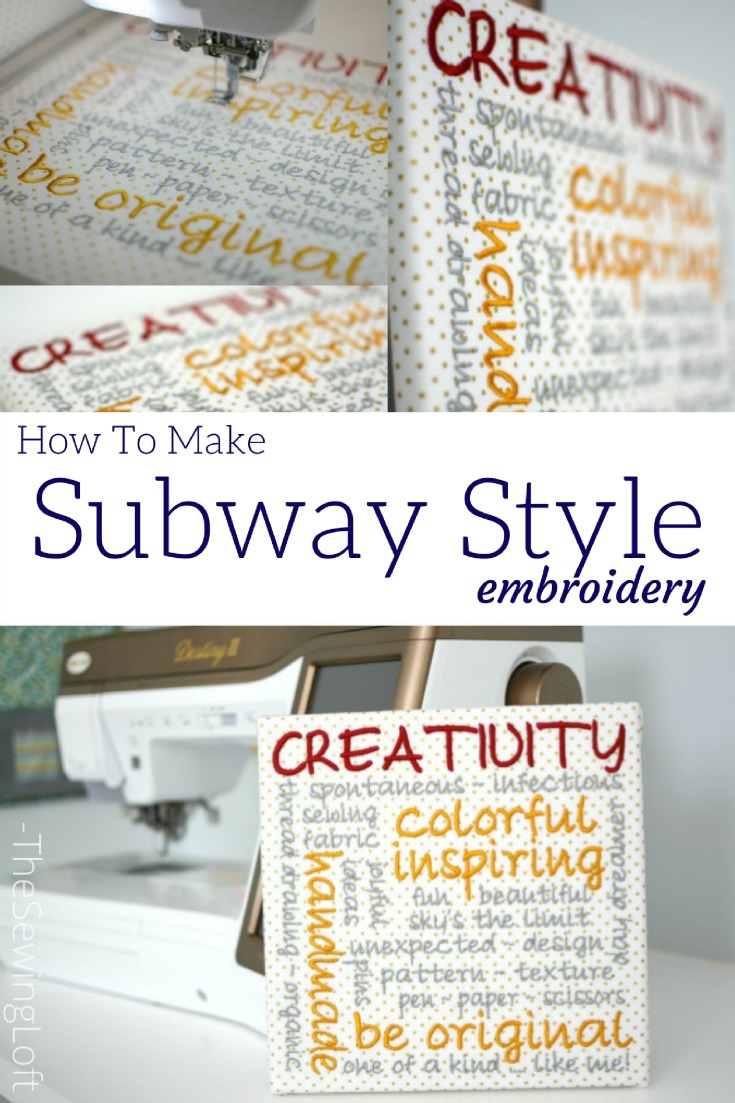
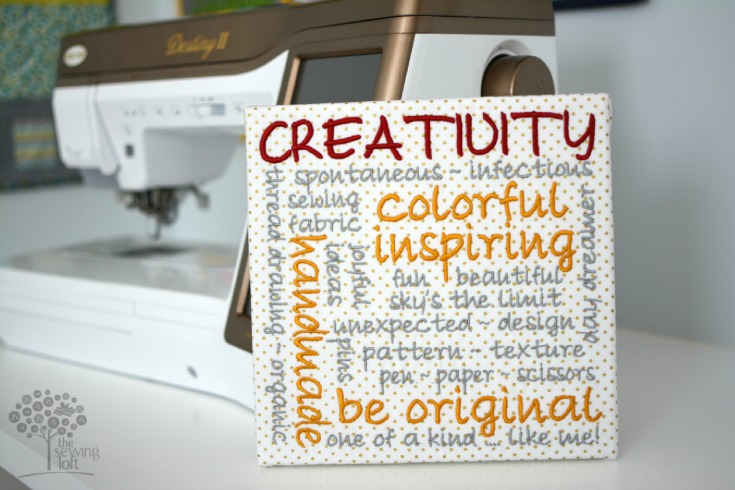
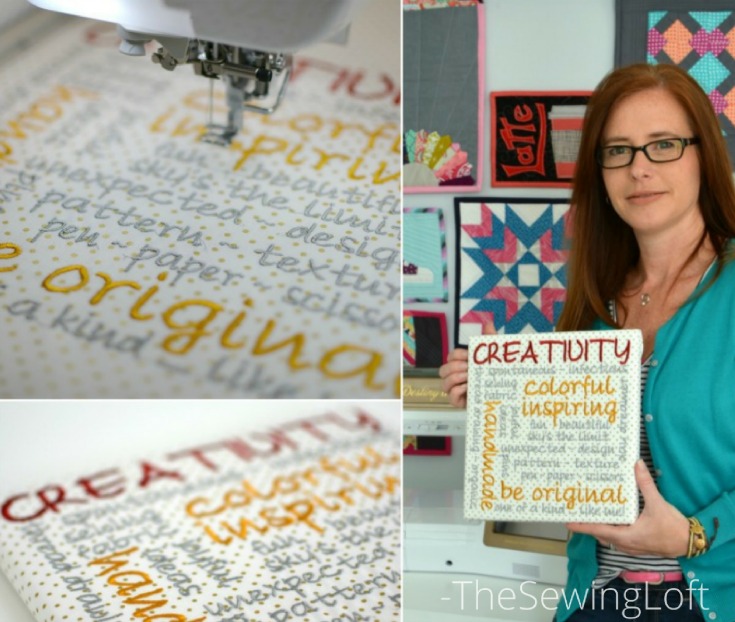
I’m so excited to finally be able to share my Love of Sewing Challenge project. This subway style embroidery art is my style in so many ways! I love that you can instantly transform words into meaningful keepsakes. Let’s take a look at just how easy it is to transform standard fonts into customized artwork.
Subway Style Embroidery Art
This project is for intermediate stitchers.
Skill Level- 1 1/2 Buttons
Supplies:
- 10″ square art canvas*
- Fat quarter of fabric**
- Embroidery hoop
- Embroidery thread (3 colors)
- Bobbin weight embroidery thread (40) weight
- Stabilizer
- Word list
*Purchased at my local craft store.
**Riley Blake Swiss Dot.
Sewing Machine Set Up:
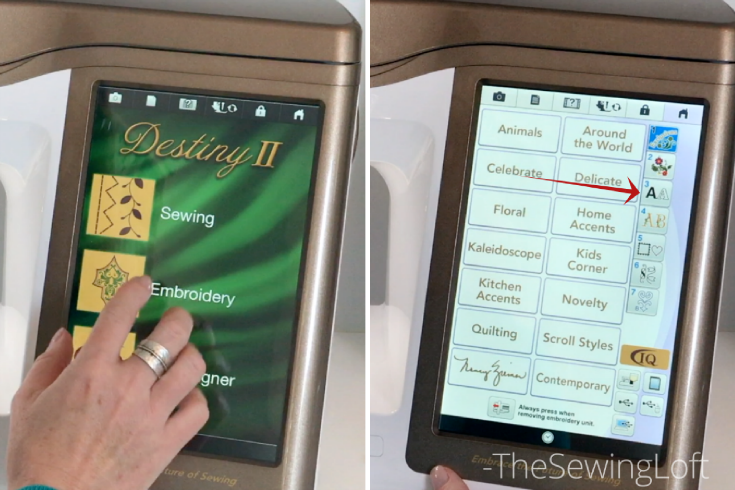
We will be working with the built in embroidery fonts on your Baby Lock Destiny II machine. After turning on your sewing machine, you will need to select the embroidery feature on your home screen. It will open the embroidery options. Select fonts; number 3.
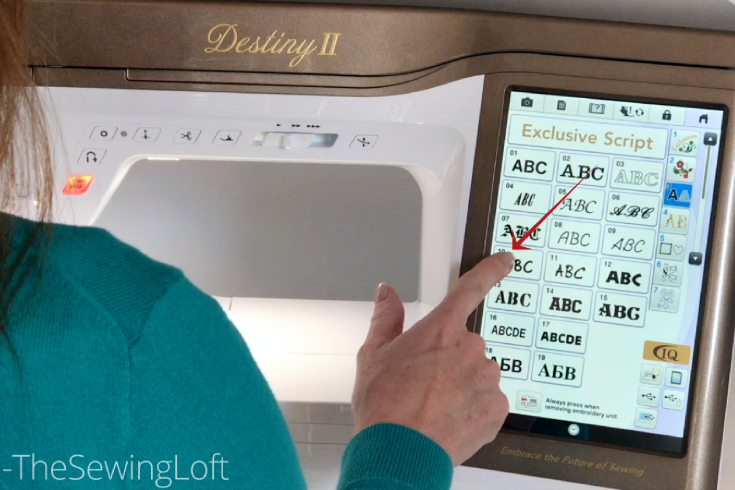
The new screen will show just how many built in fonts are included on the Destiny II. For my project, I am using script number 10.
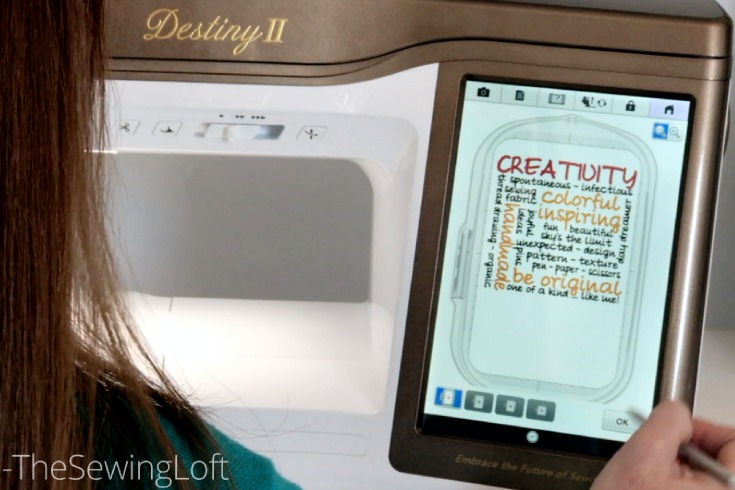
This font was used throughout the project. To highlight words of importance, I used different thread colors and sizes. This layers in texture and visual interest.
Let’s walk through the process together, step by step.
After you have your embroidery design all set, it’s time to prep your machine and hoop for stitching. You will need to:
- Install embroidery unit
- Attach embroidery presser foot
- Switch to embroidery needle & thread
- Prepare embroidery hoop with fabric and stabilizer
After everything is set up, it’s time to hit that embroidery button and watch the Destiny II do it’s magic! Since we have the thread in color order, there will be minimal change needed.
–
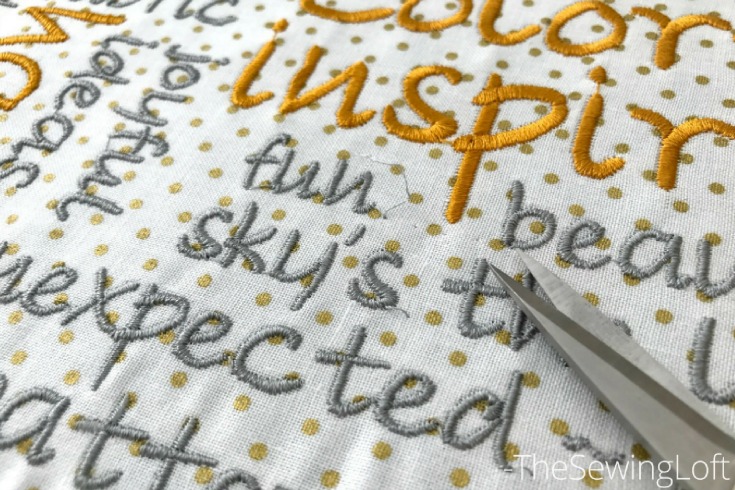
Once stitched out, you will noticed jump stitches on your subway style embroidery art. These stitches allow for the needle to stay threaded while moving to the next letter. Basically, they are “jumping” over the blank space and can be trimmed away with a small pair of scissors.
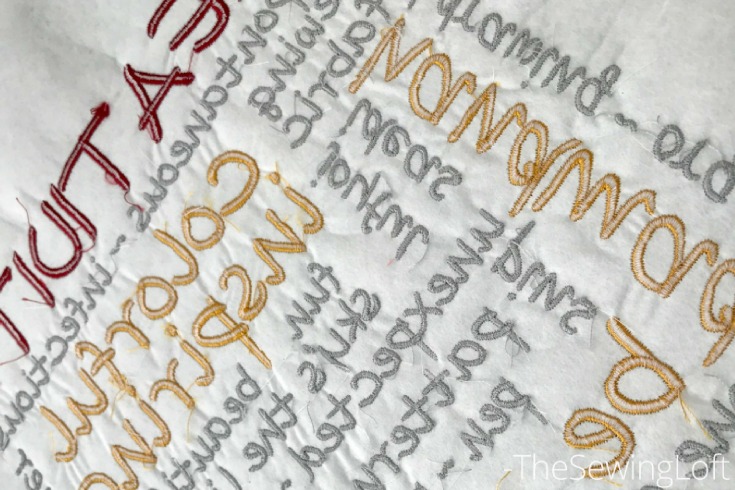
Trim away any long thread tails or nests on the back of your project and press once you are happy with the outlook.
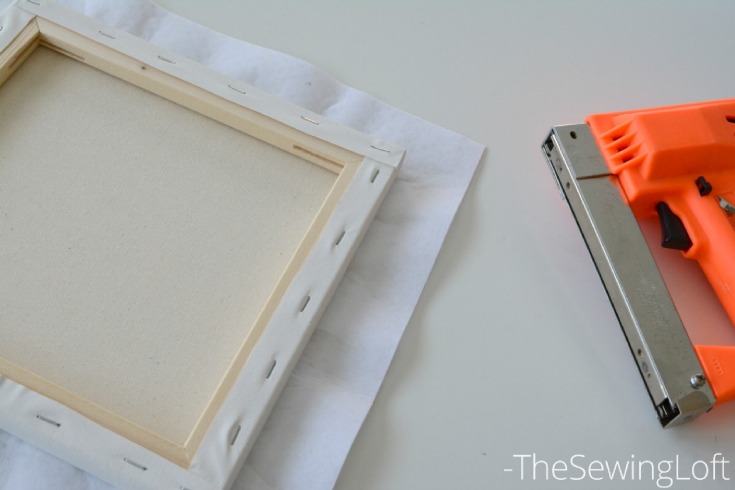
Cut fabric and stabilizer to a 13 1/2″ square. Center over the 10″ canvas and use a staple gun to secure in place.
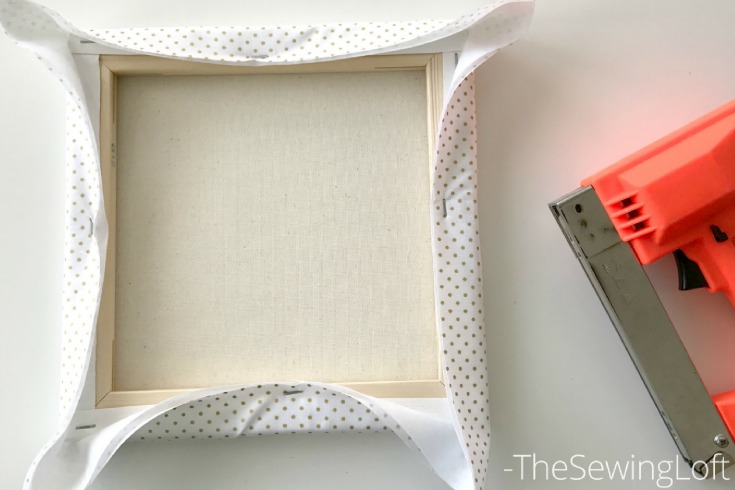
To prevent stretching, staple opposite sides and opposite sides. Then gradually work your way around and miter the corners as you would a quilt binding.
Stabilize your artwork to the canvas with additional staples as needed. Then get set, because you need to find a place to show off your handy work!
Personalized embroidery can be used in so many different applications. I’m confident that if you give it a try you will not be disappointed! Be sure to check back with me on Friday for even more tips on how to use the built in fonts on your Destiny II and visit the Baby Lock website to see all of the fun projects from each designer being featured during the Love of Sewing Challenge.
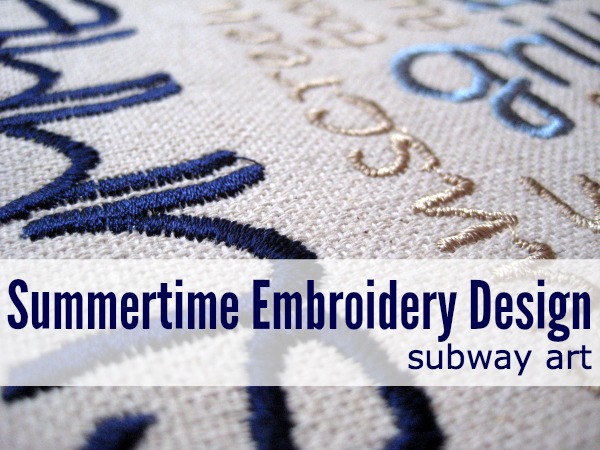
ps- here is another idea for custom subway style embroidery.
Hello! Are you new here?
Do you want to learn more about sewing? If so, be sure to sign up for our newsletter HERE and never miss a stitch! Daily Sewing Tips, Everyday Projects and Fantastic Inspiration delivered straight to your mailbox!
Bonus– free download with newsletter sign up.
Feel free to connect with me on Facebook, Pinterest, or Instagram. I look forward to getting to know you and stitching up a storm!
