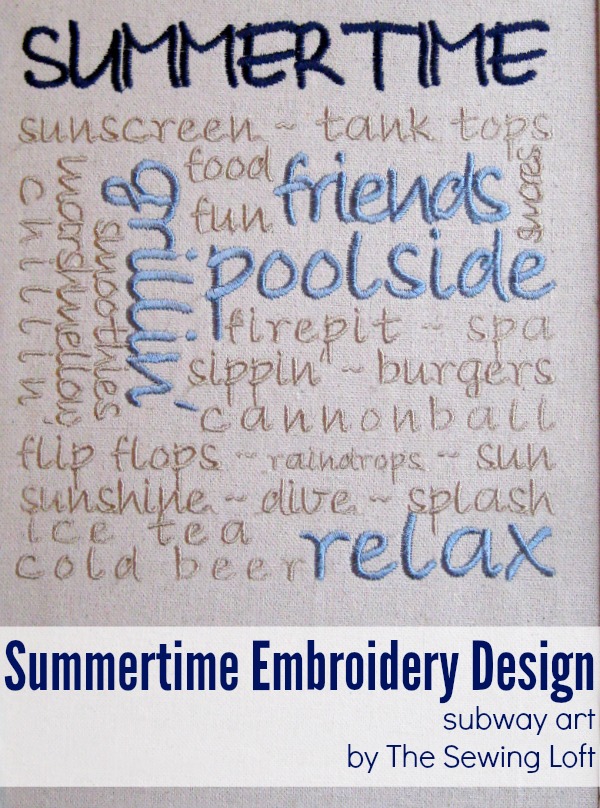
The long hot days of summer are right around the corner and I am really starting to freshen up our outdoor space with new pillows, cushions, flowers and even a rug. That’s right, this year I am really looking at my outdoor area as an extension of the family living space. That’s where this summertime embroidery design will shine!
This type of artwork is easy to create if you have an embroidery machine. (No embroidery machine? No problem! Skip to the end to print out a hand embroidery template.)
How to create the Summertime Embroidery Design
This project is for all embroidery levels.
Skill Level- 1 1/2 Buttons
Tools:
- embroidery hoop
- embroidery thread
- stabilizer
- embroidery foot/needle
- list of words
*This tutorial will be a guideline since there are many different make and model machines on the market today.
Layout Instructions:
After your machine is set up for your embroidery function, you can begin to layout your design. It is best to start with a list of words that remind you of summer. I selected a few that I wanted to stand out for more of an impact. Then it’s time to head on over to the machine and get to work!
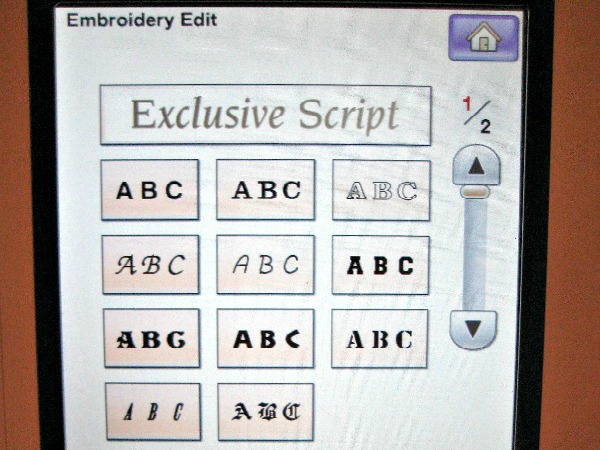
Place your machine in embroidery edit mode and select a font included in your machine.
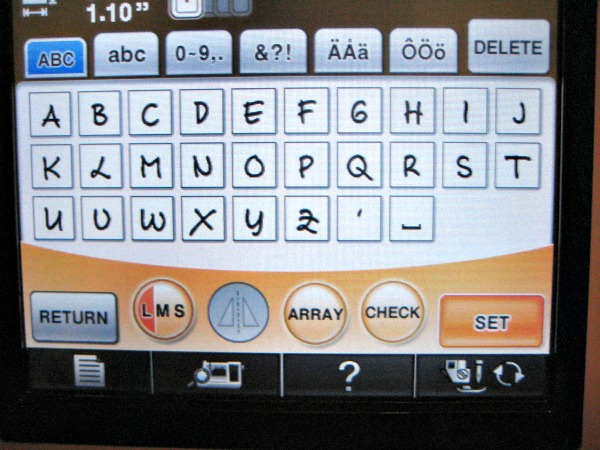
Select upper or lower case as well as font size and begin to type your words. Type the title word “SUMMERTIME” in all capitals and in the largest size that will fit your hoop.
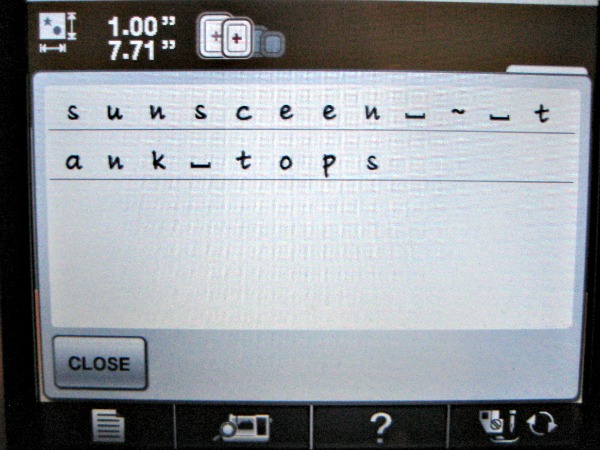
Hit the “Set” button once you are happy with your spelling. **Please, double and triple check spelling! That is what the “Check” button is for. It may become difficult to see everything as you begin to layer all of the words in. This “check” screen will be your best friend!
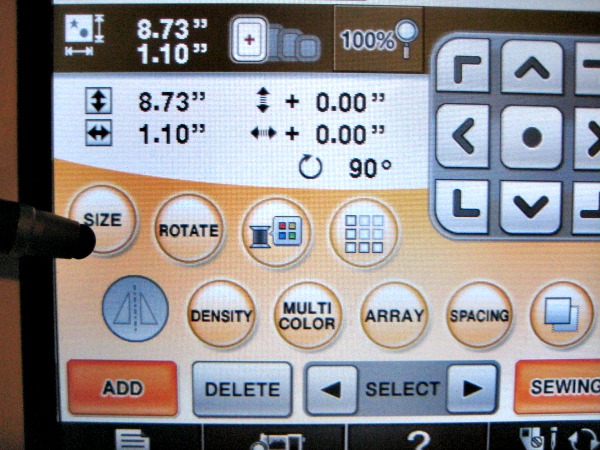
Once you have happy with each typed word, you can adjust everything under the sun with the help of these buttons.
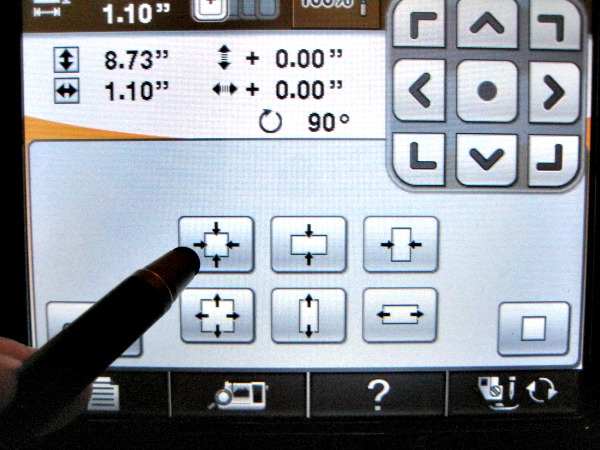
Both font and design size can be manipulated.
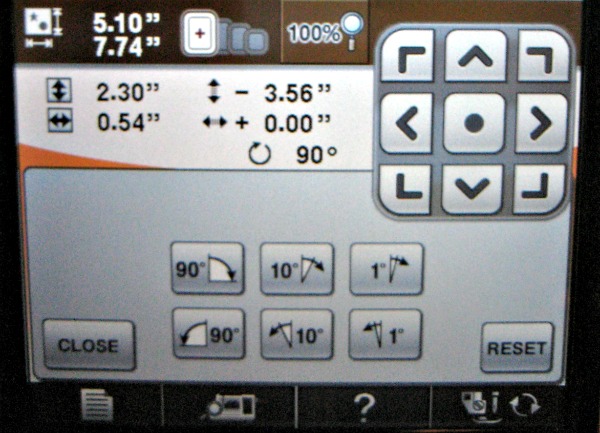
Each word can be rotated or slightly pivoted with the touch of a button.
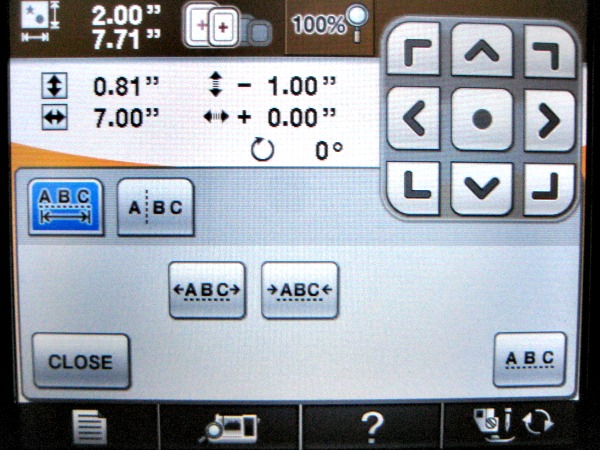
You can even shrink or elongate each word to fit a space.
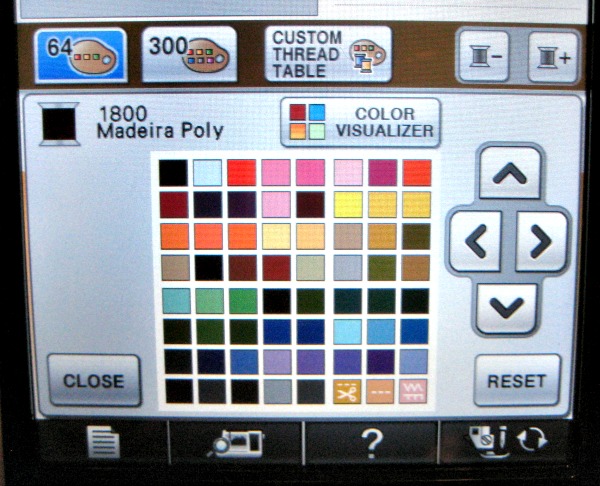
Adding a color reference will keep things easy during stitch time.
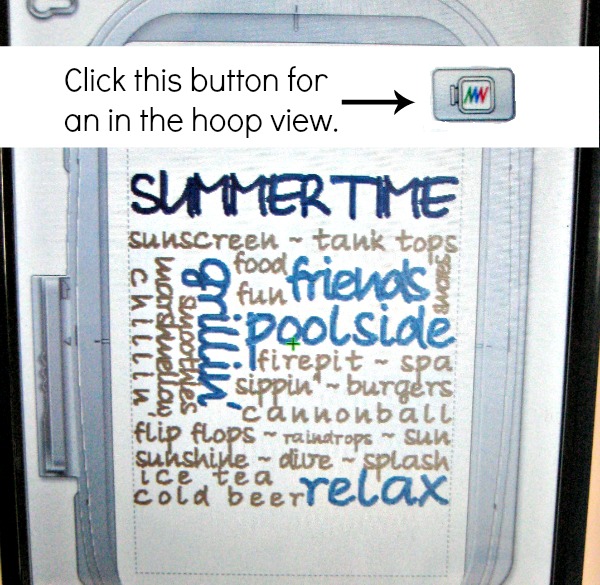
Continue to layer in the words on the summertime embroidery design until you are happy with the general outlook and size. You can always click the “Hoop View” button to see how everything is coming along.
Once you are happy with the design outlook it’s time to start stitching.
Tip: I suggest saving your embroidery design for safe keeping.
Then refer to your machine manual for basic hoop and machine set up. Be sure not to forget to add the correct stabilizer for your fabric and switch out your standard sewing needle for an embroidery one.
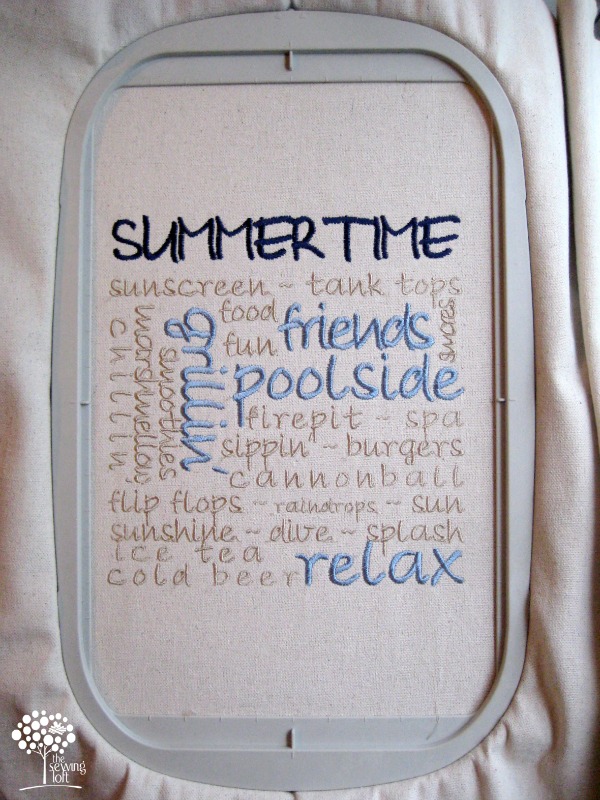
Now that my summertime embroidery design is all stitched out I need to turn this baby into something fun! I’m still thinking about what to do with it. A few ideas on the table are:
- Place in a frame and hang on wall
- Turn it into a tote bag for the pool
- Create a pillow for the deck with a blue piping to match the thread
If you can think of any others…. please share in the comments. I’d love to hear about them before I dive in!
Remember- This subway art technique can also be used with hand embroidery. For those without an embroidery machine I have created this hand embroidery template.
ps-If you are interested in exploring and learning more about embroidery be sure to leave me a comment below. I’m happy to share more embroidery tips and tricks to the line up!
Hello! Are you new to The Sewing Loft?
If so, I’m glad you stopped by and hope that something has inspired you to keep your needle moving! Don’t miss a single project and subscribe via email HERE! Bonus- free embroidery pattern with newsletter sign up. Another great way to connect with me is via Facebook, Pinterest, Twitter, Google+ or Follow my blog with Bloglovin. I’m looking forward to getting to know you and creating together!


Comments & Reviews
I have an embroidery machine but not as fancy as yours ! 🙁
I would have to program that all on the computer first.
It would be great if you could add a machine embroidery file..then I can start stitching right away without pulling my hair out first ! LOL
I completely understand but these fonts are already programed into my BabyLock machine and I am unable to offer them as a download. I’ll be sure to keep that in mind for future projects using basic fonts.
~Heather
You are so creative! I vote the tote bag!
May I ask what sewing/embroidery machine you are using?
Thanks Heather
Loved this idea – perfect for a kitchen towel at the cabin
Cheers
THANK YOU , THE TUTORIAL IT WAS GREAT. I HAVE A BABYLOCK ALSO, SO IT WAS VERY EASY FOR ME TO FOLLOW..
.
So glad it was helpful Joan!
I LOVE that you are doing an embroidery tutorial and would love, love, love to have more. I have never used my machines or software to their best advantage!! Thank you!
Wonderful! I love using my machine and am happy to share more tips and tricks.
~Heather
What embroidery machine do u use? Love this!
Hello Laura,
I am stitching on a BabyLock Ellisimo. She sure is pretty and keeps me smiling!
~Heather
I’m anxious to know which machine do you use?
Hello Lisa,
I use my BabyLock Ellisimo for embroidery work. It is perfect for both standard stitching and embroidery.
~Heather
I just found your blog and fb page. I am excited to see some embroidery help for the Elissimo as that is my machine also and I know that I am just beginning to learn all it can do.
Fantastic Eileen! Welcome to our sewing circle. I love my Ellisimo and felt the same way when I got her. Heck, who am I kidding…. I learn something new all the time.
Feel free to drop a note on FB if you need help with something. The community is always here to help!
~Heather
I think subway art would look great on burlap and framed! Love it!
Thank you for your tutorial! I have a viking, so not sure if it will work, but I am willing to give it a try on my machine…
I love this post! 🙂 I want to learn to make just this kind of design on my machine but have not been willing to try as yet. Thanks for giving me a boost. I would really love to see more of this on your blog. Have been following you daily for quite some time now and check in every single day for good ideas. Keep up the good work and teach me more about making my own machine embroidery setups… Thank you!
thanks for the wonderful idea! I can see a really neat deck pillow. Your instructions are so clear! Much appreciated.
That’s exactly what I made with mine Marit! I love the way it turned out and it has become a real conversation starter with friends.
~Heather
Great idea . I have an Ellegante 3 . The Destiny is my next dream.
What a great idea about Embroidery.