This post contains affiliate links to products that I own, use and love.
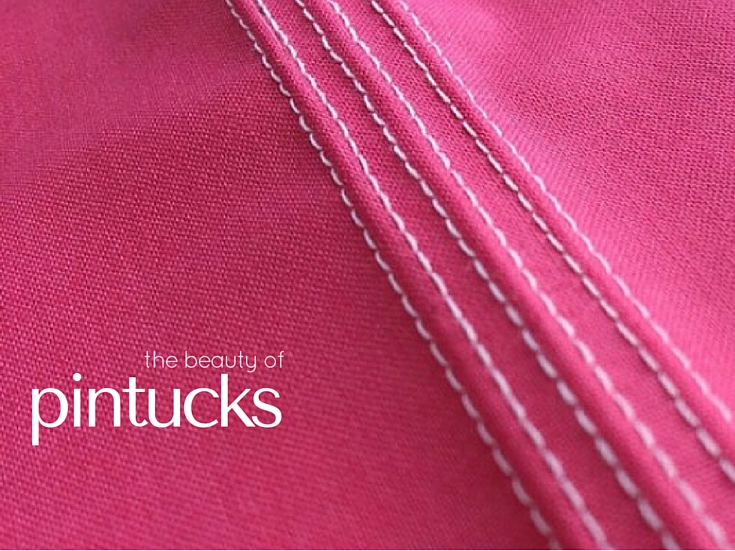
I just love how there are so many special sewing accessories on the market today that help us create fantastic projects with ease. The pintuck presser foot is one of those items.
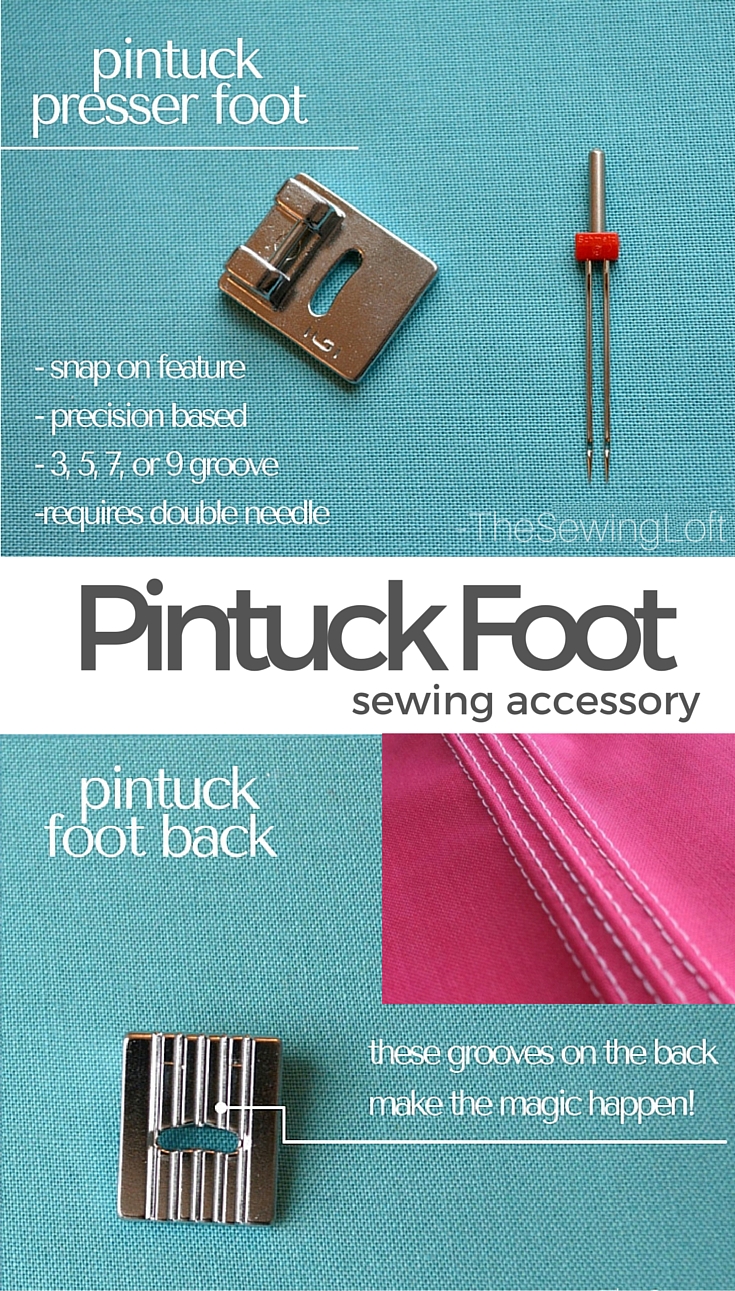
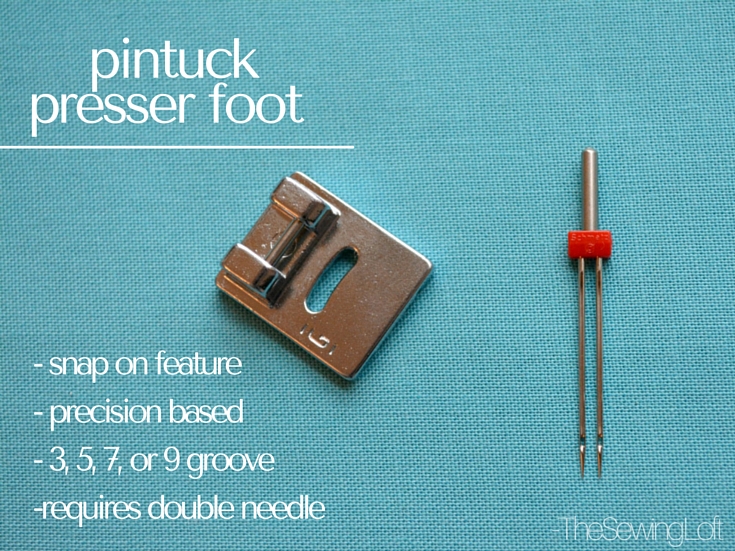
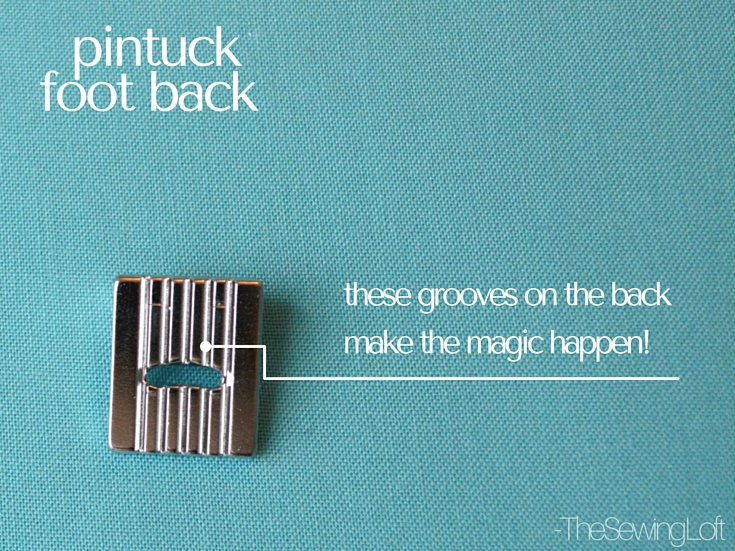
This speciality presser foot is designed to allow your machine to create texture and dimension with one pass under the needle. The pintuck foot is available in different sizes, most commonly: 3, 5, 7 and 9 groove. These grooves are what make the magic to happen and the number of grooves will control the thickness of fabric allowed to pass underneath.
General rule of thumb: The lower the groove number, the thicker the fabric and inversely, higher grooved feet work best with sheer to lighter weight fabrics. These grooves do all of the heavy lifting when it comes to keeping your pintucks straight and evenly spaced. This foot is all about precision and the results are beautiful!
Pintuck Presser Foot
Using a twin needle is mission critical with this foot, without it there would be no “tuck”. Let’s take a look at the pintuck presser foot in action.
Examples of items you might sew with a specialty foot include:
- garments
- bags
- pillows
How to use the pintuck presser foot:
- Draw a line with a washable marker, or pull a thread to determine pintuck placement.
- Line the center of the presser foot over the line and sew the first pintuck in place.
- Shift the pintuck to the left under an off center groove and sew the length of the first pintuck. The first tuck will act as a guide, keeping your fabric straight and evenly spaced.
- Repeat the process until you have stitched the desired amount of pintucks.
Heather’s Helpful Hints:
– Pintucks look their best when stitched out in odd numbers. Think 3, 5 and 7. Anything over 9 in a row and the eye can not clearly determine from odd or even.
– Pintucks can be stitched in straight lines or in gentle curves.
– Let the foot do all the work guiding the fabric along the previous pintuck.
Pintuck Presser Foot Details-
- Size: Can be purchased in a 5 groove or a 9 groove option.
- How to attach: The pintuck foot comes as a snap on unit and is applied directly to the presser foot holder on your machine.
- Where to buy: This specialty presser foot can be purchased at your local quilt shop or here on line.
- Additional Supplies: A twin needle is needed to create the pintuck. You can find them in your local quilt shop or here on line.
- Free Video Class: If you want to learn how to use your pintuck foot, be sure to check out my free class on Sew At Home with BabyLock.
What will you make with your pintuck presser foot? Leave me a note in the comments below.
Hello! Are you new here?
Do you want to learn more about sewing? If so, be sure to sign up for our newsletter HERE and never miss a stitch! Daily Sewing Tips, Everyday Projects and Fantastic Inspiration delivered straight to your mailbox!
Bonus– free download with newsletter sign up.
Feel free to connect with me on Facebook, Pinterest, or Instagram. I look forward to getting to know you and stitching up a storm!


Comments & Reviews
Hi Heather, Thank you for this instructional video. I just have a few questions. How do you thread it, do you need 2 spools & what about the bobbin?
Thank you for your help.
Hello Genevieve,
I use one spool of thread and two bobbins. One bobbin for the under stitching and one for to act as my second spool. For the bobbin acting as my second spool, I attach it to the bobbin winder and thread as I normally would. This is what works for my machine however, it would be best to check with your manual.
~Heather