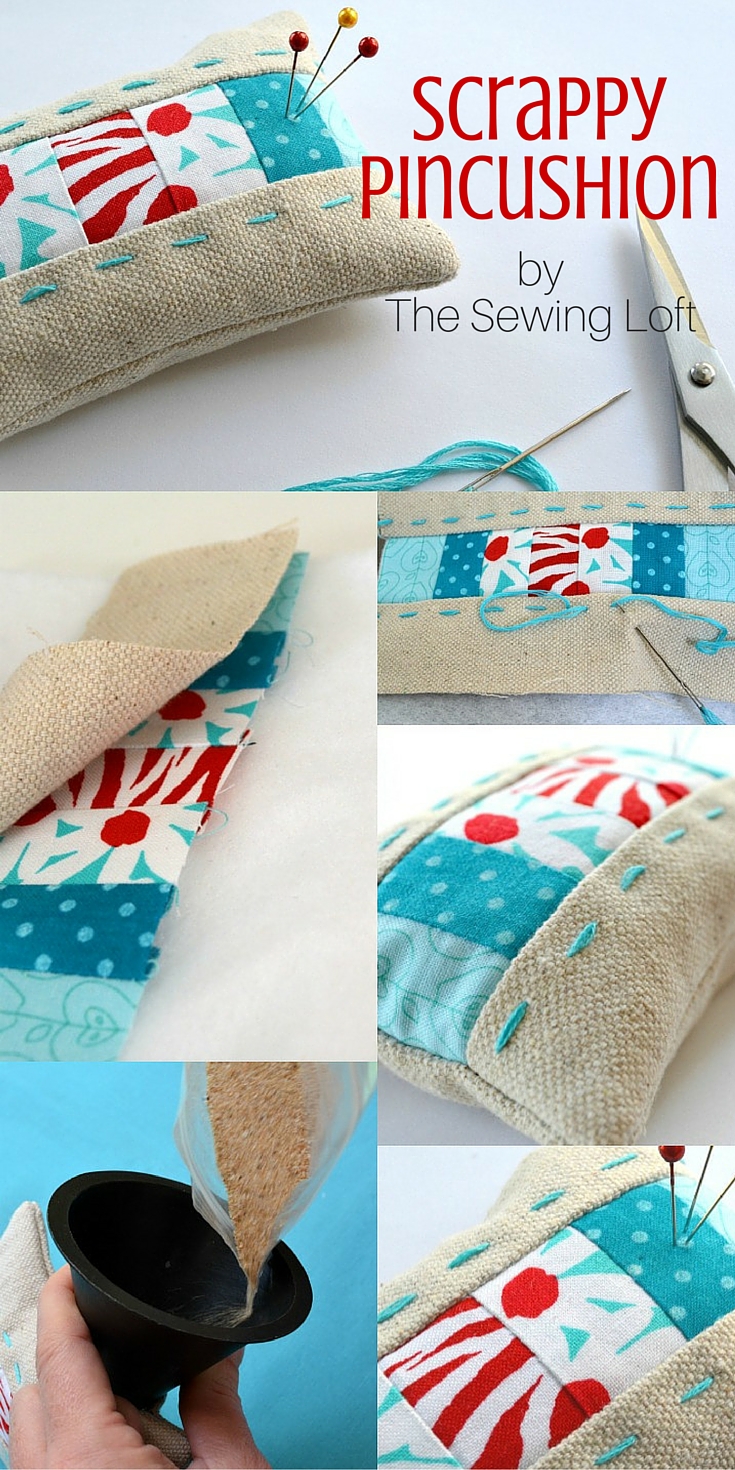
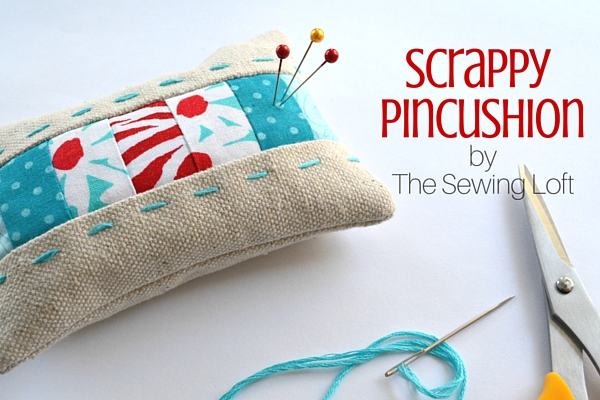
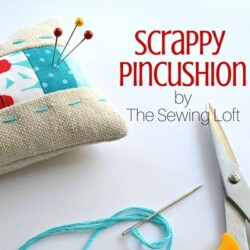
It’s no secret that I covet every last inch of my fabric stash and save all my scraps but what’s a girl to do with all those small bits?? Well, I like to transform them into something useable and today’s project is perfect…. meet the scrappy pincushion.
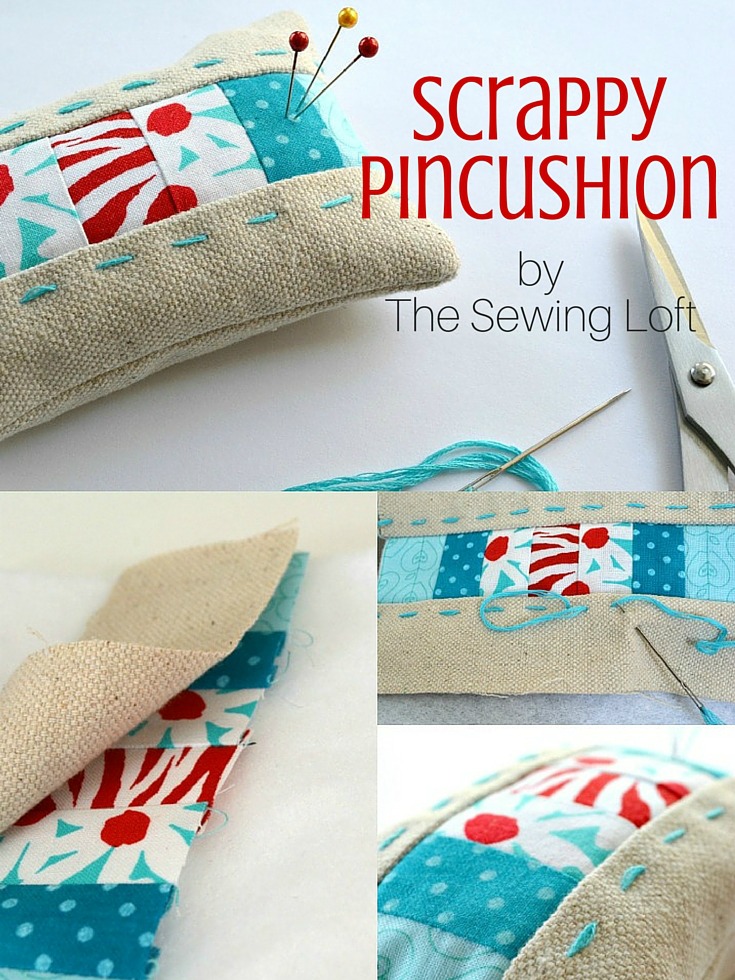
Since the construction is extremely simple, it stitches together fast, making it the perfect quick project. I’ve made a few to tuck inside my latest swap packages. Fingers crossed that my partners like them!
Scrappy Pincushion
This project is for all levels.
Skill Level- 1 Button

Materials:
- Assorted scraps
- 4 1/4” x 5 3/4” size batting
- Sand **I use reptile sand**
- Embroidery floss is optional
- Basic sewing tools
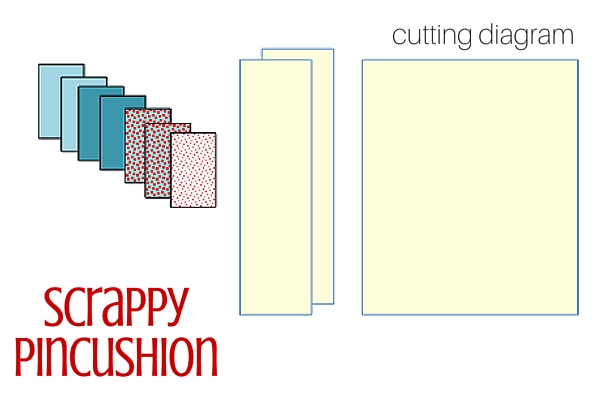
Cutting:
- (7) 1 1/4” x 1 3/4” of pieces coordinating fabrics
- (2) 5 3/4” x 1 3/4”
- (1) 5 3/4” x 4 1/4”
**Use 1/4” seam allowance unless otherwise indicated.
Instructions:
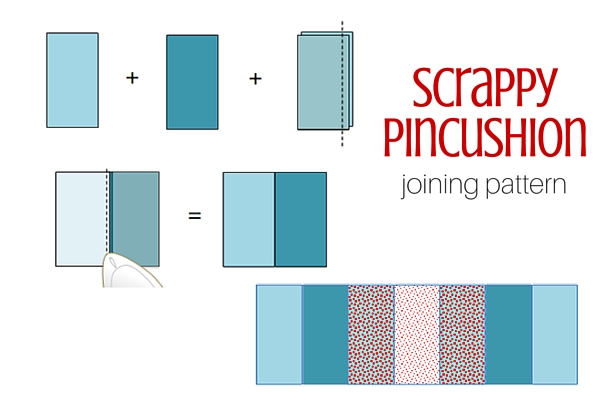
- Create a pattern with assorted fabric scrap pieces. Pin fabric RIGHT sides together, stitch along long side, press.
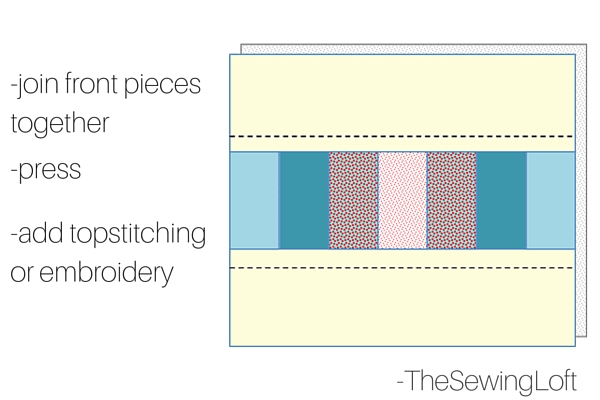
- Center the piece RIGHT side up on the batting. Position 5 3/4” fabric stripe RIGHT sides together, stitch along long side; press, turn, and topstitch. Repeat on the other side. Add topstitching or embroidery if desired.
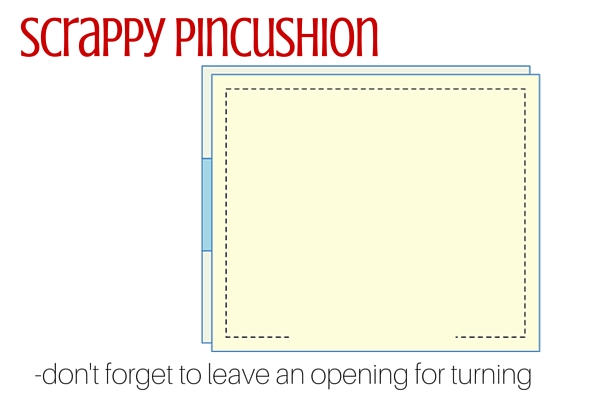
- Pin fabric RIGHT sides together; stitch together leaving a small opening for turning. Clip corners.
- Turn RIGHT side out; press. Press under the open edge to set the crease.
- Fill with your favorite filling; slipstitch opening closed.

Get the ad-free Scrappy Pincushion PDF
Click below to download the full printable PDF and print at home!
Now, this little scrappy pincushion was tucked into my SWAP partner’s package s0 I need to make another one just for me!

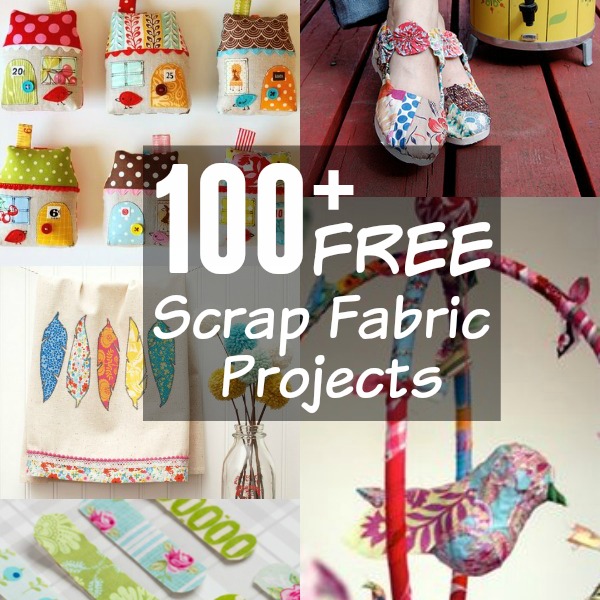
Still looking for more scrap projects? Be sure to check out this awesome line-up or join the conversation in the Scrappy Girls Club group.


Comments & Reviews
This is sweet! Would it be ok if I shared a photo of your pincushion in my newsletter? I’d link back here to the tutorial of course. Thanks for considering!
Thank you. You are welcome to share it and I would love to see a few pictures of your scrappy pincushion.
~Heather
How does the sand stay in place?
Hello Christine,
I used small stitches to close my pincushion but you can always create a separate insert filled with sand to slip inside your pincushion.
~Heather
What is the whitish beige material? Is it canvas or burlap? It looks nice and sturdy.
Thanks so much for your note Donna. I used a piece of a canvas drop cloth to make my pincushion. I really like the way it turned out.
-Heather