Some occasions call for a simple gift like a bottle of wine but who wants to just show up and hand over that bottle unwrapped, not me! That’s why I love this easy-to-make wine bottle bag.
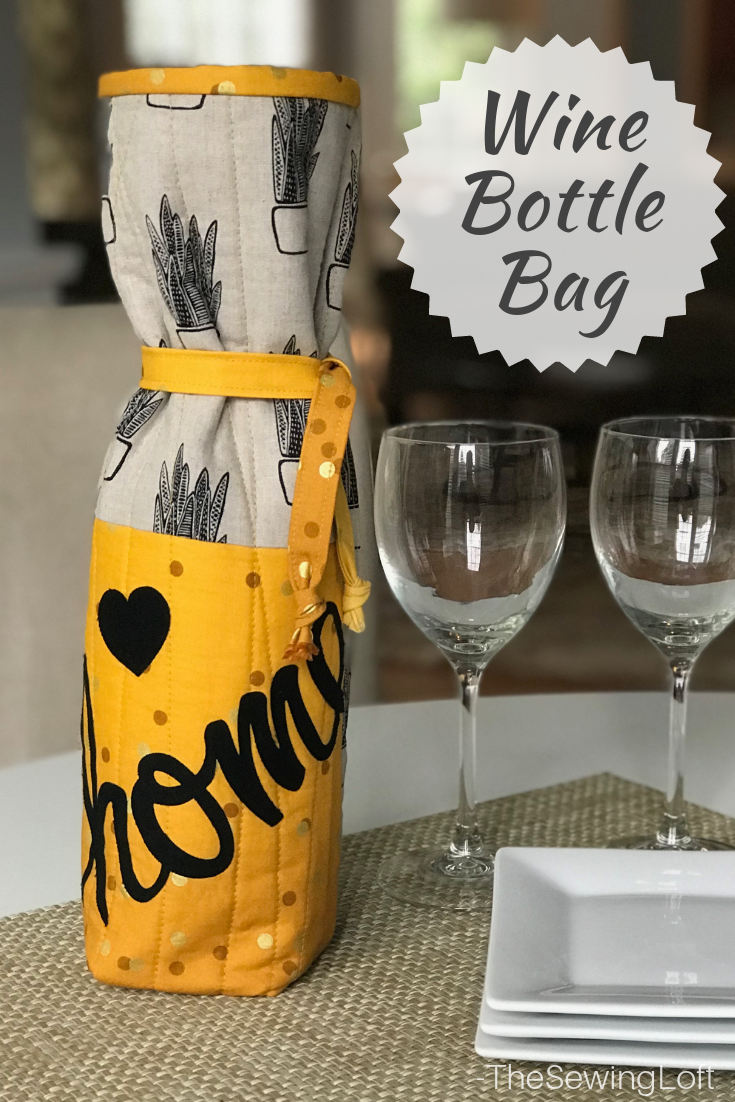
A simple wine gift bag is the perfect wrapping for any occasion. Think housewarming gift, wedding gift, or even a dinner party.
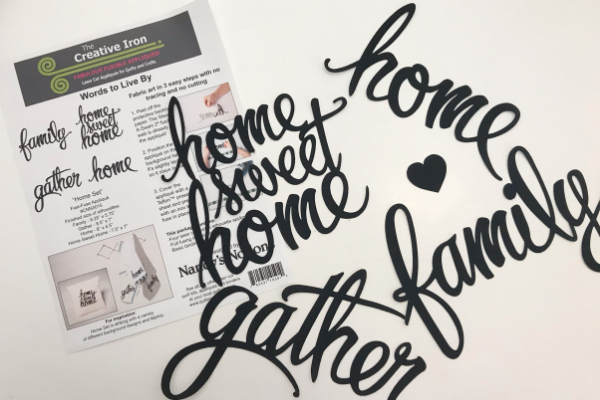
Today, I’m teaming up with my friends at Nancy’s Notions to give my wine bottle bag that extra special touch. They have the most amazing sewing accessories and products in their shop and they sent me a few of their laser cut fusible appliques to try out. I love how quickly they can personalize my gift and give it that professional look.
Wine Bottle Bag DIY
- 1 fat quarter main fabric
- 10″ square contrast fabric
- 1/4 yard lining
- fusible fleece
- 20″ ribbon 3/4″ – 1″ wide
- 20″ of contrast binding
- Words to Live By appliques
- basic sewing tools
Cutting Instructions:
main fabric
- 1 rectangle 7 1/2″ x 8″
- 1 rectangle 7 1/2″ x 15 1/2″
contrast
- 1 rectangle 7 1/2″ x 8 1/2″
lining/fusible fleece
- 1 rectangle 7 1/2″ x 31″ each
Sewing Instructions:
Sewing your wine bottle bag together is easy. With right sides together, stitch the 7 1/2″ x 8″ rectangle of main fabric and 7 1/2″ x 8 1/2″ rectangle of contrast fabric together. Press seam allowance towards contrast.
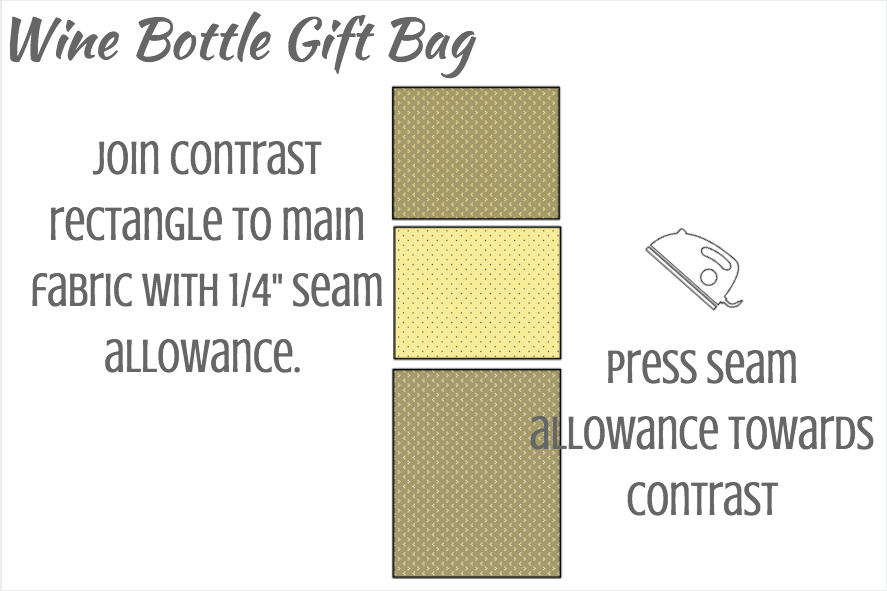
On opposite side of contrast, join 7 1/2″ x 15 1/2″ rectangle of main fabric with right sides together. Press seam allowance towards contrast. This will create a 7 1/2″ x 31″ unit. Press seam allowance towards contrast.
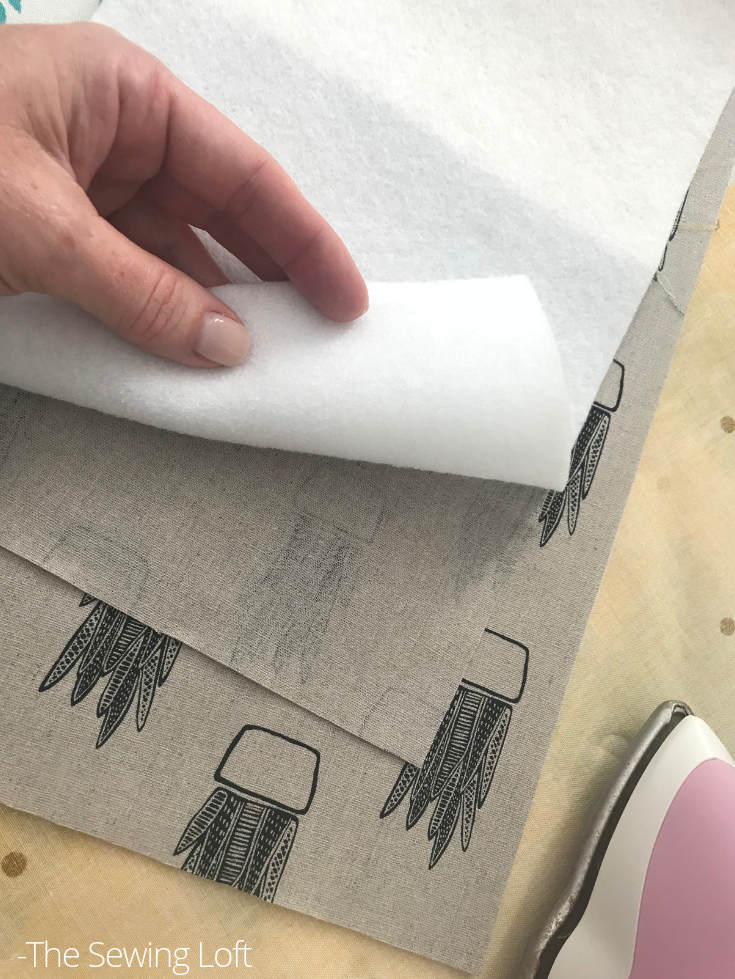
Place fabric right side down and following the manufacturers instructions, fuse fleece in place. Layer with lining to create a sandwich, add topstitching/quilting as desired. I kept my stitching simple and just free wheeled it from one short end to the other. I layered in gentle curves and even overlapped my stitches.
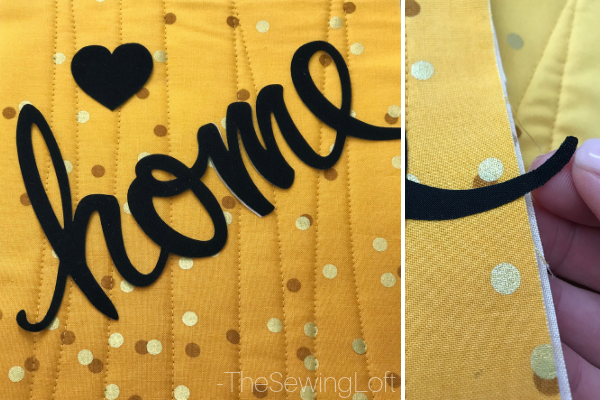
Next, I positioned and fused the applique designs in place following the instructions on package. *Note- you can see that mine was angled and part of the “e” was hanging off the side. To prevent any adhesive from getting on my iron, I used a pressing cloth.
Really that pressing cloth is a life saver when it comes to applique work. If you do happen to get adhesive on your iron don’t fret! Instead, see how easy it can be removed in this article here.
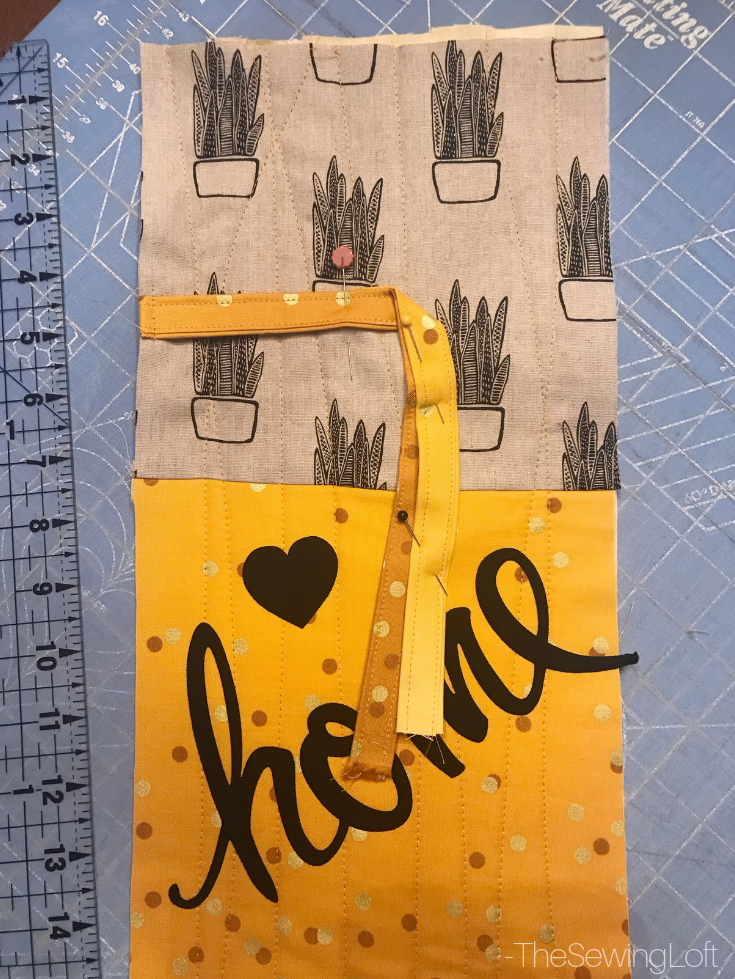
To wrap up my bottle nice and neat, I folded the length of ribbon in half and basted it in place 4 1/2″ below top edge on the long side of rectangle. I suggest pinning the ribbon in place at the center to help prevent catching it in the side seam.
Matching right sides together, fold the length of the rectangle and sew with a 1/2” seam allowance. Be careful not to catch ribbon on opposite side seam.
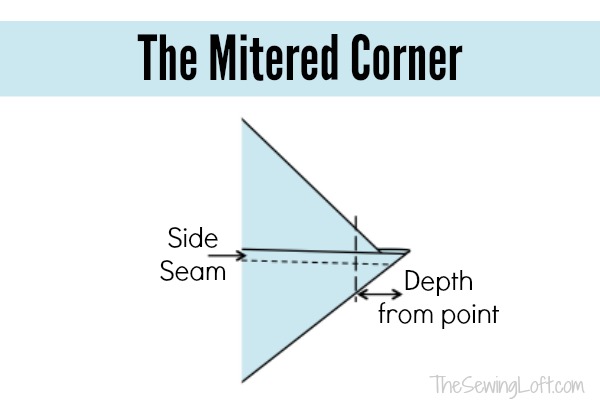
To give the bag a boxy shape I made mitered corners at the bottom. To create: I pinched each corner together and aligned the side seam to the bottom seam. Using a ruler and fabric marking tool, draw a perpendicular line 1 1/2″ from the corner. Straight stitch on the drawn line. Trim away corner fabric.
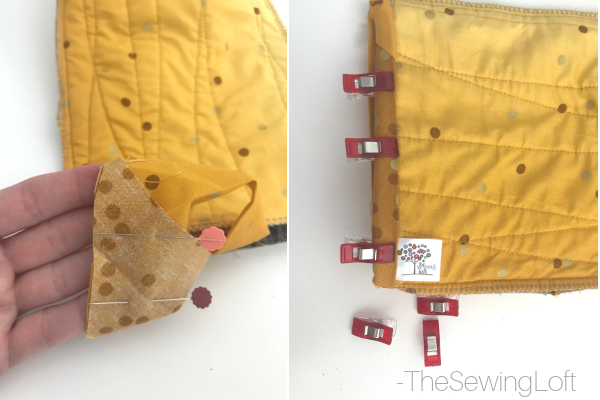
Clean finish the top opening with binding and turn right side out. Then you are all set to grab your favorite bottle of bubbly and slip it inside. Let’s take a look at how mine turned out.
Feel free to pop over to Nancy’s Notions, grab all of your supplies, and print off a copy of the Wine Bottle Bag pattern here.
Wine Bottle Bag Photo Finish
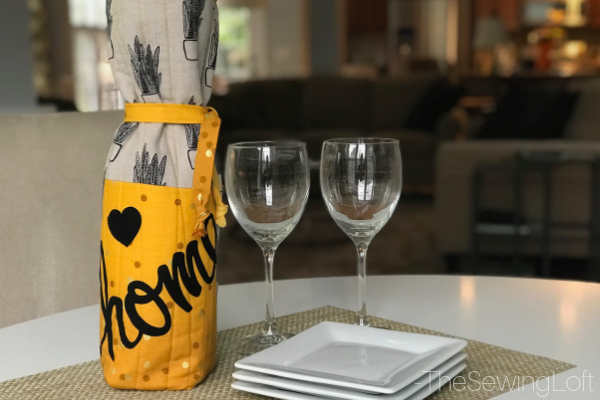
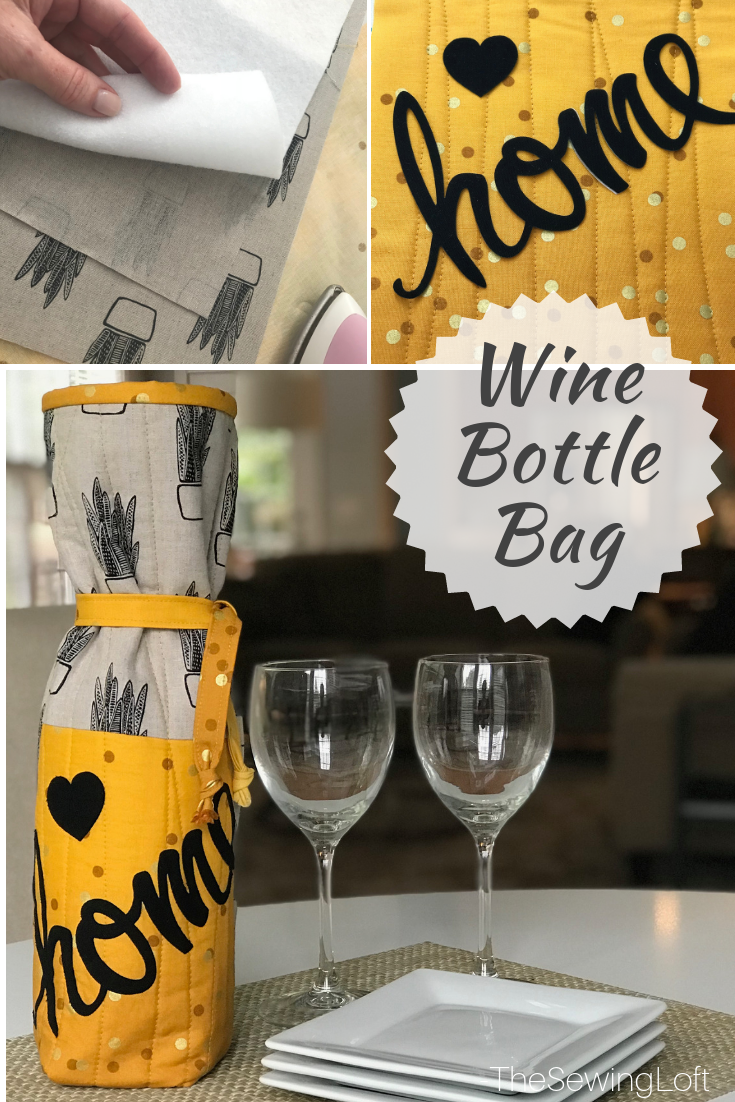
No matter what the occasion, there is nothing sweeter than giving a gift of handmade.



Comments & Reviews
I love all your little bottle bags, thanks for sharing! Thanks heather.
Hey Heather it looks like the link to Nancy’s Notions for the pattern is no longer working? Do you have another link or perhaps a pdf of this wine bag?
Thank you!
Hello Danielle,
Thank you for letting me know. Sadly, when the company was sold, the website was overhauled and it looks like this project did not make the cut. I will work with the team to see if I can release the pattern directly.
-Heather