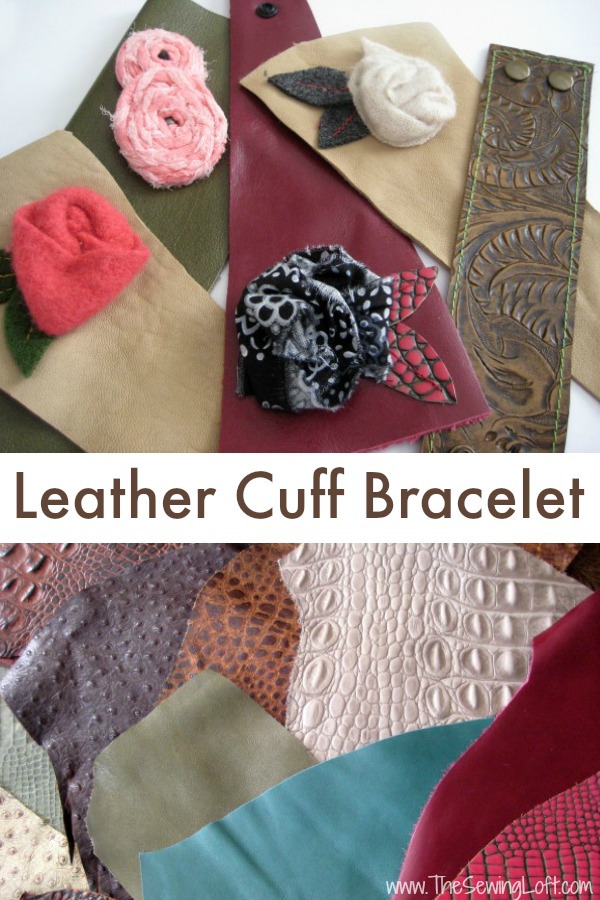
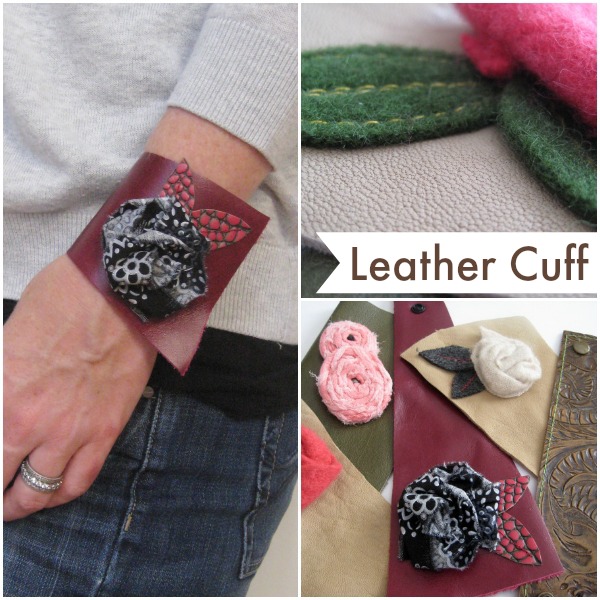
It is no secret that I love me a good leather cuff bracelet! I wear them all the time to the point of excess. Anyway, since we have been chatting about some simple leather sewing techniques, I thought it would be fun to share an easy tutorial.
Leather Cuff Bracelet
This project is for all levels.
Skill Level- 1 Button
Supplies:
- leather scraps
- scrap fabric
- button or snap
Tools:
- basic sewing supplies
- teflon presser foot
- leather sewing needles
- sewing machine
Basic Instructions:
- Measure your wrist for the desired length of cuff. My wrist measures 6″ circumference but I like to have over lap for closure and extension detail. You can cut your own shape or use my template as a guide.
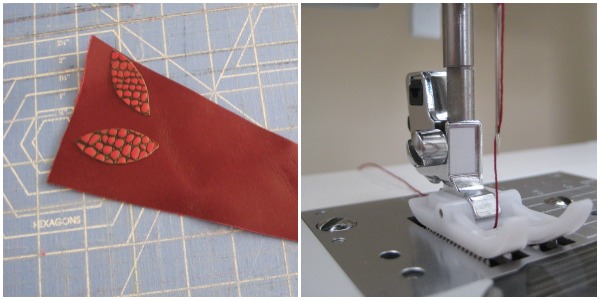
- Trace template on the wrong side of leather. You can use a pen or sharpie marker, really whatever you have on hand is fine. Cut out template and flower petals. No fancy tools required here just a pair of scissors or your rotary cutter.
- Switch your everyday presser foot out with your teflon foot. If you do not have a teflon foot, put a piece of scotch tape to the bottom of your standard foot and carve out the needle area. This will help your foot glide over the leather and not stick.
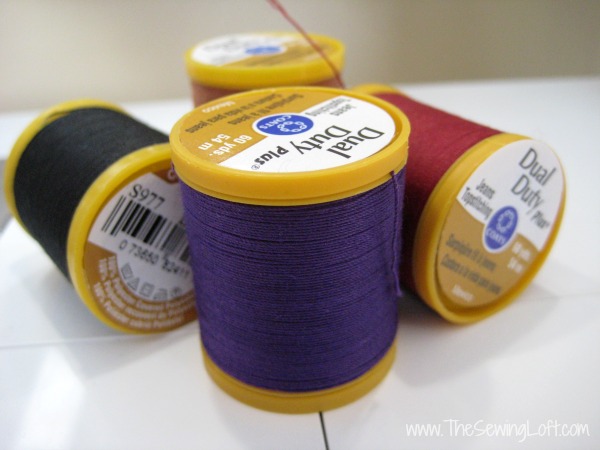
*Tip: I like to use a heavier weight thread when sewing on leather. For this project I used Coats & Clark Jeans Topstitching weight.
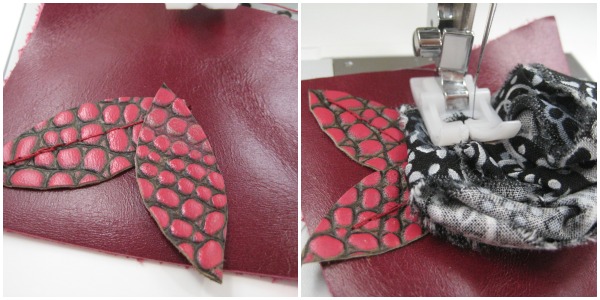
- Fabric flowers come in all different shapes and sizes. I have a whole Pinterest board dedicated to them. Personally, I’m a big fan of the flip, fold and twist method but any will work. Since leather is not forgiving, I created and tacked my flower together before attaching it to my cuff.
- Position leaves in place and stitch as desired. Then layer the flower in place and tack with your button attach stitch.
- Mark placement for your closure and attach. Some of my cuffs have snap closures while others use buttons. I just machine stitch the button in place and cut a buttonhole with my scissors. Super easy!
This leather cuff bracelet is the perfect project for anyone interested in sewing on leather. It does not require a large investment and the single layer will ease you into the process. You will get a better understanding of working with leather and your machine but don’t stop here. Just think of all the possibilities this material provides. You can add leather bits to small zipper pouches, an oversized handbag, mini skirt or heck go crazy and stitch up a new leather jacket like my friend Sabra did. (loving her color choice!)
My biggest suggestion for this cuff project is to branch out and step outside your comfort zone with materials. I love using felted sweaters, melton wool and frayed fabrics. I think the textures compliment the leather. Also, consider embracing the edge of the leather hide. These irregular shapes can provide an interesting and unexpected detail to your cuff. The key is to experiment.
A special Thank You to the Leather Hide Store for sharing a variety of leather pieces to work with and the giveaway hide.
Hello! Are you new to The Sewing Loft?
If so, I’m glad you stopped by and hope that something has inspired you to keep your needle moving! Don’t miss a single project and subscribe via email HERE! Bonus- free download with newsletter sign up. Another great way to connect with me is via Facebook, Pinterest, Twitter, Google+ or Follow my blog with Bloglovin. I’m looking forward to getting to know you and creating together!


Comments & Reviews
I love this!!! Great idea!
Thanks Jeanna, I love making them in all different colors.
~Heather
Great project!
Great tutorial. What thickness leather is best ?
I look for something that is soft to the touch because it will be next to my skin.
~Heather
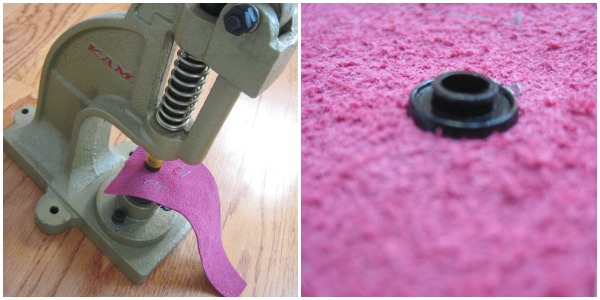
What type of machine is that in the picture for punching?
Thank you for your note. That is a Kamm Hand Press. It is used for attaching snaps & grommets to garments, bags and more.
~Heather