In book arts we make “mock-ups” which help us work out all the details and unforeseen problems in our projects. So why the heck wouldn’t I make a practice quilt? I’m bound to completely screw it up and learn a ton as I tackle it so this idea actually makes a lot of sense.
*Gulp* Does this mean TJ’s big goal for the year just doubled?
Not necessarily. There’s a built-in sort of a bail-out plan attached with this idea… if everything starts sliding sideways and things go haywire, the practice quilt can become the quilt. I only proclaimed that I’d make one. So now I am refining that plan to complete a quilt which may or may not include a practice quilt. I predict one of three outcomes:
1) This first attempt may never be completed because it’s too hard, or I get half way through and realize I don’t have the skills or patience to complete what I started. My lesson will be learned and I will make changes to my thought process before starting again. I will likely be whiny and dramatic about this for a while.
or
2) This first attempt will get done, but it may be a way harder project than I realize and I could be sewing right up until the end of the year. I will have made a quilt though, and angels up on high will sing. Inside I will be humbled at how much work it is and mentally lecture myself about things like reasonable expectations.
or
3) This first attempt will get completed without too much time invested. I will learn and revise my plan as I start the second one. I will feel like such hot sh*t if this happens, my head and ego may swell uncontrollably and you guys may not be able to tolerate me anymore.
So let’s get on with it!
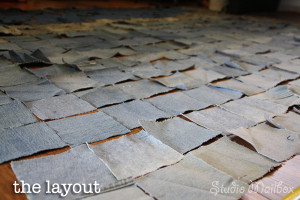
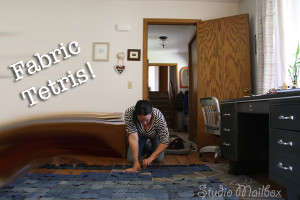
Since I already have a heaping pile of pre-cut squares, I’m starting there. I regret that they are a mere 4″ but that’s what you get when you start a project back when you’re 12. This is what’s here and I’ve got a lot of them. As I began laying them out I discovered I had enough for a 6’x6′ blanket. I went and researched sizes for Twin, Full, Queen but then figured I was making it way too hard. I highly doubt this thing is going to be worthy of a bed covering. We will be lucky if it’s not a jumbo knotted blob of confusion, so let’s not get ahead of ourselves and assume this thing is going to be able to doing something as fancy as lay flat.


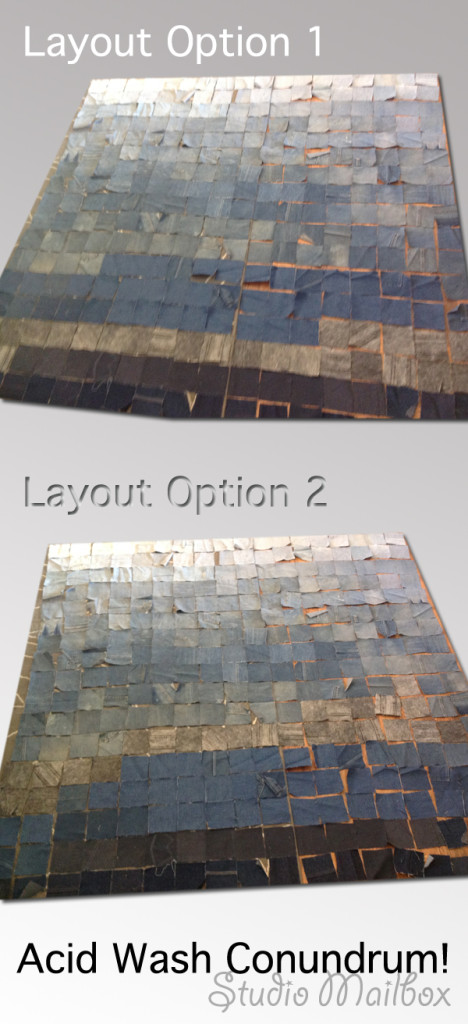
Then I went and stole a bunch of candy out of my son’s Easter basket while sliding the screen on my iPad back and forth between the two photos deciding which way I liked it better. After about a pound of jelly beans I determined that it wasn’t neurosurgery and I would leave it how it was.
Then I made paper tags numbering the rows and attached them to the first square in each row. I methodically picked up each square in every row, making orderly piles. I did this from left-to-right instead of from top-to-bottom. I figure our brains automatically read pages this way and it’s probably the method that will prevent less neurotransmitters from smoking in my brain later when I attempt to reassemble this.
I’m hoping that by next month I will be able to report on actually starting to sew this baby together! Wish me luck, I need it. Are any of you sewing along? Let’s do this thing! What do you guys think of my layout? When I played with these photos getting them in this post it occurred to me that the acid wash could go way up by the light blues. Oh the agony of decision!
Until June, keep on stitching…


Comments & Reviews
When you sew your strips together, be sure to begin from opposite ends! Yes, I’m certain you will get this going and have so much fun when you start that the next post will show the finished quilt top!!!
Thank you Wendy! I am not quite sure what you mean about the strips. I have to do some research before I start… and I almost choked when you wrote the words “finished quilt top!” You guys have so much faith in me. I love it.
I make quilts out of old jeans every year and donate to a charity around Christmas time. I usually start in the middle with a four or nine patch and work my way out using up different shades as I go. I almost never use grey or black. using only blues.
Kaye that’s awesome that you donate your hard work. I love the idea of working those colors from the middle outward. Kind of like a log cabin effect. Thanks so much for taking the time to comment!
I like option #2 best….
Thanks Linda, #2 is what I stuck with. I’m glad there haven’t been a slew of comments saying they like #1! WHEW. We win.
Wow. It’s yummy. I like 2 better also. This is going to be good.
I like #2 best, also. It seems more balanced somehow.
As someone who is about to embark on her 1st “real” quilt making adventure, too, I feel your pain/anxiety/excitement and need for large amts of candy…and, in my case, a few industrial sized bags of Cheetos…ooohh and maybe Doritos, too!
Carolyn! You can do it. We’re in this together… junk food for all, and all for one. Thanks for taking the time to comment, it means so much!
I too have recently been attempting a quilt top! I spent ages agonising over which colours should go where, & in the end, like you, decided it didn’t matter too much, especially as my head was spinning!! I found it easier to lay out my squares on top of a spare bed, that way you can leave it for a day or two before you decide on your final layout. Good luck with your project! I have been following youtube tutorials for tips & techniques.
Hi Lynn, good for you! I love the idea of using a spare bed as a temporary layout space. Clever! Thanks for chiming in…