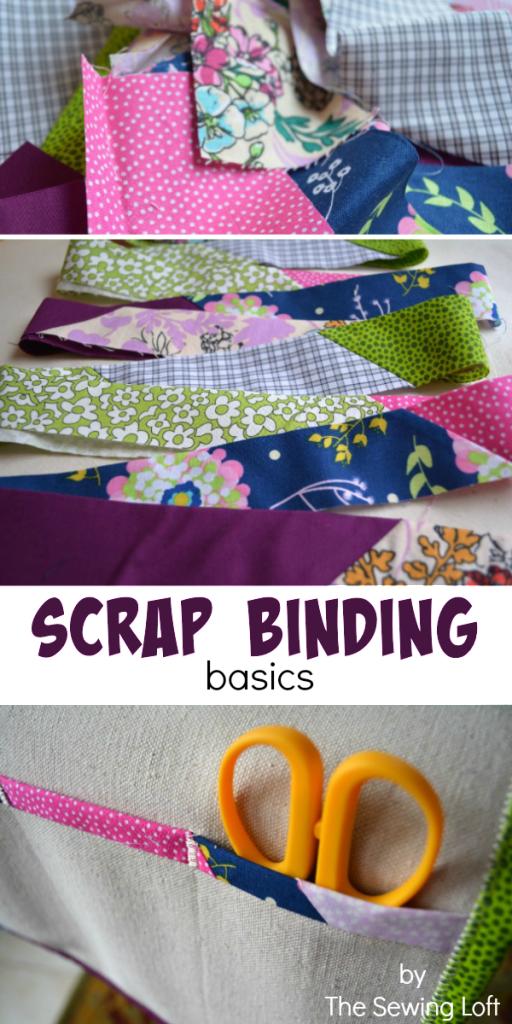
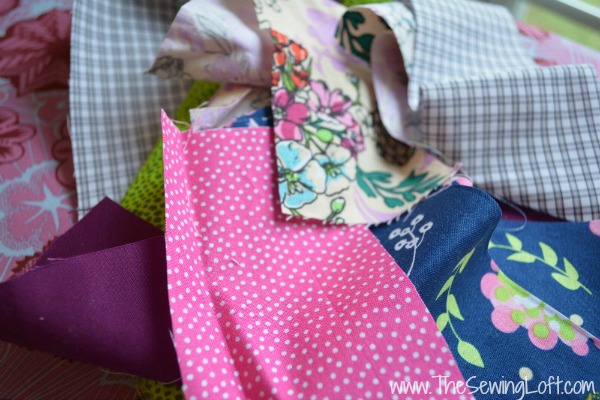
When I have extra fabric pieces that are not quite large enough for a full project, I toss them into the scrap basket for another day. Well, today is that day! I’m going to turn most of them into scrap binding. This binding can be used for many things from a quilt, mug rug to piping.
For me, I love the way the different patterns come together and play off each other.
How to Create Scrap Binding
This project is for all levels.
Skill Level- 1 Button
Supplies:
- fabric scraps
Tools:
- quilters ruler
- rotary cutter/self-healing mat
- sewing machine
- iron
Basic Instructions:
- To get things started, I need to press my scraps.
- Then it’s time to start cutting. I like create my binding into uniform 3″ wide strips. This makes things easy to remember.
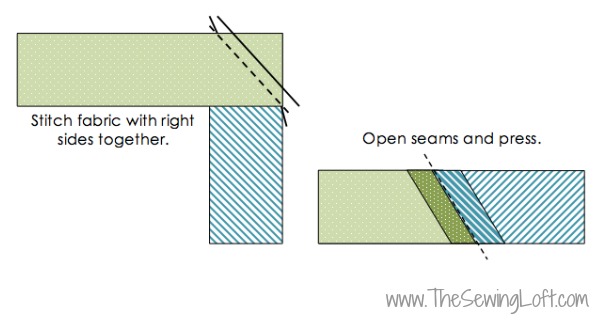
- Once all your strips are cut it’s time to head to the machine. Position the end of one strip on top of the end of another, putting them at a 90-degree angle from one another. Sew a diagonal line at a 45-degree angle, and trim the corner, like so:
-
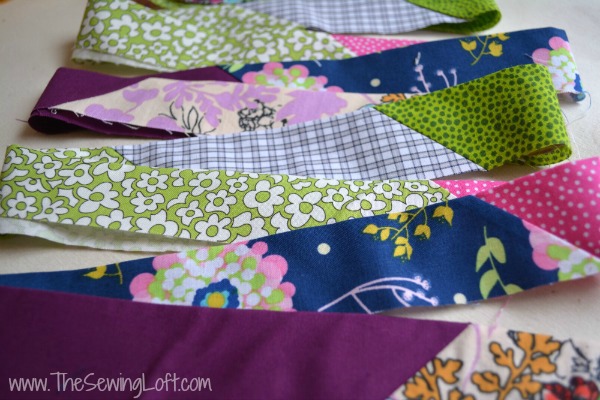
Open your seams and press. Repeat until you enough binding to complete your project. Not sure how much binding you need? Click here to learn how to calculate basic bias.
- Fold strip in half, press and attached to your project.
Now that you have your scrap fabric strips stitched together it’s time to think about what to make.
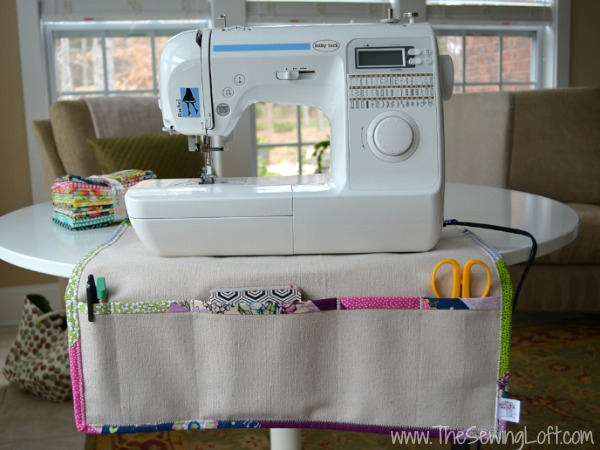
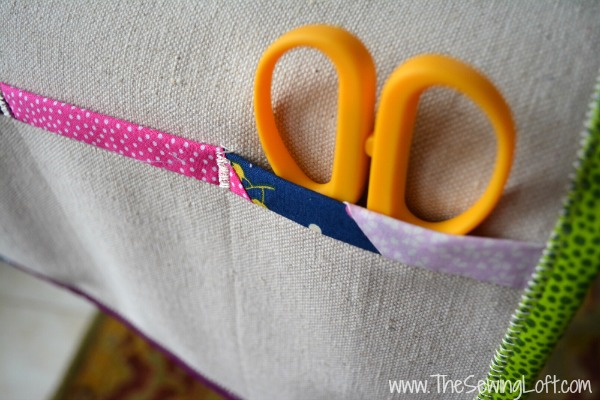
My scrap binding found a home on a new sewing mat. You can find the tutorial here.
What would you make with scrap binding?
Hello! Are you new to The Sewing Loft?
If so, I’m glad you stopped by and hope that something has inspired you to keep your needle moving! Don’t miss a single project and subscribe via email HERE! Bonus- free embroidery pattern with newsletter sign up. Another great way to connect with me is via Facebook, Pinterest, Twitter, Google+ or Follow along with Bloglovin. I’m looking forward to getting to know you and creating together!


Comments & Reviews
Resourcefully great idea!!! I think I’ll do the same!!!
I love your sewing mat and look forward to your tutorial. Thanks for sharing how you make scrap binding – I think it’s a brilliant idea! 🙂
Thank you for the tutorial and scrap binding tip…very helpful
I love it!! I’ve got a Craft Gossip post scheduled for later today that links to your tutorial:
http://sewing.craftgossip.com/tutorial-scrap-fabric-binding/2015/01/07/
–Anne
I make scrap binding and use on scrappy quilts for charity but also like it on scrappy quilts I keep. I keep a drawer of binding ready to use.
The very best idea I have heard in a long time. Keep up the great work.
I use scrap binding frequently and love the way it looks but I have always used the scraps from what I was binding. I never thought to go to my scraps stash, join them together randomly and then decide what to use them on. I like your way of thinking!
Thanks Anne. I’m a very “use whatcha got” kinda girl! Plus, my scrap stash is out of control right now and I need to thin it down. I’m hoping to piece together a few charity quilts this year and this binding will be perfect.
Happy Stitching!
~Heather
Should the strips be cut on the bias?
Binding can be made either on the straight or bias. Bias is best for any curves or sharp angles. I plan on using this for rectangular quilts & projects so straight grain will work well.
~Heather
Great idea! I don’t thow any fabric away, it just doesn’t feel right…!
Agreed!
I, too, have a canvas mat under my machine. The binding you did is so much cuter than my simply hemmed one. I shall discard my old cute-less mat and make myself a new one full of cute-ness! I think I will need two rows of pockets, though. I keep a lot in mine.
Two rows of pockets would be nice. Next time, I would make one to slip my business cards in. This baby will be traveling with me to different events.
Can’t wait to see how yours turns out.
~Heather
I do this often esp if its a scrappy type of quilt I am making…………and I do it not only with 3 inch binding but with 2 1/2 inch as well……………
I was on the fence about what size to do it in Judy. So, I went bigger. I thought I could always cut it down later. I’m really loving have it put together and ready for my next project.
~Heather
Oh my gosh, I LOVE this! I have tons of scraps to do this with and the effect is just lovely! Thanks for the tutorial! 🙂 Lisa
Thanks so much for this resourceful idea! Can I ask, do you have to have the grain of the fabric going in any particular direction when sewing the pieces together in order for the binding to stretch and go around curves etc? Thanks for your help. Nina
Thanks for the great idea! Do you know when your mat tutorial will be out?? I love it!
The sewing mat how to is up. You can find it here: https://thesewingloftblog.com/2015/01/12/sewing-machine-mat/
~Heather
What a great scrap buster!
What a great idea! I have a drawer full of scraps that would be wonderful for scap binding.
Love this idea. Do the scraps have to be cut on the bias?
Hello Eleanor,
Binding can be on either the straight or bias. I cut my strips on the straight grain and then pieced them so that they appear to be on the bias. I know it’s kinda cheating but I like the way it looks.
~Heather
I made some of this to finish off the sewing machine mat. Now I’m addicted! Winding it on to a card to keep it nice….looking forward to making loads of things. I love the way what it is joined, the colours sort of fade in and then out! Love it!!
YAY!! That’s fantastic Sally. I’m so glad to hear that you were inspired to start stitching.
~Heather
I LOVE this idea, but I’m a little confused.
You Said to fold the bias tape in 1/2 & sew. I always thought it is ironed in 3 folds.
If you’re only folding in half, how are you applying it to your project?
Hello Loretta,
Yes, that is a great question. Bias tape is folded into 3rds but this tutorial is for binding. You can use the same method and just fold/iron it differently to create bias tape.
I hope that helps and think that a skirt or dress would look fantastic trimmed with scrappy bias binding!
~Heather
Its brilliant!
Love it! Both the binding and the sewing mat!
I need you to fill in the blanks for me. I am new to SCRAPPY BINDING. Please tell me what width and length the strips are. If they are 3″ long, then they are not that wide. I need the measurements for this. I have been saving so many scrappy pieces. Thanks!
Thanks for your note Lacey. You can make them any length and width. It all depends on the size of the scrap you have left over in your stash.
Love this! Got the 3″ width part. What about the length? All the same or varying? Thanks!
So glad you like it Cate. I made them all different lengths based on what I had. There was no real formula.
Be sure to tag me when you finish. I’d love to see!
~Heather
I made one of those caddies for my sewing machine using some cute but cheap place mats. Made another one for my remotes on my night stand
When cutting the 3″ strips do you cut on the bias or with the grain. Does it matter?
Scrappy binding can be cut on the bias or straight grain. It really depends on the end use. If the binding will be used along a curved edge it is best to cut on the bias. However, it will be used for a straight edge of a quilt, you can cut it on straight grain. Hope that helps!
~Heather
Heather, I made one of these sewing mats awhile back but used clear vinyl for the pockets.
I used a cute directional print but didn’t pay attention to the top and bottom until it was sitting under my
sewing machine upside down! Well. Darn! (I trimmed off the entire binding on all four sides with a ruler and rotary cutter, moved the pockets to the correct side and rebound the whole mat – A nuisance but at least it was fixable and only slightly smaller!)
I’m new to your website but am looking forward to looking around – Tina
Thank you so much for this tutorial, I’m just learning to sew and having made various tote bags wanted to something different. I’ve just finished sewing all my charm squares for a lap blanket and didn’t know how to do binding, love this. I’ve cut my 3inch strips and just going to see know.