Last week I shared that my dress form (aka- my girl) was coming out of storage and I would be doing more stitching for me this year. Well, I thought it fair to share some history of “my girl”.
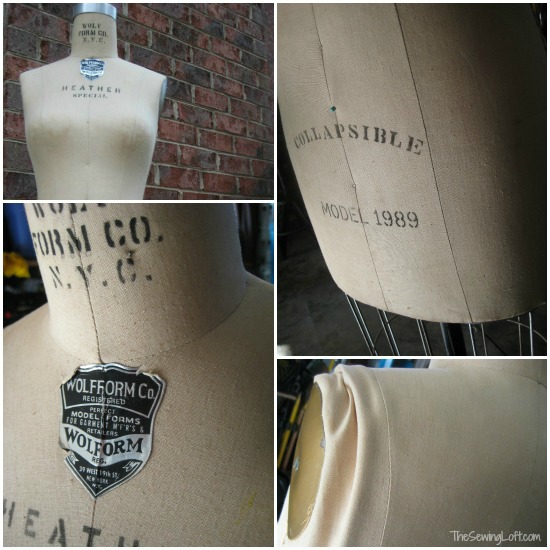
You see, she was a gift to me. Something that I would be able to use all through college and beyond. I am sure that no one ever imagined just how many times she would be pinned and pricked over the years or for that matter, what a source of inspiration she would be. Heck, I even feel asleep on her once during a late night project! To make sure I would be draping with extreme accuracy, she was made to order. That’s right, she is me circa 1989. (Check out the name tag!)
The entire process of having a dress form made was really cool. I remember going to the warehouse and being measured every which way till Tuesday. No joke, the Wolf Form Company is serious business my friends! You see, Wolf Form Company has been making dress forms since the early 1900’s. Their dress forms are common place inside designer studios, manufacturers offices, factories and fashion schools all over the world! (And I can personally attest to this fact.) They are considered the industry’s leading dress form manufacture.
Her Stats:
She is a straight skirt dress form born in 1989 with one removable arm and collapsible shoulders. She was made to order and delivered in this crazy, over sized wooden crate on the rainiest of days to my childhood home. Boy, do I wish I had a snap shot from that day.
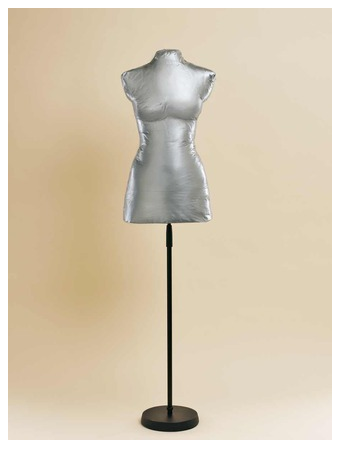
Now, I know that not everyone has a fairy god mother gifting them dress forms but that should not stop you from having one in your studio!

I would love to hear what you use to create your master pieces on.


Comments & Reviews
That’s so cool!
i’ve never used one before– but watch them on Project runway. congrats on being the same size as back in the day. 🙂
The tutorial is great! I’ve made them using the exact same method. Be careful not to pull tight on the tape. Unless you plan to wear a corsett. I highly recommend making a dress form if you plan on doing any sewing at all. You can cheeply make a stand for your form by using a 2 X 2 attached to a piece of plywood. To make hemming easier for you, have the shoulders the same hight as yours, then you can hem your own pants, dresses, and skirts without any hassle at all. The whole thing shouldn’t run more than $20 U.S. dollars. Cheeper if you use scrap lumber.
I love watching Project Runway. I have always wanted a dress form. Now I can make my own. Thanks for the information.
I found this on Burda’s English Site: http://assets.burdastyle.com/pdf_files/assets/000/402/321/diy-dress-form_original.pdf?1358731960.
But the one I really like, without the plaster, I found at Threads Magazine a couple of years ago: http://www.threadsmagazine.com/item/3659/clone-yourself-a-fitting-assistant/page/all.
Thanks for sharing Teresa! Did you make either of them?