Since we’re swapping mini quilts that can be used as wall art, I thought it might be helpful to give you some tips about how to hang your quilt and get them ready to display.
There are a few different ways to hang a quilt on the wall – depending on the size of the quilt, some are better than others. Some of these methods require you to do something special on the quilt back as you’re sewing it, so be sure to read through this post before you put the finishing touches on YOUR swap quilt!
How to Hang Your Mini Quilt
Option 1: Dowel Rod with Pocket
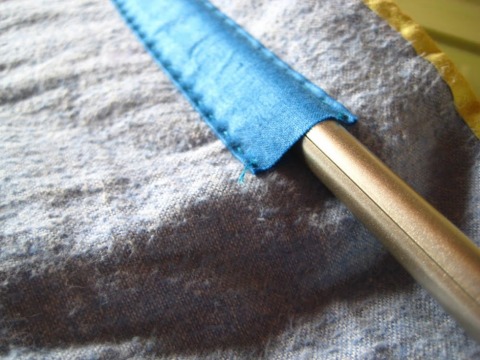
One option is to thread a dowel rod through a pocket or sleeve on the top of your quilt back. This lets you hang the quilt by the rod and then if you want to take it down and store it for another season, simply remove the dowel before folding the quilt.

Here’s how to do it:
Measure the back of your quilt, across the top. Subtract 2 inches; call this Measurement X.
Cut a piece of fabric that is 2.5” wide by X inches wide. Fold this strip in half lengthwise, with the wrong sides facing, and press (like making straight-grain binding).
Fold in one short end of your pocket strip by ¼”, then fold by ¼” again and press. Sew this down to hem it, then repeat on the opposite short end.
Re-fold your strip lengthwise and press again.
When you get ready to bind your quilt, position this quilt pocket with the raw, long edges lined up with the top edge of your quilt on the back. Sew on your binding and fold it over, covering those raw edges with the quilt edge. Stitch down your binding to secure the pocket you’ve made.
Cut a dowel rod that is approximately ⅜” in diameter and the total width of your quilt back, just inside the binding (in other words, you don’t want the dowel to poke out on either side of the quilt back). Slip the dowel rod into the pocket you’ve made, leaving the ends of the rod to poke out of the pocket (but not extend beyond the borders of the quilt itself).
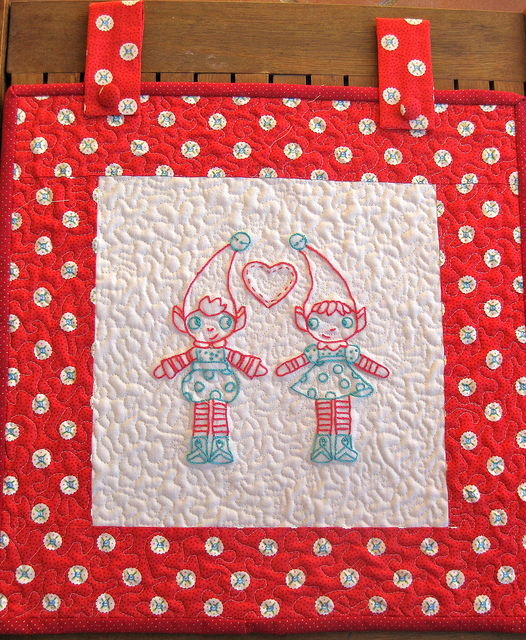
Hammer two nails in your wall, positioned so that the exposed ends of the dowel rod can rest on them. Hang your quilt.
Option 2: Velcro and a Yardstick (or Ruler)
This option allows you to use a yardstick or ruler, cut to size, to hang your quilt. Again, you need to do a bit of prep work on this process before you bind your quilt, so keep that in mind!
Here’s what you do:
Take two 4” scraps of fabric, and fold each one into a triangle with wrong sides facing.
Position each triangle on top of a top corner of your quilt back, lining it up so that the folded edge cuts the corner diagonally.
Baste the triangles in place, and then you will once again use your quilt binding process to hide the raw edges (as in Option 1 with the pocket).
Cut a yardstick (or ruler, if your quilt is very small) to measure the distance of your quilt back, from inner binding seam to inner binding seam. Sand the cut edges until smooth.
Tuck the yardstick or ruler into the pockets created by the triangles at the corners. (Tip: if it doesn’t fit quite right, trim it down and try again.)
Position a piece of Velcro (Command strips work best for this since they’re designed to hang on the wall, but self-adhesive Velcro will also work) onto the exposed side of the yardstick or ruler. Place the matching piece of Command Velcro on the wall, and use the Velcro adhesion to hold the quilt on the wall. *Find cute I Made This labels here.
Option 3: Decorative Rod with Loops
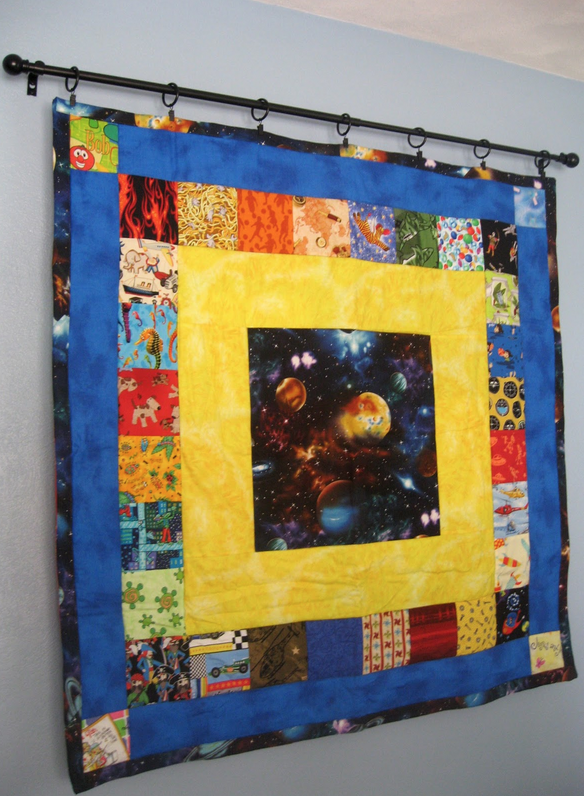
If you have a decorative rod, such as a small curtain rod, you can use that to hang your quilt and you won’t have to worry about hiding the rod behind the quilt.

Here’s how:
Cut two lengths of 1” wide grosgrain ribbon that are each 3 inches long.
Use clear nail polish, fray check, or a flame to seal the cut edges of the ribbon and prevent fraying.
Fold one strip of ribbon in half, so that the cut ends meet. Position it on the back of your quilt, along the top edge and 1 inch in from the right side. Pin it in place so that the loop extends above the quilt and the cut edges slightly overlap the seam line from the binding.
Repeat step 3 with the other piece of ribbon, 1 inch in from the left side.
Use your sewing machine to sew a straight seam, “stitch in the ditch” along the quilt binding on the front of the quilt, passing over the area where the ribbon is pinned. This line of stitching should catch the ribbon; if it doesn’t, move the ribbon and try again.
Trim your threads and use a drapery rod passed through the ribbon loops to hang your quilt on the wall.
Option 4: Drapery Rings
If your quilt is fairly small, two drapery rings ought to do the trick to help you hang it. This process requires hand stitching, but it can be done as an afterthought when the quilt is entirely finished and bound.

Here’s how to do it:
Purchase a packet of plastic rings from the craft store – they are usually called drapery weights, and they look like thin plastic doughnuts.
Make a mark on the back of your quilt, 1 inch down from the top and 1 inch in from the right (use a fabric marking pen or tailor’s chalk).
Use a hand sewing needle and thread to sew loops around the drapery weight, attaching it to the quilt back in this position. Make sure to catch the quilt back and some of the batting, but don’t let your stitching go all the way through to the front of the quilt.
Repeat this process on the left side of the quilt back, 1 inch down from the top and 1 inch in from the left.
Hang two nails on the wall, spaced evenly with the drapery weights. Hook the weights onto the nails to display your quilt.
Option 5: Binder Clips
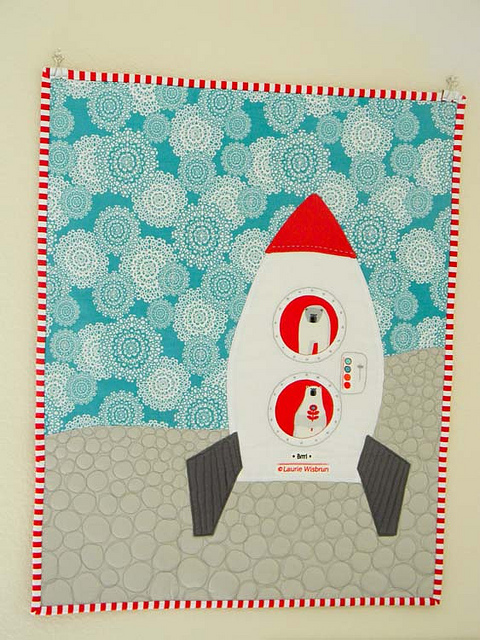
I’m not really sure I need to say more here. These little office supplies are fantastic for the sewing room! Clip them along the top edge of your quilt, place a push pin through the wall and hang. (Love it!)

Do you have a favorite method for hanging a quilt on the wall? Share it with us in the comments below!
Be sure to follow our Mini Quilt Mania board on Pinterest for even more mini quilt ideas.


Comments & Reviews
Very helpful, thanks!
Love your ideas. My favorite? I cheat. I use appliqué pins. Course that’s not much to blog about… 😉
Never would have thought of binder clips but I’m going to try it! Thanks for the ideas. ~ Mary
You can squeeze the front part of the binder clip together and pull it off, sometime. That way the binder clip is less intrusive looking.
Thank you, the binder clips was a surprise for me. How they can do almost anything.
I like the triangles in the corners, then use a small dowel. I like that I can hook it on one nail. Just have to remember to sew the triangles on before binding. But thanks for these other ideas too!