Summer is around the corner which will mean quick road trips are in my future. Since I don’t enjoy lugging suitcases everywhere I go, I like to use an easy to carry oversized bucket bag.
This project is for all levels.
Skill Level- 1 1/2 Buttons
Supplies:
- Main fabric: 3/4 yard
- Lining fabric: 3/4 yard
- Contrast fabric: 1/3 yard
- Fusible fleece: 3/4 yard
- Interfacing: 1/3 yard
- Bucket Bag Template
*Basic sewing supplies and machine are needed to complete this project.
Prep Work:
- Gather supplies. I used the whimsical Wildflower collection from Adornit!
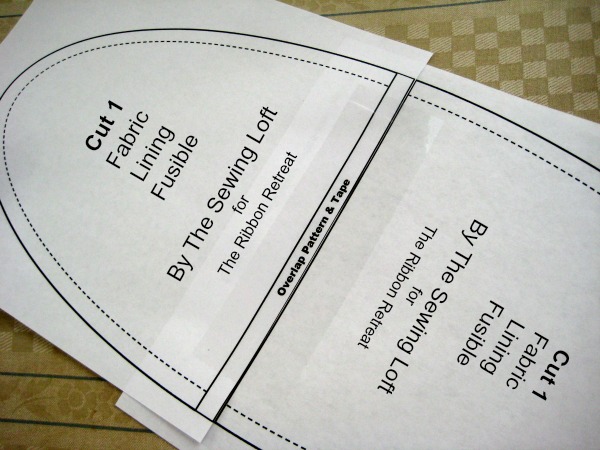
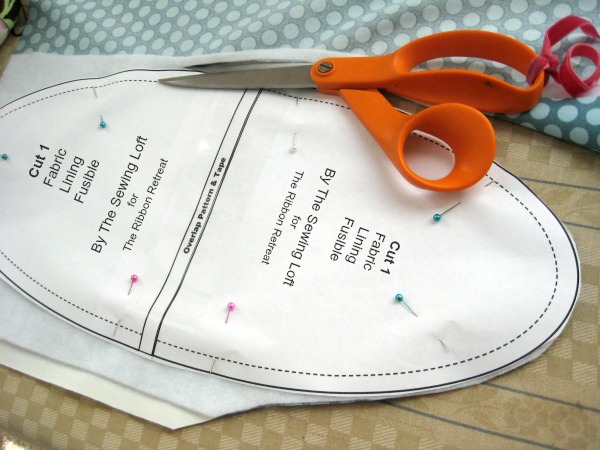
- Start by downloading the bucket bag pattern. Print, cut and tape template together; overlapping where needed.
Cut fabric to create the bucket bag. Here are the measurements:
- Bag bottom (cut 1 of main fabric, 1 of lining and 1 of fusible fleece) use pattern template.
- Side (cut 1 of main fabric, fusible fleece and 1 of lining) 13 1/2″ x 40″ rectangle
- Pocket (cut 2 in contrast fabric) 8″ x 9 1/2″ rectangle
- Pocket trim (cut 1 in lining fabric) 8″ x 1 1/2″ rectangle
- Straps (cut 2 contrast fabric and 2 interfacing) 5″ x 34″ rectangle
*To add body to bag, I suggest applying a fusible fleece to main fabric before cutting. Follow instructions provided by the manufacturer.
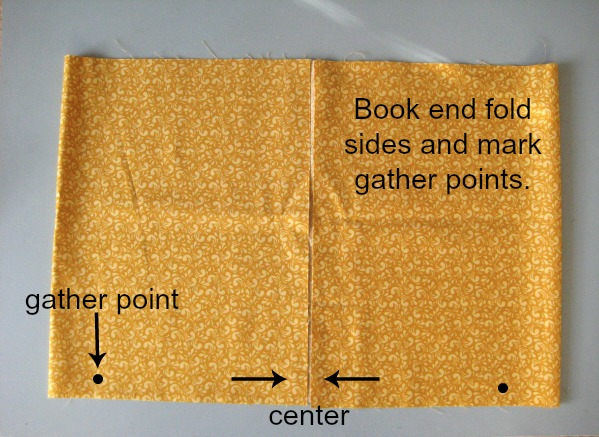
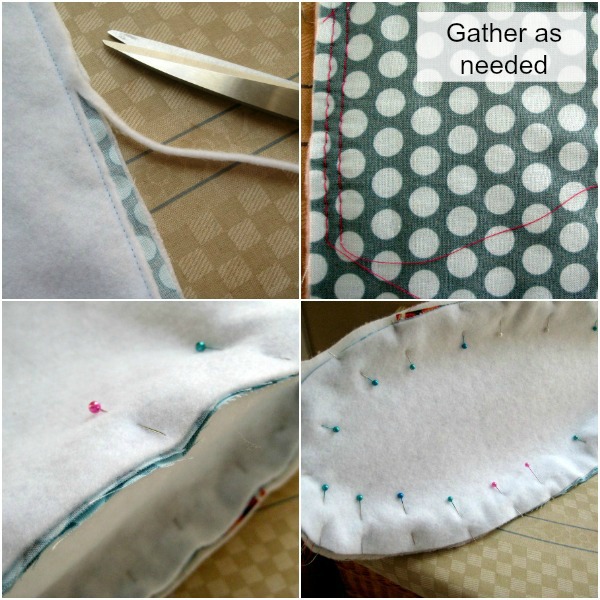
- To mark gather placement on bucket sides, fold fabric to the center (bookend style fold) and mark 3″ from each side. This is your gather/basting start and stop point. Stitch two rows of large basting stitches from dot to dot. Be sure to leave long thread tails for later. Repeat this on both lining and main fabric. Set aside.
Instructions:
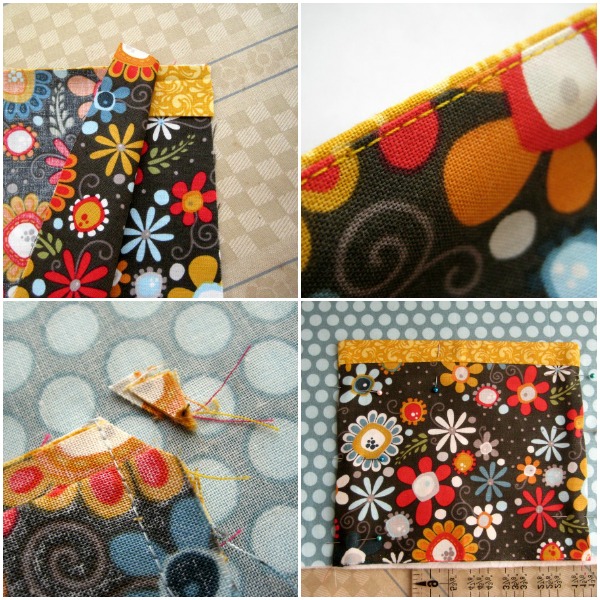
- Position pocket trim 1″ below top edge of pocket. Layer right sides together and stitch in place. Turn and press trim up; edge stitch with coordinating thread.
- Sandwich between 2 layers of pocket top edge. Straight stitch together. Open and press trim to one side of pocket. **Tip: Back stitch seam allowance to pocket lining. This will create a nice clean edge to fold back and press. Small steps like this will elevate your project from home-made to handmade.
- Sandwich pocket lining to pocket face; all around straight stitch leaving the bottom edge open. Press, clip corners on a 45 degree angle and turn right side out. Press again and position on front of bag. Straight stitch along pocket sides. Consider adding a dog ear triangle for reinforcement.
- Match the short ends of bucket bag sides; right sides together and stitch. Press seam allowance open. Consider trimming away fusible fleece to reduce bulk. Top stitching with coordinating thread. Match bag side to the bottom of bucket. Gently pull long thread tails of gathering stitch as needed to fit snuggly around curved base of bag. Pin all around and stitch in place.
- The process is repeated to create the lining with one exception. You will need to leave a 6″ opening along the short side of lining seam. This is to allow for turning later.
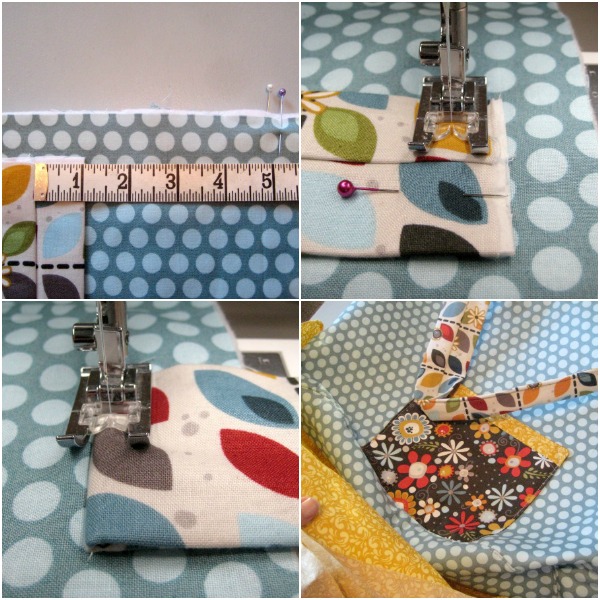
- Layer interfacing to the wrong side of strap. Fold in half to create a long triangle and stitch together. Turn and press seam in the center. To reduce bulk on my shoulders, I like to fold the center of straps in half and stitch. To do this, find the center and mark length. I used 10″. Fold in half and edge stitch closed.
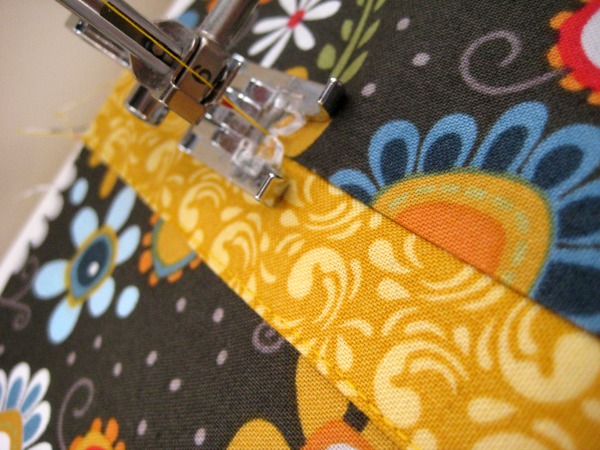
- Position handles 10″ apart on center and 2″ below top edge. Straight stitch in place. Fold up and add top stitching to secure. Repeat to other side.
- Let’s assemble!! Slip the right side of bucket bag into the lining. (right sides will kiss) Stitch all along top edge. This is why that opening is so important in the lining! Back stitch your seam allowance to the lining side of bag.
- Turn right side out and press. *Remember, pressing is super important! Pin straps in place and top stitch along top edge in coordinating color thread.
- Stitch up your lining and add a few hand tacking stitches along the bottom of bag to secure lining. Phew, were done!!
Big Bag Bucket Bag
This bucket bag is really big and can carry pretty much everything you can imagine! That’s right, you can load this baby up and become the “bag lady” you want to be!
ps- You may have seen this bag before, I shared my bucket bag pattern on The Ribbon Retreat.
Hello! Are you new to The Sewing Loft?
If so, I’m glad you stopped by and hope that something has inspired you to keep your needle moving! Don’t miss a single project and subscribe via email HERE! Bonus- free embroidery pattern with newsletter sign up. Another great way to connect with me is via Facebook, Pinterest, Twitter, Google+ or Follow my blog with Bloglovin. I’m looking forward to getting to know you and creating together!






Comments & Reviews
Do you think it would be terribly hard to add a few pockets inside the bag? I hate for things like hand wipes and first aid kits to be loose in the bag. I want to get to them FAST.
Not at all Sonya! Just add a simple patch pocket to the lining and you will be all set. Don’t forget to snap a quick picture when you are done. I would love to see it!
~Heather
I may have missed it, but I don’t see the finished size of the bag noted here.
Hi,, Heather,
I was able to download the template, but what about the instructions. How can I download them?
, Laura
Hello Laura,
The instructions are all included on this article. Just follow along with them template to complete your project.