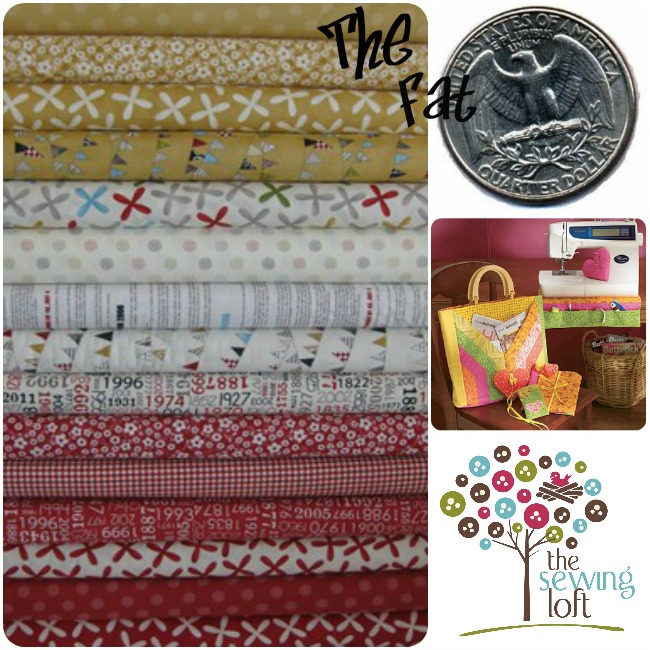
There are so many different uses for a stripe of continuous bias. You can clean finish your seams with it, hem a cuff, create piping and sew much more. Today, I am going to show you how to take a fat quarter and turn it into a quick and easy continuous long strip of bias. Honestly, once you get the hang of it you will wonder why you have been buying those pre made packages of bias tape all these years. It’s that simple!
Continuous Bias
This project is for all levels.
Skill Level- 1 Button

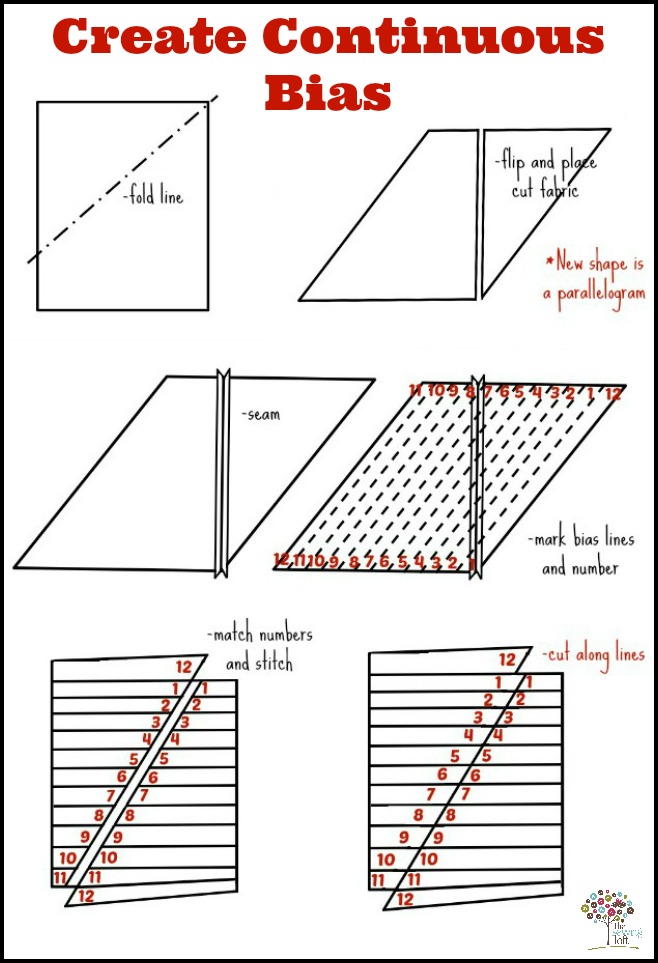
- Fold fabric on a 45 degree angle. Cut on fold.
- Shift your cut piece over to the other side. This will create a parallelogram. Pin right sides together, sew and press seam open. *Tip: I like to reduce my stitch length since this area will be cut into small sections.
- Along on bias edge, mark with ruler your finished bias strip length. Number the lines as shown.
- Fold parallelogram as shown to create a rectangle shape tube. Cut the 1st row about 4″ in.
- Align and match numbered lines with right sides together; pin. Sew seam together being sure to match all numbered lines. Press seam open.
- Cut in a spiral direction from top of tube to the bottom.

Hello! Are you new here?
Do you want to learn more about sewing? If so, be sure to sign up for our newsletter HERE and never miss a stitch! Daily Sewing Tips, Everyday Projects and Fantastic Inspiration delivered straight to your mailbox!
Bonus– free download with newsletter sign up.
Feel free to connect with me on Facebook, Pinterest, or Instagram. I look forward to getting to know you and stitching up a storm!


Comments & Reviews
My favorite way of making bias tape — thanks for detailed instructions.
Hey, even I could do that! Very cool technique, Heather!
Thank you for making this so visual! This is the best and easiest-to-understand tute for this that I’ve seen! Thank you!!!!!!!!
So glad you find it helpful Jen!
Super fab!! this is perfect…I always have a hard time with the photo tutorial but this makes it very clear. Thank you!
Thanks for the tutorial..We had a demo at quilt guild but I lost my instructions in the millions of patterns I have collected. (I now save them on a thumb drive so I don’t have so many papers to go through)
I love this way too!!! I think your drawing is a lot easier to understand than the picture tutorial I had followed! Thanks so much for creating the visual! 🙂
Great tutorial Heather – so clear!
Thanks for linking to a Round Tuit!
Hope you have a fabulous week!
Jill @ Creating my way to Success
http://www.jembellish.blogspot.com/
yes, I can under stand now I just stated making my own bias. This was a blessing thank you so much for the tip very use full.
Yay! So, glad to hear that it helped!
~Heather
I had used this method a few years ago to make continuous bias tape but, found it too confusing to remember. I love the way you have illistrated it and have been using your style to share it with others in my pillows and piping class. Everybody loves it. Thank you for sharing.
Thank you! You’re my new hero! I’m new to bias tape making- Have only done it once and sewed each strip together individually. So tedious! This is just awesome.
I’m just happy to hear that it helps out. I swear, I need to make bias for almost every other project in my world. I just made more this weekend and have yet another color to make. I am in pillow mode and it seems to be never ending.
~Heather
thanx for this brilliant way but i was following another good way of binding as follows;
fold your material into a triangle then cut on the fold line now measure the width you want to use for ur binding ie 1” onwards attach right sides together but in an ‘L’ shape one OVER the other taking care of the sharp edges to be above to get a continuous line without trimming and go on repeating the process length will vary as go not to worry,for total length just measure the strips normally i don’t,it’s just an estimate of the area as in curve measurement you’re applying to and you’re done
This is how I am going to do my binding from now on. Thank you!
I mean bias
Thank you for sharing. Binding edges will be more fun and faster than before.
A video is always much more helpful then trying to understand what I’m reading.
Okay, big question…. can I use this same method with upholstery yardage? My fabric is 57” wide, from your chart a yard will give me the 25 yards of bias tape for cording that I need. I am assuming take a yard at the 57” width, fold for a 45 degree angle, cut on the fold, and follow the directions to make my 2” wide strips. Any additional advice?
Hello Rosanne,
Yes, this method can be used on all types of fabrics. Just follow the diagram for placing/stitching and you are all set!
-Heather