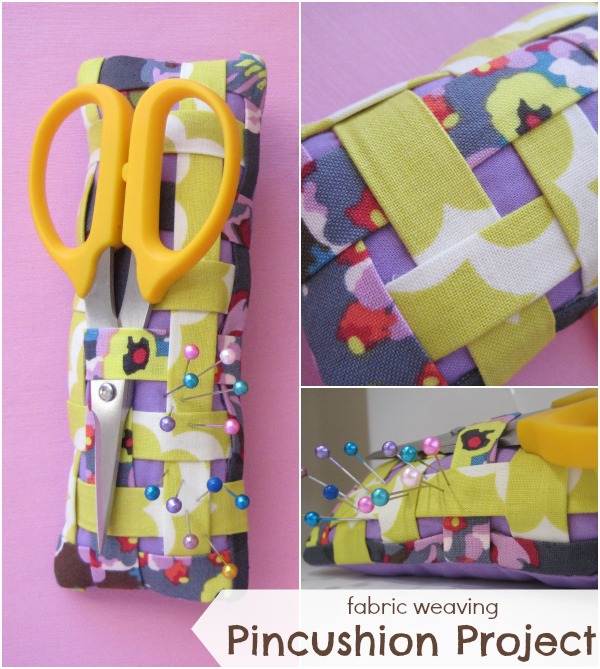
Basket weaving is nothing new in fact, it was one of my favorite summer activities at girl scout camp. Like so many other things in life, this technique is making a comeback and I thought it would be fun to put a personal spin on it. So, let’s do some fabric weaving today.
Fabric Weaving – Pincushion Project
This project is for all levels.
Skill Level- 1 Button
Supplies:
- assorted fabric
- Steam-A-Seam 2
- polyfil
Tools:
- basic sewing supplies
- sewing machine
Basic Instructions:
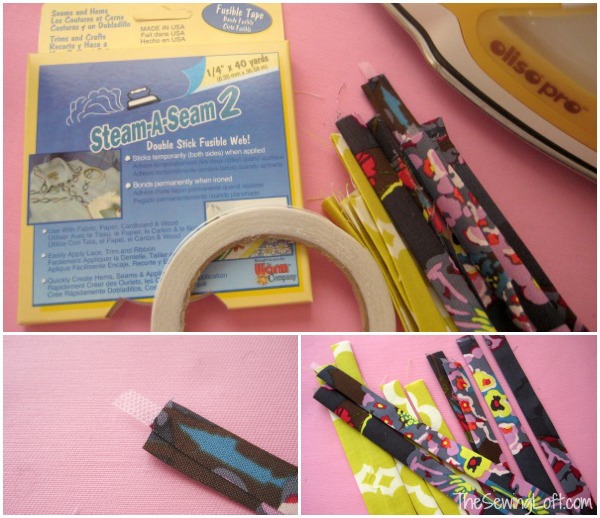
- Cut 2 3 1/2″ x 8″ rectangles for the top and bottom of your pincushion. 6 strips 1 1/2″ wide by 22″ will be your fabric strips to create the fabric weave pattern. (I cut 3 strips from 2 different fabrics.)Fold, fold, fold….press, press, press. This triple fold will create clean edges on the sides. To keep things in place, I used steam a seam and sandwiched it together. I gave each fabric strip extra body. (total bonus.) Cut strips in half to create 12 1/2″ x 11″ strips.
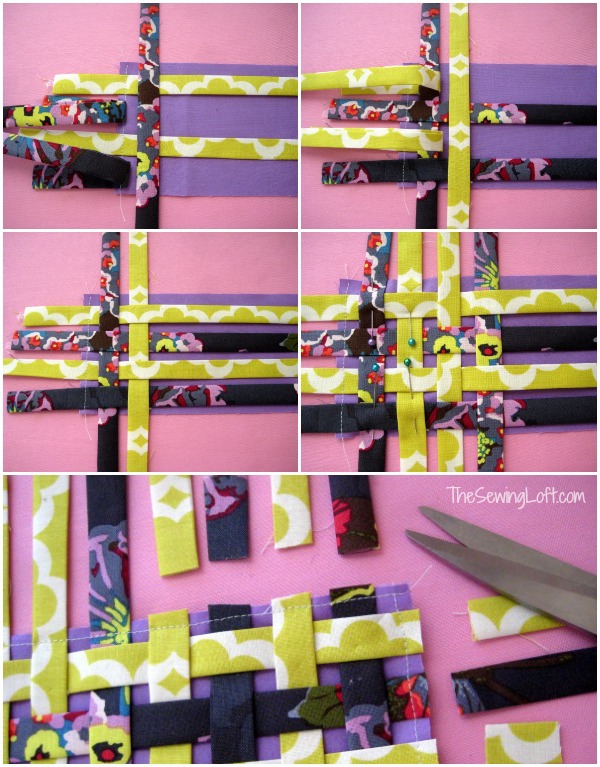
- Lay all of your horizontal pieces and pin in place. To keep things easy for me, ran a quick row of straight sticking along the edge. Then start weaving in your vertical strips. Alternating rows and pinning as I worked across the fabric. Since I wanted the purple to peek through, I left 1/4″ spacing between each row.
- Once you have everything woven in place, run a quick stitch all around and trim away excess fabric strips.
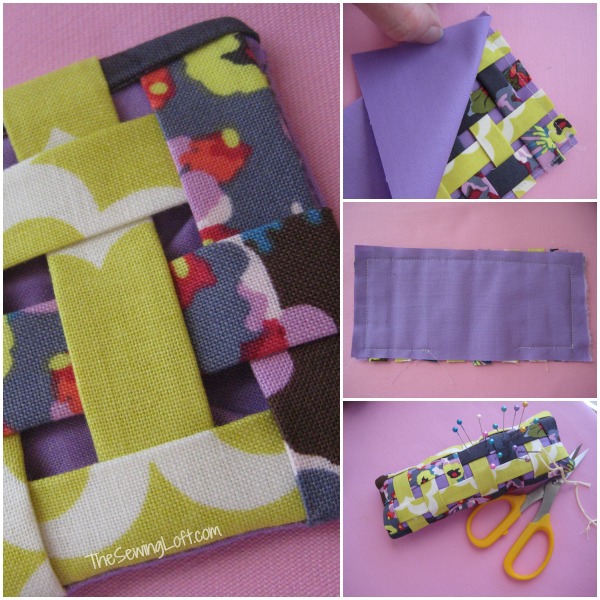
- Then your pincushion is pretty straight forward. Just like sewing a pillow together. Pin right sides together; stitch around 3 sides leaving an opening for turning. Clip corners and turn right side out.
- Stuff, stuff, stuff!! I like to over stuff my pincushions. Stitch the opening closed with needle and matching thread. A simple ladder stitch is perfect for this last step. Need a refresher on the ladder stitch? Click here.
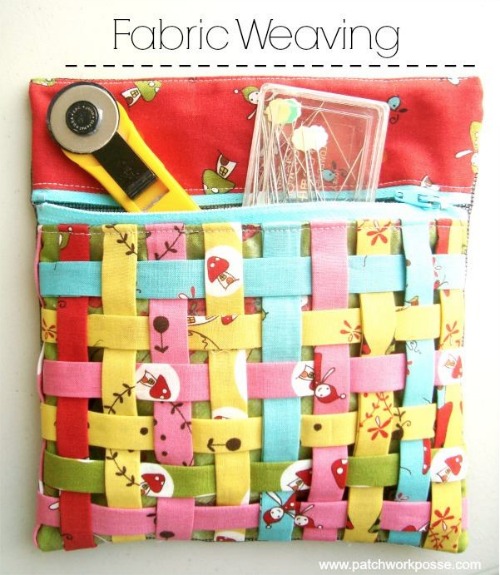
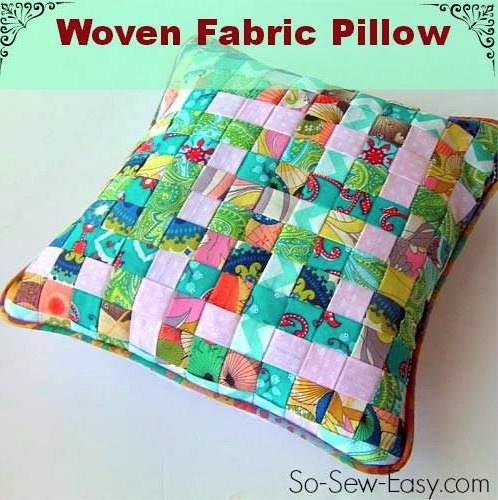
So, how did I do? Do you think fabric weaving will make a come back? Or should the technique be left to baskets and hemp? To keep the conversation going, I have teamed up with a few friends! Becky from Patchwork Posse
Deby from So-Sew-Easy.
Be sure to check out what fun things these gals made with their fabric strips.
Hello! Are you new here?
Do you want to learn more about sewing? If so, be sure to sign up for our newsletter HERE and never miss a stitch! Daily Sewing Tips, Everyday Projects and Fantastic Inspiration delivered straight to your mailbox!
Bonus– free download with newsletter sign up.
Feel free to connect with me on Facebook, Pinterest, or Instagram. I look forward to getting to know you and stitching up a storm!


Comments & Reviews
Love it! Very versitile for tucking scissors, seam ripper, etc… just like you’ve done in the picture! Very, very pretty!
Thank you Sharon. I love the way it turned out. Plus, it includes the fabrics from the challenge.
~Heather
Love that idea ! It’s so nice ! Maybe I’ll try with the remaining fabric parts from the challenge 😉
Heather, love the pinny and the little zipper bag, the pillow is beautiful…..
So darn cute! I’ve got to make the cushion and zip bag ~I’ve got so many scraps that I can use! Thanks so much for the tutorial!
Pretty pretty!! And clever that the woven strips will hold your scissors. I have a Craft Gossip post scheduled for later today that links to your tutorial:
http://sewing.craftgossip.com/tutorial-woven-fabric-pincushion/2014/03/04/
(I’ve got plans to link to the other woven fabric projects in the next few days.)
–Anne
You beat me too it Anne! Thanks a bunch for always stopping by.
~Heather
Love it! Great way to use narrow fabric scraps too.
Hi –
I’m new to your blog. The pillow is beautiful.
My question is – is the polyfil a heavy enough filler? Should it be somehow weighted?
Thx
You can use many different fillers. I also use sand and crushed walnuts. It all depends on what I have on hand.
~Heather
Such a great idea! I had my grand daughter stitch along each strip since we couldn’t find our fusibles. She loves to try & sew perfectly straight lines. It took us only an hour start to finish, what a great way to spend an afternoon inside while it snows. Had I known she would take it home with her, we could have made 2
That is fantastic Zella! I love that you turned it into a memory maker!
~Heather
How wide should the finished strips be?
My strips were 1/2″ wide when folded Cheri.
Heather, I just made these for a pin cushion swap with two ladies and had to make one for myself too. thanks for the great blog tutorial. crystalbluern at onlineok dot com http://www.flickr.com/photos/105749630@N03/13021523754/
I love the way it looks Debra! Plus, you have so many cute pincushions. Those baby booties are adorable! Thanks so much for sharing a picture. Feel free to add it to our community flickr group here: https://www.flickr.com/groups/thesewingloftcommunity/
This ways others can see your handy work in action.
~Heather