New House- New Traditions!
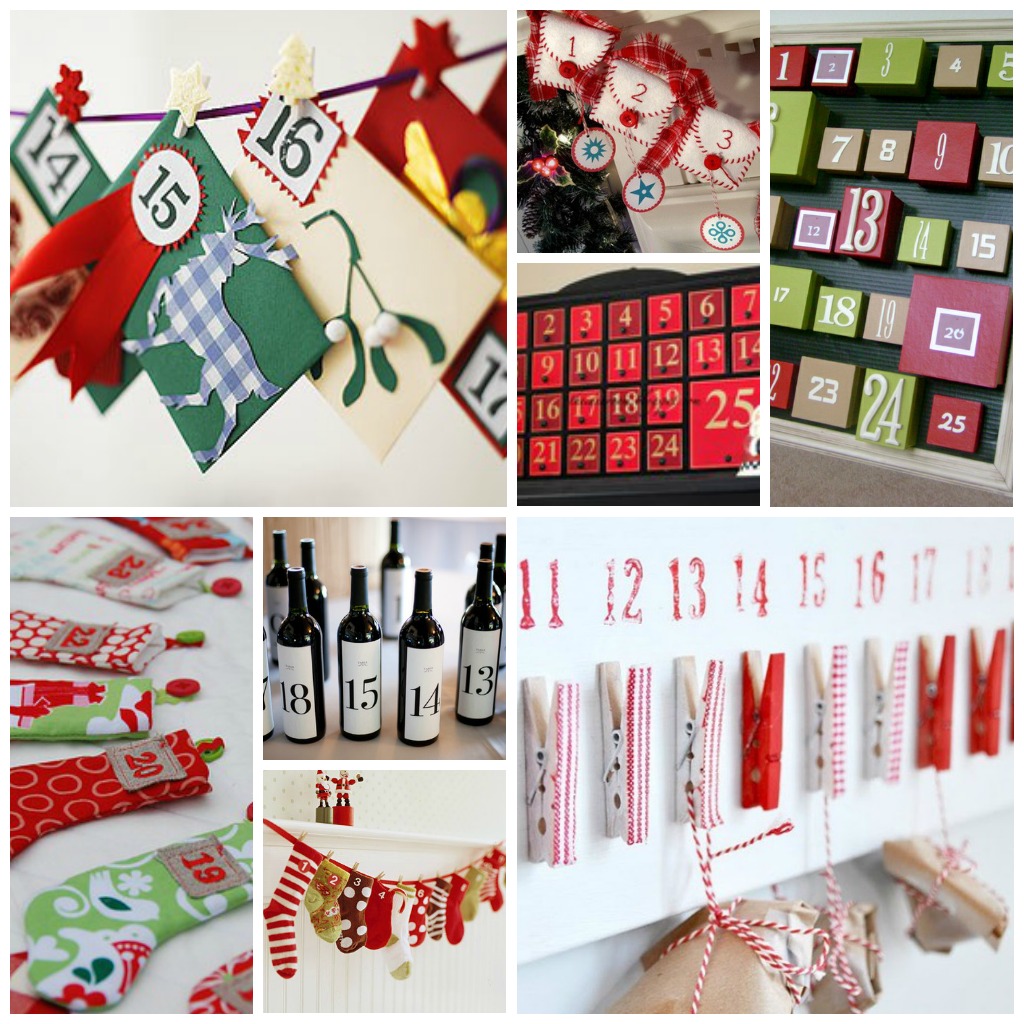
1st on the list is an advent calendar. My girls always love counting down with those window cards and I thought this could be fun. But I did not want to go standard fare if you know what I mean. Wall hangings are just not my style. So, I looked around on Pinterest and found so many incredible photos for inspiration.
Advent Calendar
Since this project is going to take some time to put together and I started it late on Sunday, this is going to be a 2 “parter”! Plus, December 1st is only a few days away and I could use the time to figure out just how I am going to hang this.
This project is for sewers of all levels.
Skill Level- 1 Button
Materials:
- fabric for pockets
- contrast fabric ( a few different prints would be fun)
- craft paint
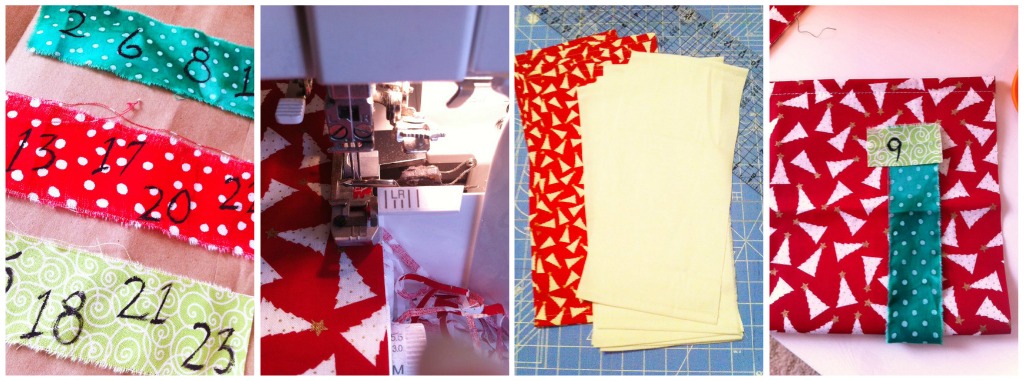
- I ripped long strips of fabric about 1 1/2″ wide and hand painted the numbers 1 through 25 with craft paint. Set aside and let dry.
- To create pockets, I ripped fabric selvage to selvage, merrowed each edge, turned under and straight stitched a hem. That’s right, straight across the entire piece. This is going to be easy peasie!!
- My pockets finished are 7″ tall x 5 1/2″ wide- yours might be different but this is a guide. To make life easy, I cut each hemmed piece of fabric to the width of my quilting ruler; 6 1/2″. This gave me seam allowance. After you cut all 24 pockets, you are ready for the fun stuff!
- I folded each of my pieces in half to give me an idea of what the finished size would be, then I played around with my fabric bits until I was happy with the outlook.
- To stitch them down, I used straight stitches and zig zag but honestly, have fun here- Use those decorative stitches.
- To make the loops, I ripped a piece of contrast fabric to about 1″ wide; pressed in half and sandwiched it in the left side of pocket. Once sandwiched, with right sides together, stitch sides of pocket closed, trim and turn right side out.
- What did I tell ya- SUPER easy. It just takes some time to get all 24 finished.
Now, go make yours, come back on Thursday and I will show you how I hung them up. Maybe I will even have a few tips on what to put in them!
ps- this advent calendar was made from the fabric pile and did not cost a penny! I mean, zip, zilch, goose egg!! Instead, I just used what I had on hand and made it work. Think Tim Gunn and “make it work!”
**Remember, I would love to see your advent calendar. Be sure to share photos on my facebook page!


Comments & Reviews
Great idea! I wonder if the kids would mind if their calendar was missing the first few days! ; )
Go for it! They will never know the difference!
Love this!! I’ve been looking for something different to do as well. There are so many cute ideas out there! I plan on making mine this Christmas season and using it for the first time next year.
Making it this year is perfect. Then there is no stress or rush. When next year rolls around, you can just unpack it and look for the goodies to fill it with. Keep me posted on your progress. I would love to see it!