If you’re sewing from a pattern, it may seem like it’s all cut and dry – but sometimes once you open up that pattern envelope, all the different parts can be confusing! We’re here to help with this simple guide to get you started with learning how to read a sewing pattern.
How to Read a Sewing Pattern
Not all sewing patterns are made the same way, but the basic idea is there for every one. Most sewing patterns from a store will contain an envelope to hold everything, and the inside will be full of tissue-thin pattern pieces and instructions. If you buy an indie pattern or one from a quilt or sewing shop, the pattern pieces may come in a zippered or sealed poly bag with a single sheet or card for the instructions and photos. So let’s break down those parts of a pattern together!
Pattern Envelope or Insert
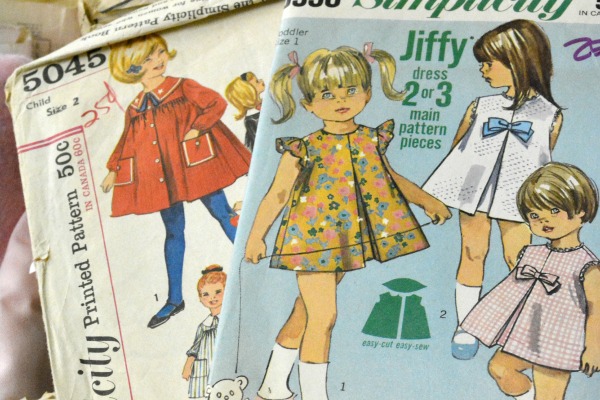
This is the part of the pattern that shows you what the finished item will look like. It contains drawings, schematics (detailed illustrations, sometimes including measurements), or photographs of the finished item. The front is usually just a picture or a few different pictures of the variations available (for instance, a dress pattern may have two different sleeve or neckline options). On the back, you’ll usually find a size chart, fabric yardage requirements, and more detailed front/back views of the various pattern options.
Things to keep in mind with the pattern envelope or fact sheet:
- Check the size chart carefully! Know your own measurements before you go (it can be helpful to keep these written down in your purse or on your phone) and compare those measurements to the size chart. Just because you wear a size 10 in the store doesn’t mean you’ll need to sew a size 10 in a dress pattern! Make sure the pattern pieces are going to fit your body before you buy it.
- Read the yardage requirements and the fabric type. The pattern will specify the type of fabric you want to use (bottom weights, woven cotton, stretch fabrics, etc.) as well as the yardage needed. Within the yardage requirements, the pattern will generally tell you if that yardage is for a 45-inch width bolt or a larger one, so pay attention to that when you’re shopping! The pattern will often give specific fabric recommendations, such as jersey knit, cotton lawn, or velour. Use those as a guide when shopping for fabric to make the pattern. It’s always a good idea to buy slightly more yardage than you think you’ll need, too!
- Check for notions or other supplies needed. Sometimes you’ll need to buy more than just fabric – the pattern envelope will let you know if you need other items such as a zipper, interfacing, snaps, buttons, or bias tape.
- For a quilting or home decor pattern, the pattern will often help you choose fabric patterns as well, letting you know which fabric placements work best for large or small prints, solids, or tonals.
Instructions
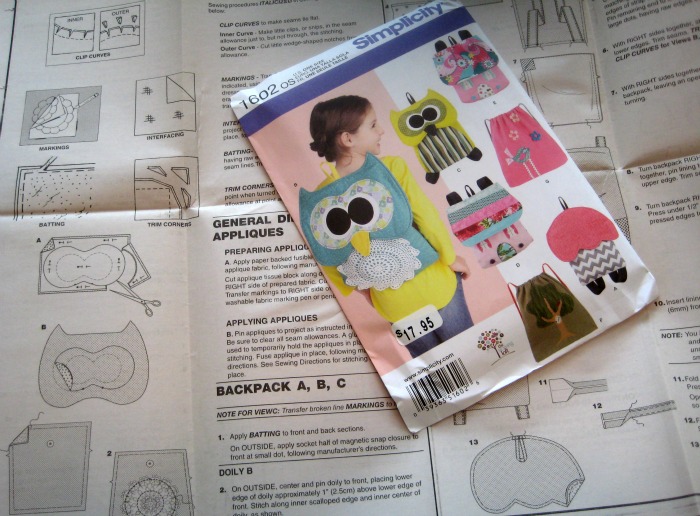
Once you open up the pattern envelope (after you’ve paid for the pattern!), you’ll want to find the instructions first. These instructions may be included as a separate sheet, or they may be printed along the margins of the pattern pieces themselves. The instructions will tell you exactly what to do to make the item, so make sure to read them all the way through before you make one single cut. Then go back and follow the instructions step-by-step. If the pattern pieces overlap the instructions at all, it might be best to transfer them to another type of paper before you cut them out so you won’t cut through your instructions.
Things to look for in the sewing pattern instructions:
- Key or Glossary – This is a listing of the markings used in that pattern and what they mean. Keep this handy as you work!
- Pattern placement – Sometimes the pattern will tell you exactly how to place your pattern pieces onto your fabric in order to get the most out of your yardage. Pay special attention to directions that tell you to cut on the fold, with the grain, against the grain, on the bias or with a particular pattern print direction.
- Extra cutting – There may be some pieces you need to cut that aren’t associated with a pattern piece (for instance, a small strip of fabric to be used as a button loop or a purse handle). So make sure to cut out those pieces as well!
Pieces
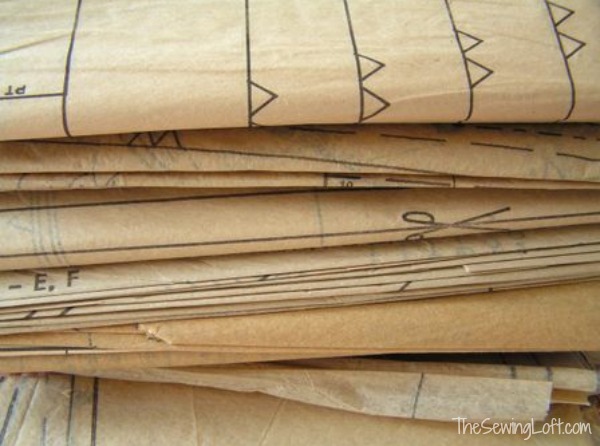
If you’re making a quilt, there may not be pattern pieces to follow, but just cutting instructions for size dimensions. If you’re making a garment or an item with more of a 3-dimensional shape, though, you’re likely to find pattern pieces inside that envelope! If you transfer your patterns to freezer paper as suggested above, be sure to trace all the pattern markings, too! Then carefully cut along the cutting line for each piece, grouping them together by portion of the project. Another good idea is to only cut the pieces one at a time as you are about to use them, according to the instructions. That way you don’t lose a piece between cutting it out and pairing it with fabric!
As an extra tip – sometimes you might need to cut pattern pieces in different sizes and then fit them together to make the garment fit your body! You might cut the front in a size L, for instance, to accommodate a fuller bust. And then cut the back out of a size M to fit your shape. So keep the measurements in mind and don’t be afraid to cut and piece from different sizes to get the garment that will be custom-suited to your shape & size!
Keep these steps in mind and you’ll soon be using sewing patterns with confidence. As always, leave questions in the comments below!
Want more sewing pattern tips?
- Here’s our guide to common sewing pattern markings!
- Check out our tutorial for printing & assembling PDF download patterns at home!
- And don’t forget pattern storage ideas!
Hello! Are you new to The Sewing Loft?
If so, I’m glad you stopped by and hope that something has inspired you to keep your needle moving! Don’t miss a single project and subscribe via email HERE! Bonus- free download with newsletter sign up. Another great way to connect with me is via Facebook, Pinterest, Twitter, Google+ or Follow along with Bloglovin. I’m looking forward to getting to know you and creating together!


Comments & Reviews
Transferring the pattern pieces to another piece of paper is a great idea. When I worked in the costume shop at my undergraduate college, we used to buy plastic sheets from the hardware store and use that for tracing. It’s a good idea to have some set-up to arrange and organize everything.
Great info for a new sewist! I’ve got a Craft Gossip post scheduled for later this morning that links to your tutorial: http://sewing.craftgossip.com/?p=82221 –Anne
i have found that ironing the pattern pieces before i cut them out helps keep every thing flat and where you want it and less likely you will be shorted somewhere because of a unfolded crease.
I really like how you explain the pattern. My problem is how to measure and and actually cut the material according to measurements without using a specific pattern. I cant pay for lessons or go to school. :(.
This is very helpful to me. I understand sewing patterns better now.
I just started padding my machine an I am yet to know much about my measurement an little problem I will face but I love ur lecture pls can I b put true
So glad I came across you Pinterest. I would like to place a link to this article in my Etsy shop where I sell paper patterns.
Hello Billee Lynn,
Thank you for the note. Feel free to share a link to the article. I hope that it will be helpful to your readers.
~Heather
I have a vintage Simplicity Mens shirt and pants 5710 pattern from 1976 There appears to be little in terms of sewing instructions with a construction guide – was this usual in older patterns ? How can I get round this ?
Hello Bill,
Sewing patterns have really come a long way over the years. I’m sorry your pattern does not offer much in the way of instructions. Fingers crossed the sketches can offer some assistance.
~Heather
Whenever I cut out a pattern, I also cut the envelope abart and attach it to a manila envelope or plastic bag. That way I can store the cut pieces in it since it is HARD to get them to fold back up the way they were when you got them. And especially if you have transferred them to another material.