This post contains affiliate links to products that I own, use and love.
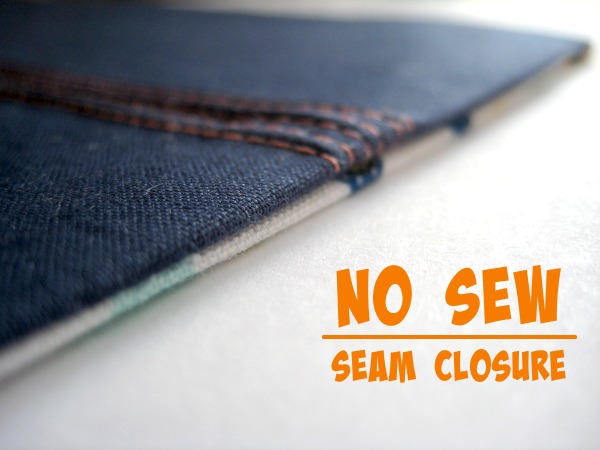
Can I share a secret? Sometimes, when I have a small opening to close, I cheat! That’s right, I break out the Steam A Seam and iron that baby shut. I know that might be a real shocker but it’s true and I don’t sweat it – not one little bit.
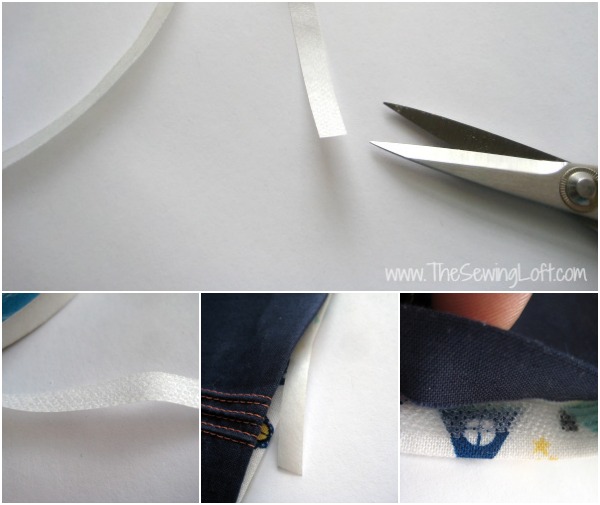
For those who have never used Steam A Seam before let me explain. This little sewing notion comes in a pre packaged box (pictured above), is available in different size widths and is for the most part a double-sided paper-backed fusible. But what makes this little notion so perfect is that it is already cut into a perfectly sized strips. All you need to do is clip off a piece and put it straight to work.
Some of you may see this product and “Hey, that’s just for a quick hem repair”. Well, I think that is what the product was originally created for but I am daring you to think outside the box.
No Sew Seam Closure
This tip is for all levels.
Skill Level- 1 Button
- Steam-A-Seam
- Project
- Iron/Ironing board
- Scissors
Basic Instructions:
- To get a nice clean and crisp edge, you need to start by pressing your seam allowance under and in place.
- Cut Steam A Seam to size of opening, peel off paper backing and tuck inside the opening. Note: You are essentially creating a seam sandwich.
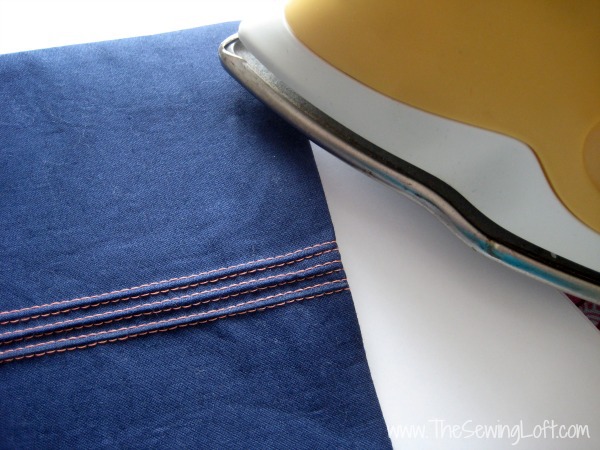
- Head over to the ironing board and press all layers together.
It was that simple.
Now, I’m going to be really upfront here…. I’m not sure I would rely on this type of quick closure for a long-term strength seam like let’s say along the bottom edge of a handbag but I would certainly use this for simple, low-level reinforcement seams. Think pillows, mini wallets, hems, trims and more of the like.
Steam-A-Seam is one of those products that I keep on hand in the studio in both 1/4″ and 1/2″ widths. What about you, do you have this in your sewing basket of tricks? If so, I’d love to hear how you use it in the comments below.
For more easy sewing tips be sure to visit out round-up page.
**Disclosure: This posts contains some affiliate links, which means that The Sewing Loft could potentially receive a small commission, like enough to buy a fat quarter to create the next free pattern to share with you on the blog.
Hello! Are you new to The Sewing Loft?
If so, I’m glad you stopped by and hope that something has inspired you to keep your needle moving! Don’t miss a single project and subscribe via email HERE! Bonus- free embroidery pattern with newsletter sign up.
Another great way to connect with me is via Facebook, Pinterest, Twitter, Google+ or Follow along with Bloglovin. I’m looking forward to getting to know you and creating together!


Comments & Reviews
I have used steam-a-seam for applique. Because it is slightly sticky before it’s ironed you can rearrange your applique until you’re happy. Then iron in place and stitch as required. I’ve used it 12″ wide though, it can be bought by the metre/yard.
Can you sew through it after ironing? Thanks!
Your sure can Betty! I do it all the time.
~Heather
Bibs!
You mean “Stitch Witchery”?