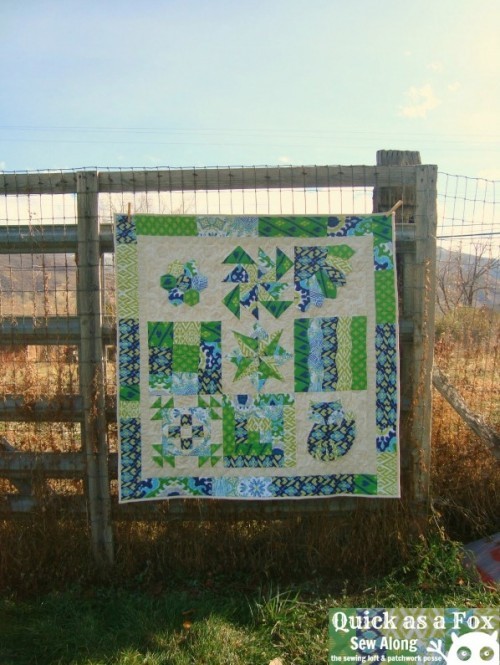
For the Quilt Along- Quick as a Fox Block 2 is the Flying Geese Quilt Block.
Flying Geese- Block 2
The flying geese quilt block is the perfect way to learn all about points! Making your points, pointy is one of the basic sewing skills for quilts. Points can be tricky, but really after a few tries you will be able to know right where your seam should be and how to get the perfect point. When you are going to sew your points, you will find that there is a 1/4″ overlap of fabric, that the point doesn’t go to the edge of the block. That is how you need it! You are doing everything right if this happens. If you have points to the edge of the unfinished block, you will be cutting them off with the next seam. This overlap allows the next 1/4″ seam to but right up against the point. Perfect.
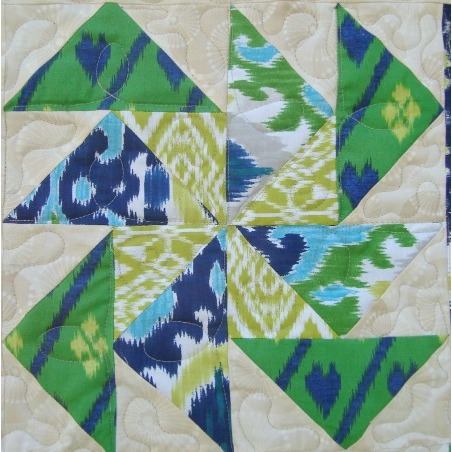
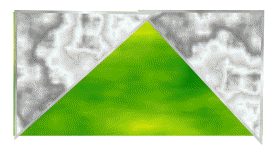
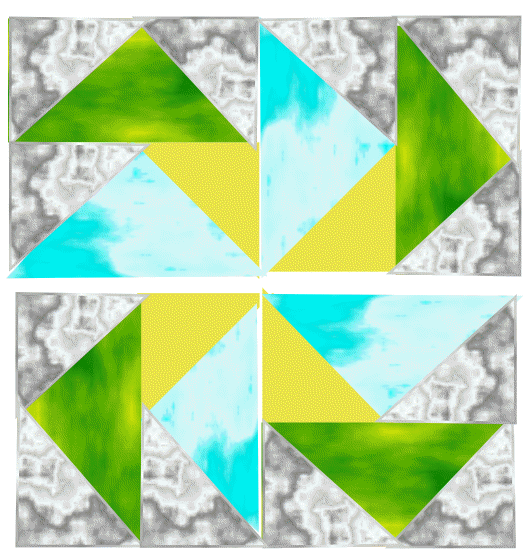
Another part of the flying geese to keep track of is your fabric placement. The background is usually the corners with the geese being the large triangle shape in the center. If you notice in the block above, there is an additional pattern because of the fabric placement.
Cutting Instructions: the parts are labeled by the colors in the photo. Hope this helps keep things straight. The pinwheel effect makes it a bit tricky
If you’d like to keep your block simple, then do the large rectangles one shape and the squares the background.
yellow- 4– 3 1/2″ X 3 1/2″
green- 4– 3 1/2″ X 6 1/2″
blue- 4– 3 1/2″ X 6 1/2″
background- 12– 3 1/2″ X 3 1/2″
Block Instructions:
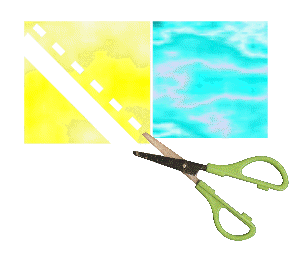
1) Lay right sides down the colored block on the background
2) Mark a line with a pencil on the wrong side of the fabric corner to corner
3) Sew just inside this marked line
4) Trim off excess, leaving 1/4″ seam allowance
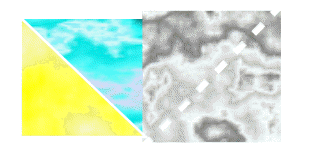
5) Repeat with other square on opposite side. Note– the square WILL overlap the previous piece. Remember- we want the point to be away from the edge 1/4″.
6) Trim the excess, leaving 1/4″ seam allowance.
7) Repeat with all other backgrounds and squares
8) Sew together 2 to make a pair- watch the placement of the blocks so you get the pinwheel effect
* Pin at the points to keep them in place
9) When sewing them you will notice that the points are still 1/4″ from the edge and that your seam you are sewing will run right into that point. Perfect!
You will also notice that the points on the end will not be at the edge either, they will be 1/4″ from the side edge.
10) Open the pair of blocks and iron flat
11) Sew the 2 pairs together to form the top strip
12) Repeat with other 2 pairs
13) Sew the top strip to the bottom strip to complete the block
* Pin at the points and at the seams to keep them in place
Want to sew along with us? Find all Previous Blocks and Instructions for the Quilt Along Quick as a Fox
To help us all connect and find inspiration from one another, there is a flickr photo gallery group- Share your progress, choices, and finished blocks there. If there is anything I know about quilters and sewists, it’s that we are very visual people. So, please share it so we can all see it.
[ts_fab]





Comments & Reviews
Why am I not able to see the pics?I just see an empty block with a small question mark.