You’ve spent hours piecing together that quilt or special project and now what? The edges need to be finished with binding…. Sometimes, this can be a daunting task. Let’s break quilt binding down into bite size steps and take the “stress” out of the task!
This project is for all levels.
Skill Level- 1 Button
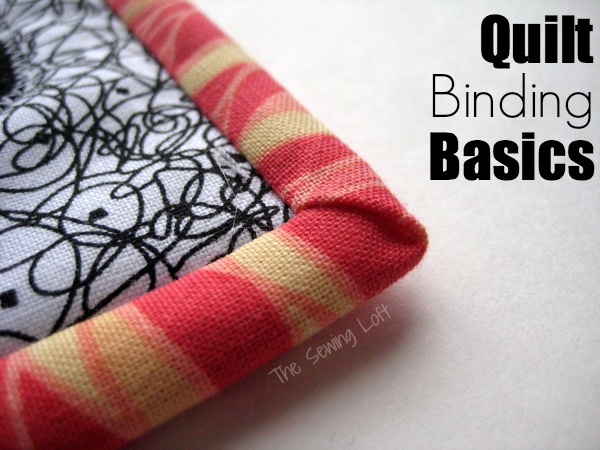
Quilt Binding Basics
You will need to start with a long continuous strip of bias binding or straight grain binding. (maker’s choice.)
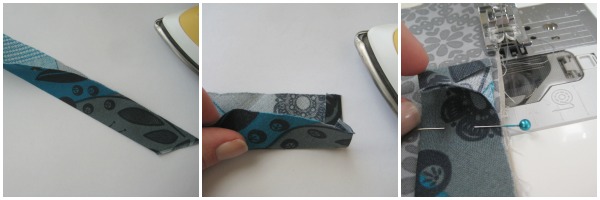
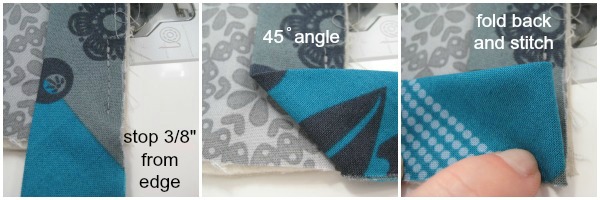
- Press 3″ wide strip in half to create a 1 1/2″ long strip with the right sides exposed. Tuck and press under 1/4″ at the short edge for a clean finish. Place and pin binding along the front bottom edge of quilt; raw edge to raw edge. Using 3/8″ seam allowance, stitch in place; stopping 3/8″ from the corner. Back stitch to secure.
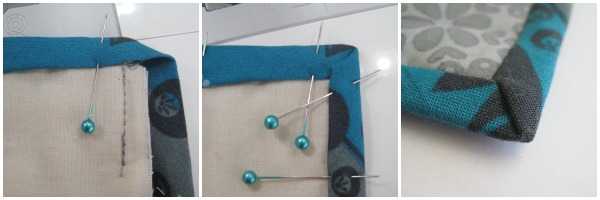
- To miter your corners, flip your binding piece up to form a 45 degree angle. Then fold back down matching raw edge to raw edge of quilt. Secure with pins and repeat step one. Repeat these two steps around the remaining corners. Trim excess threads and clip corners.
- Flip and fold the edge of binding to the back and secure with pins. Stitch in place to secure.
Quilt binding can be easy and stress free with a little prep work. Just take your time and go slow.
Hello! Are you new to The Sewing Loft?
If so, I’m glad you stopped by and hope that something has inspired you to keep your needle moving! Don’t miss a single project and subscribe via email HERE! Bonus- free embroidery pattern with newsletter sign up. Another great way to connect with me is via Facebook, Pinterest, Twitter, Google+ or Follow my blog with Bloglovin. I’m looking forward to getting to know you and creating together!


Comments & Reviews
Thanks for the visuals…and the reminder to take your time. I need to make that my mantra!
How do I stitch? What do I stitch with? By hand, by machine? In the ditch? How?
I agree, the visuals are a huge help!
It seams easy and the result is neat. Just one question. The final step ” stich in place to secure” , did you do it by hand? Couse i can’t see any stiches.
Thank you