I’m super excited to welcome Jennifer Jangles back to The Sewing Loft for our National Sewing series. You may recall her fun patchwork project from last year and can probably guess that she is known for her colorful creations – you’ll see them literally bursting from the images on her website and her Instagram feed.
Perhaps it’s her love of color that leads her to creating multiple patchwork creations at once; as she describes it, “I cannot sew one project at a time, I have have an inner need to do assembly line work. Therefore, I am usually sewing 4-6 projects at a time.”
I think we can all relate to the desire to have multiple sewing projects going on at one time!
And we’re very lucky, because today Jennifer is here to share her idea for using scraps to make a really gorgeous project!
Got lots of little fabric scraps? Here’s the perfect way to use even the tiniest of pieces.
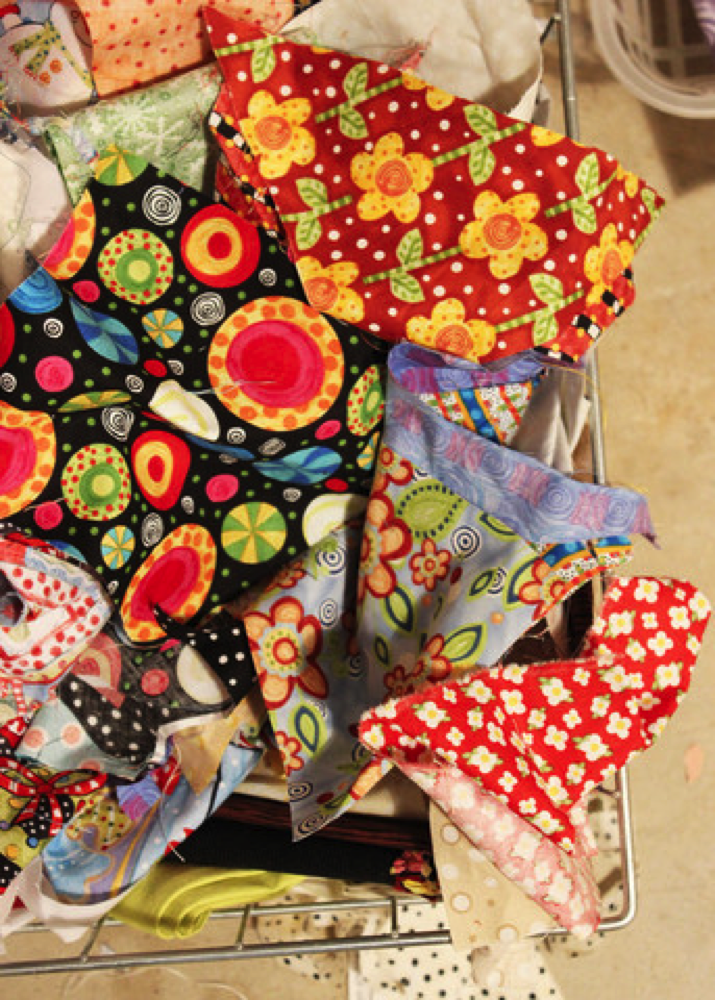
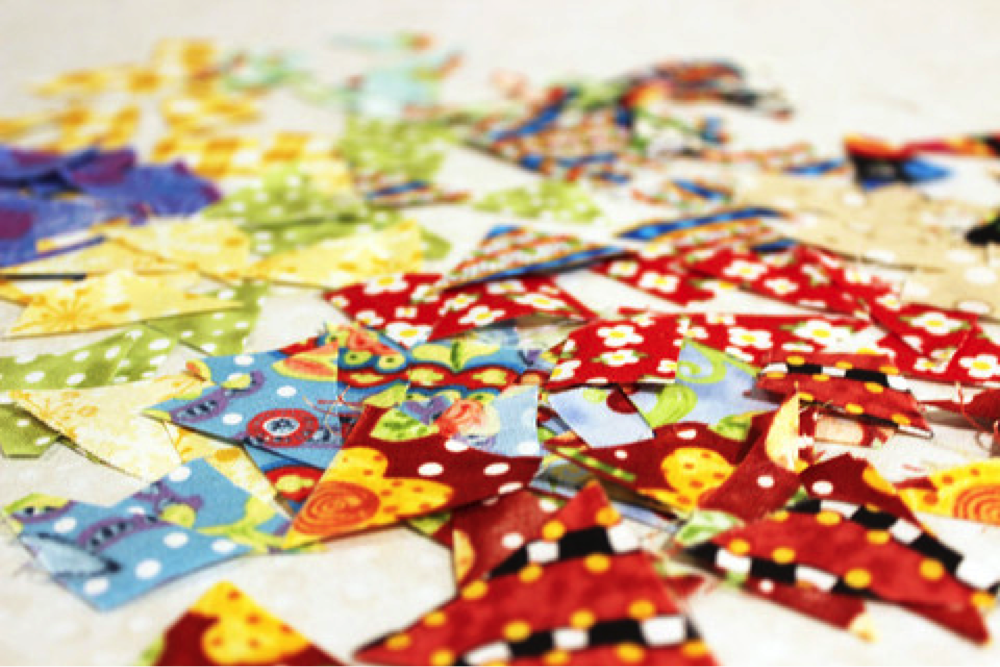
Do you have a scrap basket like mine?
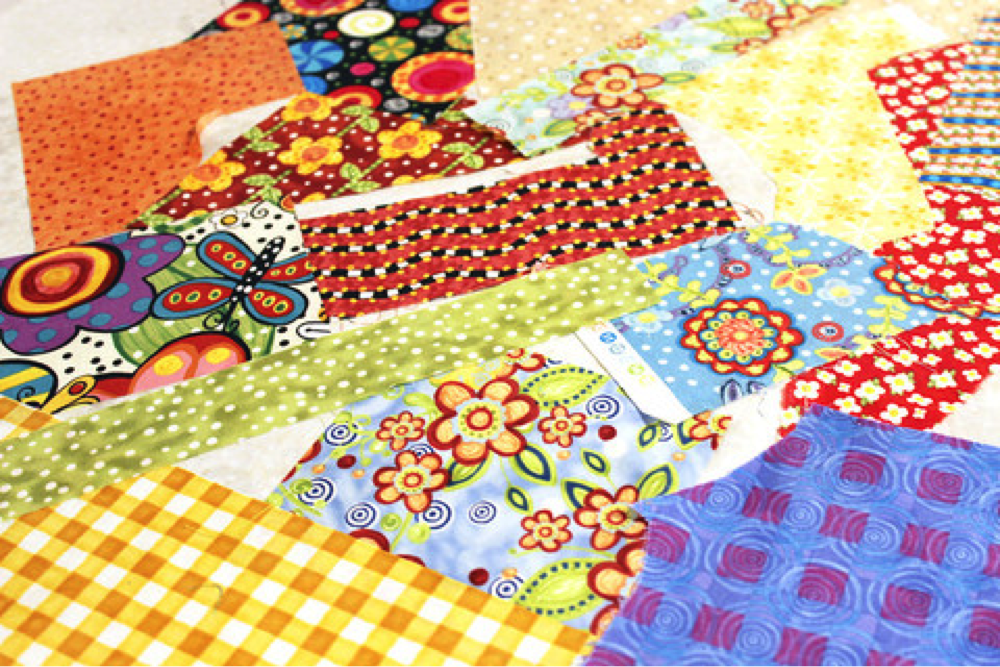
Start by going through your scrap fabrics and choose some pieces you want to work with. I went with all brights, but what if you did an all blue trim or red? You can use whatever color-way floats your boat.
Start by spraying the scraps with spray starch and then ironing them. The spray starch keeps everything stiff while your cutting and sewing so don’t skip this step, you could regret it later.
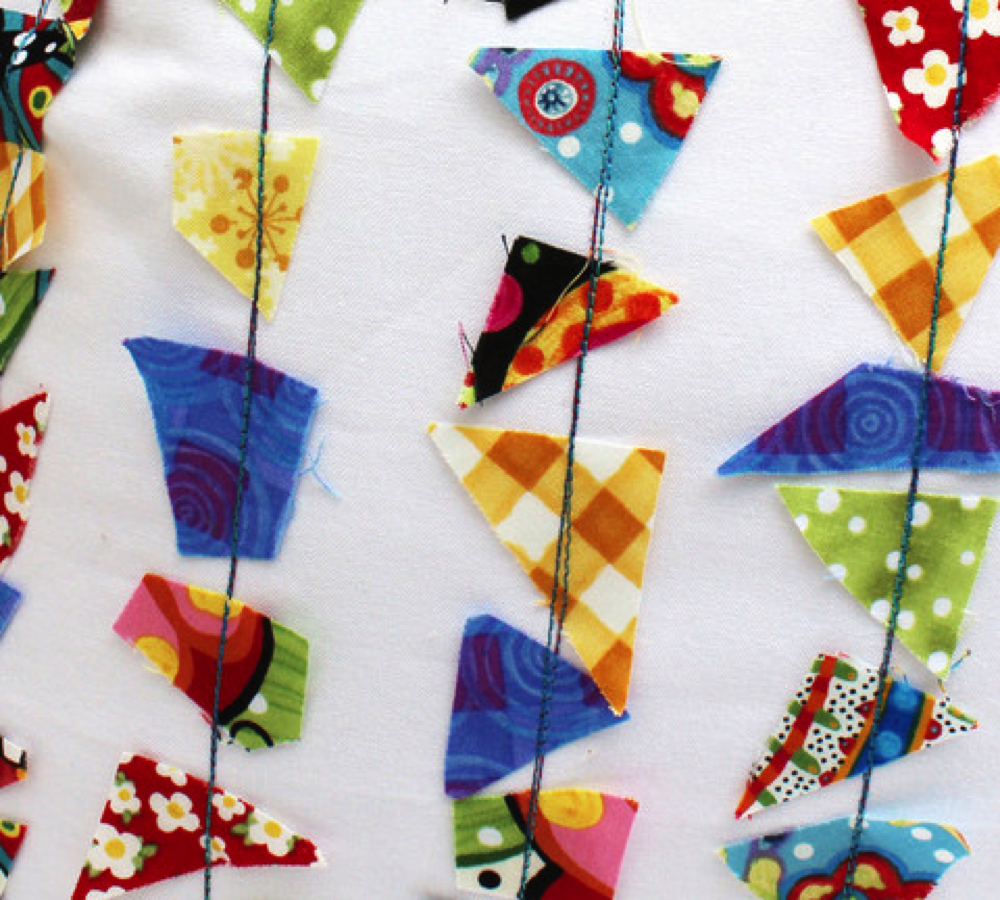
Once the scraps are starched start cutting them down in to little triangles, squares, or whatever. This is where you could use up all of those teeny tiny ends of fabric. Since I first sewed these trims up, I have started a separate scrap jar for the smallest of scraps perfect for this project.
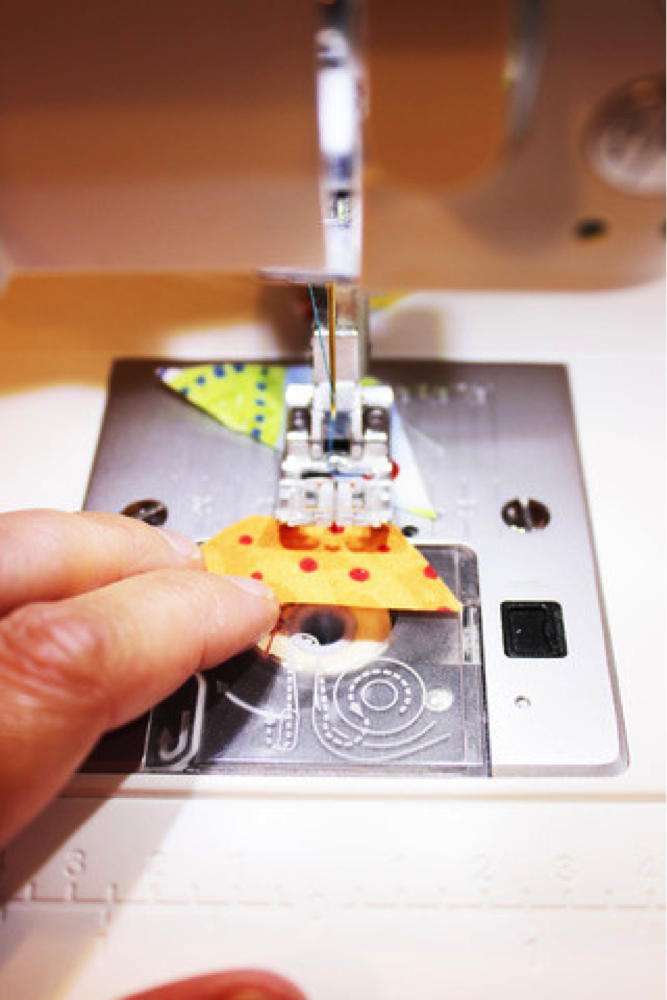
It’s time to sew them together. To make the trim extra fun, I choose a turquoise for my top thread and a red bobbin thread. You will see the thread in this trim so pick something that goes well. Here’s also a chance to use up some of those spool ends you have. Scrap busting all around!
To sew send one of the scraps through the machine, sew a couple stitches not on fabric, and then send another scrap through. Keep feeding scraps through until you have used them all.
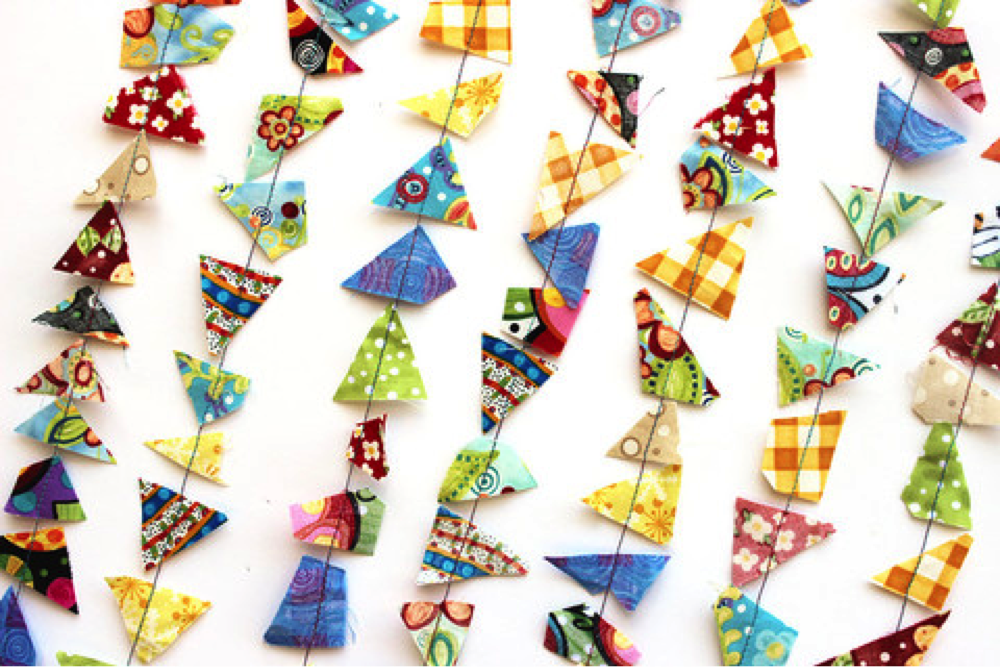
You’ll have loads of fun trim. Depending on how much trim you made, wrapping it around a pieces of cardboard or a spool can help keep it from tangling.
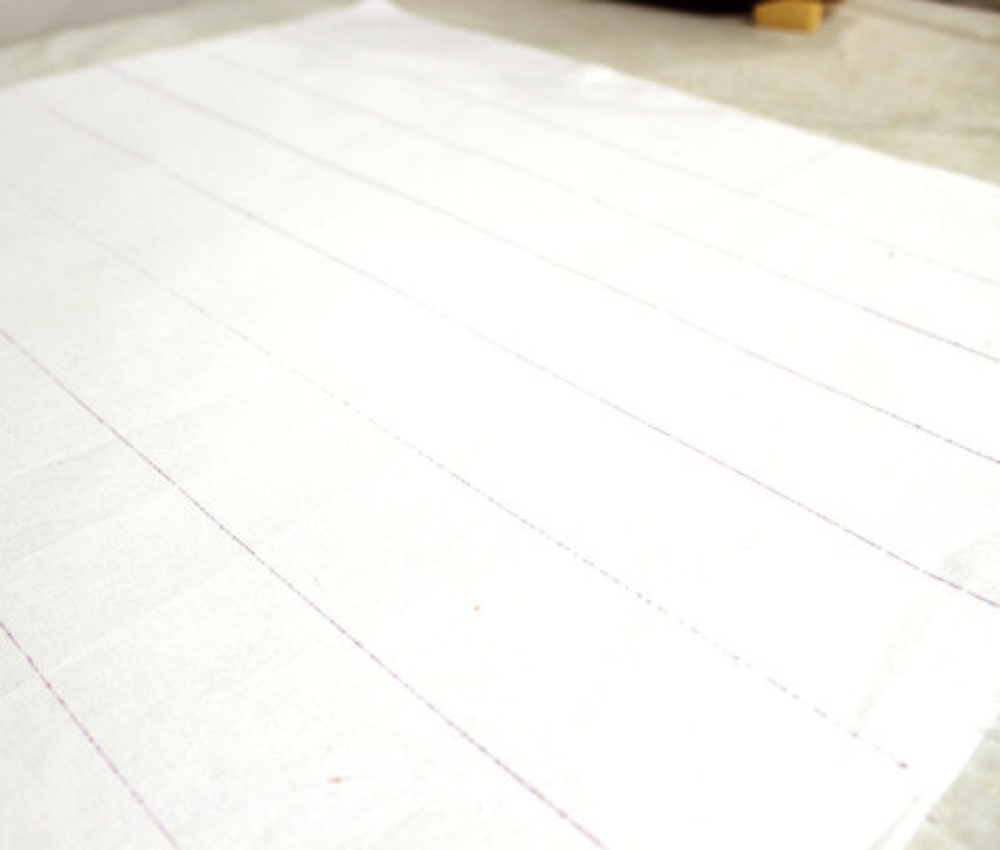
Now for the pillow, decide on the size you would like to make and cut a top and bottom piece a 1/2″ larger than the desired finished size. Since I chose white I ironed on some interfacing to make it less see through. I used my Frixion pen and ruler to draw a line down the center of the pillow. After I had my center line drawn, draw a line on each side 2″ from the center. Keep drawing lines every two inches until you reach the pillow sides. If the last lines end to close to the edge, you might want to skip sewing trim on them because the will get caught in your pillows seam allowance.
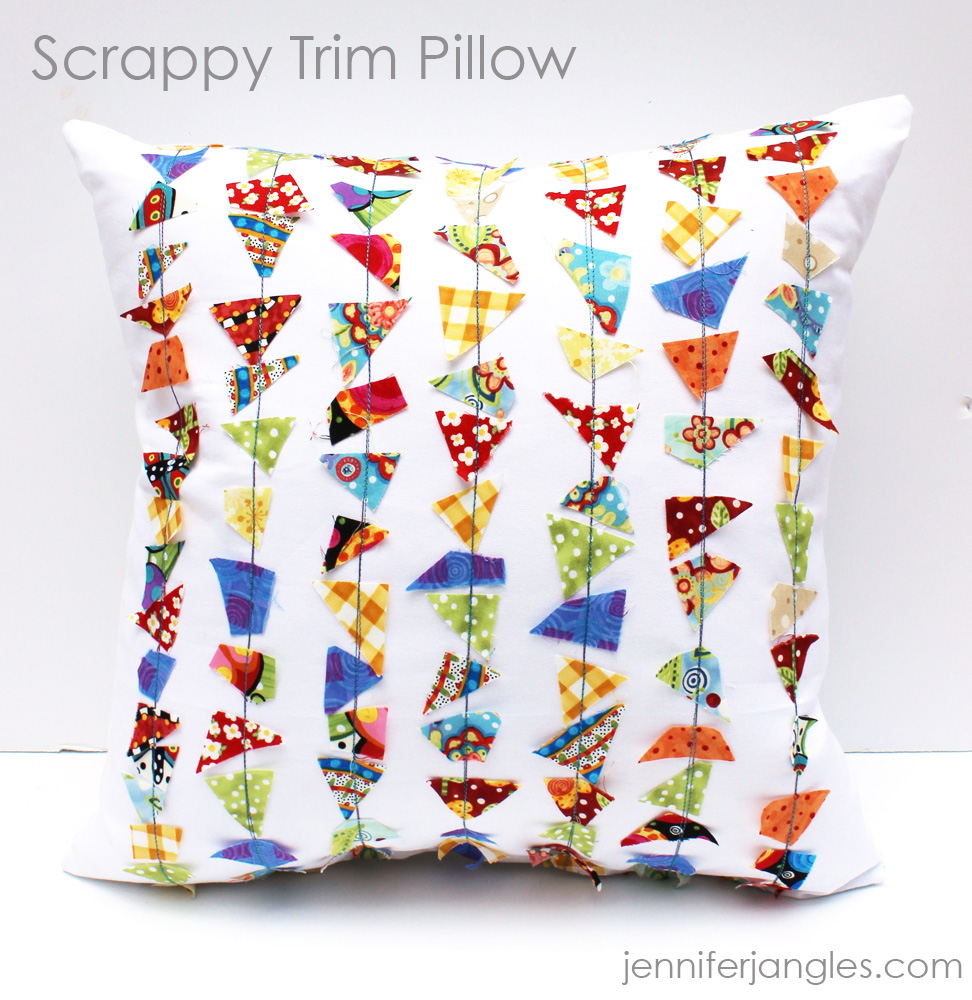
Take the pillow top to the machine and start on one of the outside lines. Align the end of the trim on the line and start sewing. Keep the trim thread aligned with the pen line. li over any of the scraps that are not facing right side up as you sew. (I found it easier to feed the trim on as I was sewing instead of pinning it on first.)
At the bottom edge, cut off the excess trim and start again at the top of the pillow. Sew the trim down each line until you have them all sewn.
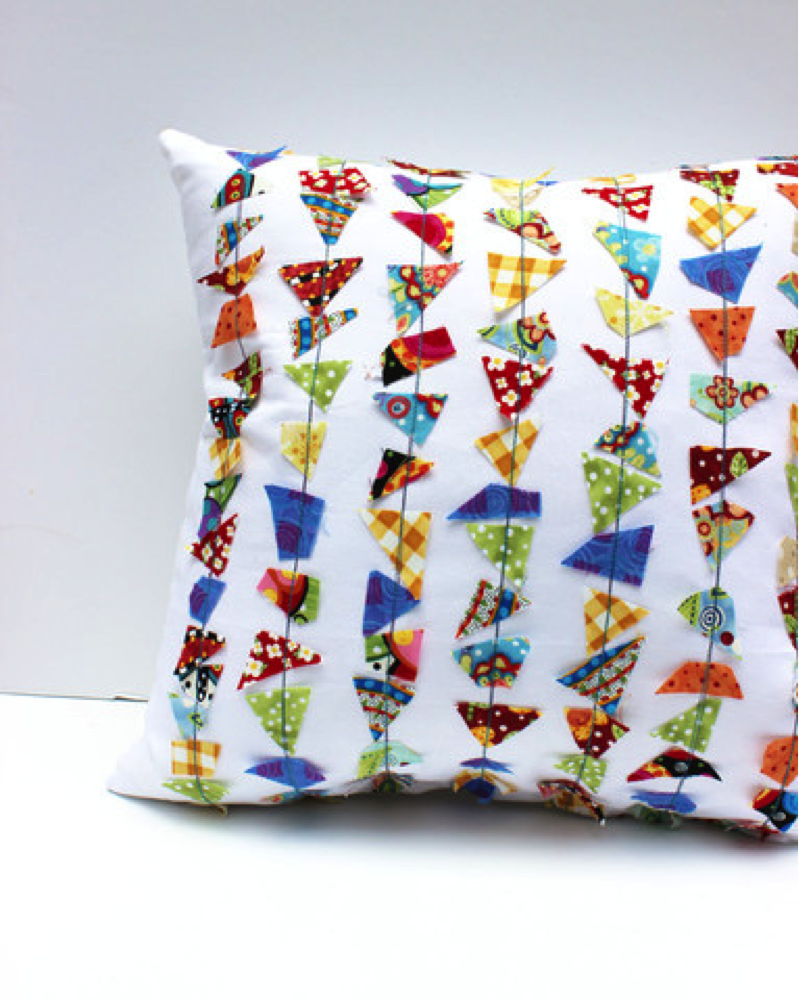
Wow, isn’t that great! Thank you so much to Jennifer for sharing this gorgeous pillow trim project with us today. If you enjoyed this tutorial, sign up for Jennifer Jangles newsletter and you’ll receive more in your inbox every few weeks.
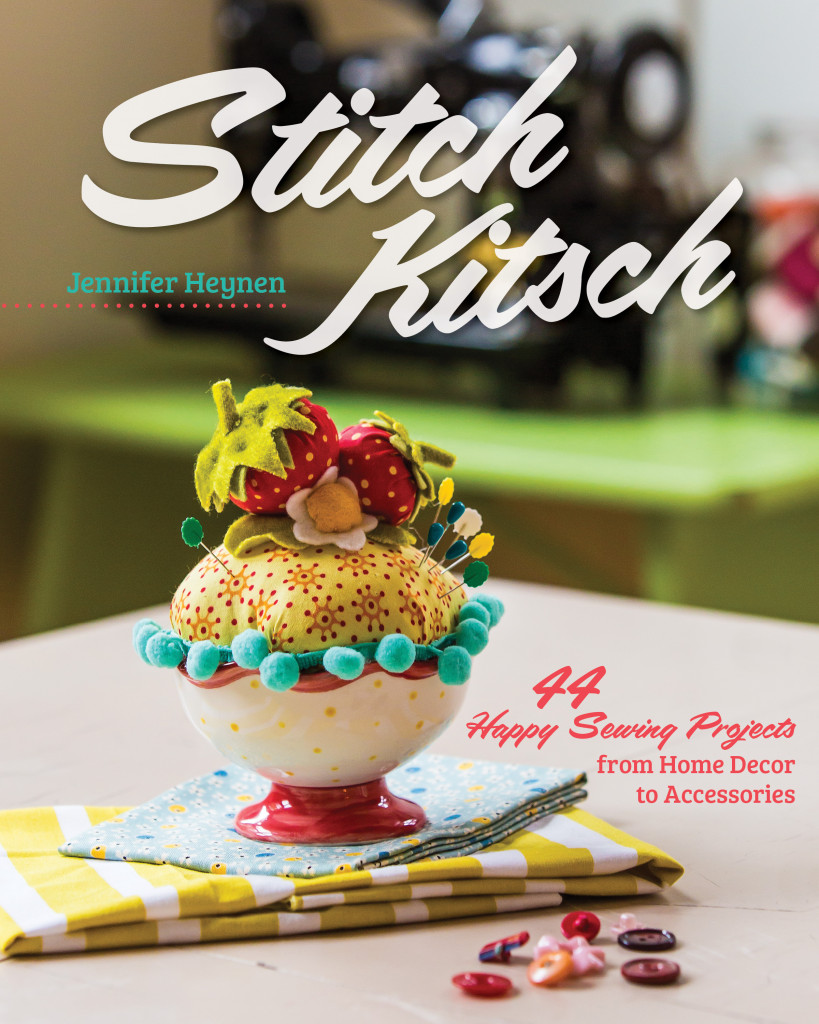
Be sure to check out Jennifer’s new book, Stitch Kitsch, not only does it hit the stores this week but Jennifer is adding a copy to the grand prize giveaway package for National Sewing Month. Stay tuned… more details are on the way!
Hello! Are you new here?
Do you want to learn more about sewing? If so, be sure to sign up for our newsletter HERE and never miss a stitch! Daily Sewing Tips, Everyday Projects and Fantastic Inspiration delivered straight to your mailbox!
Bonus– free download with newsletter sign up.
Feel free to connect with me on Facebook, Pinterest, or Instagram. I look forward to getting to know you and stitching up a storm together!




Comments & Reviews
This is such an awesome way to use up those “treasured” scraps and make something very sweet!! Jennifer is such a creative soul, I love her ideas so this book would be wonderful o own!!
Love it!! I’ve got a Craft Gossip post scheduled for later this morning that links to your tutorial: http://sewing.craftgossip.com/?p=84544 –Anne
I love this idea, and of course I love Jennifer’s style!
Such a fun way to use
up scraps!
Carla from Utah
Paper crafters do something like this with excess paper scraps. this is really clever.
thanks for sharing.
This is such a fun pillow…I love Jennifer’s Patterns…they are sew sew much fun!! I love your site too..I follow you both and Jacquelynne Steves too!!!
Fantastic!
I love it!!! I will use this tutorial in my next cushion a good way to use my tiny scraps.
Thanks so much for sharing, Jennifer. I’m going to sign up for your newsletter
Does the starch get washed out from washing the pillow when it needs cleaning?