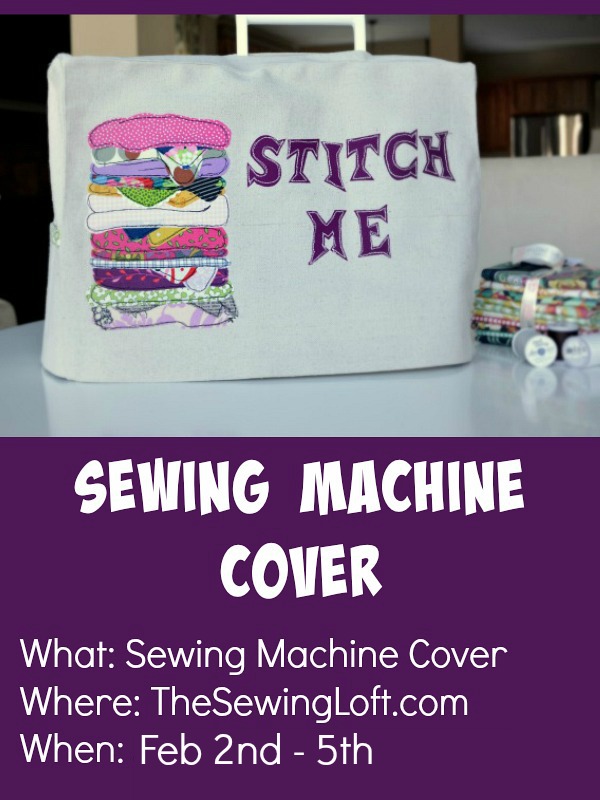
Welcome back to our sew-along! By now you should have cut the fabric for the main body of the sewing machine cover. For today, we’re going to leave most of those pieces off to the side and instead focus on preparing and applying the applique design.
Sewing Machine Cover Applique
This project is for all levels.
Skill Level- 1 1/2 Buttons
Supplies:
- Sewing Machine
- Free Motion Transparent Foot
- Heat Erasing Pen
- Heat n Bond Lite
- Cut pattern pieces (more info here)
- Scrap Fabrics for binding
- 4″ Scrap Trim like ric rac
- Basic Sewing Supplies
- Coordinating thread
- Scrap Fabrics
- Applique Template
Basic Instructions:
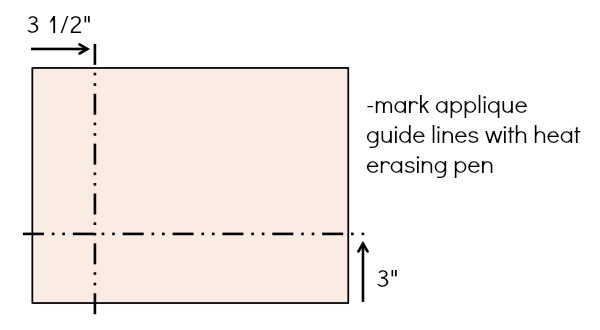
- With heat erasing pen, mark a horizontal line on the front cover piece that is 3″ up from the bottom edge and a vertical line 3 1/2″ from the left side seam.
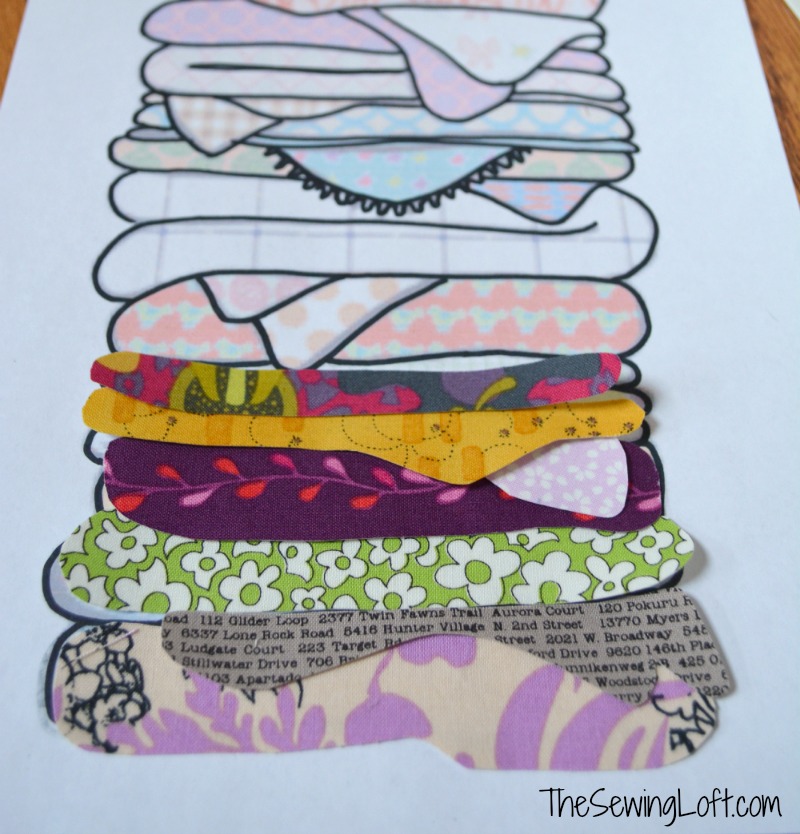
- Print the applique design, found HERE. Trace each piece onto the paper side of fusible leaving a 1/2″ space between each piece. Following the package instructions, fuse to wrong side of fabric.
- Carefully cut out each shape using sewing scissors. Tip: This is a raw-edge applique design, so cut your pieces carefully! You won’t be hiding the cut edges in a seam allowance!
- Adjust your machine set up for free motion or freestyle stitching. Be sure to check your manual since every machine is different. Here’s our tutorial to help you do this.
- Using the point you marked in step 1, position the 1st piece of applique cut out centered on that point. Press with your iron to fuse the design in place.
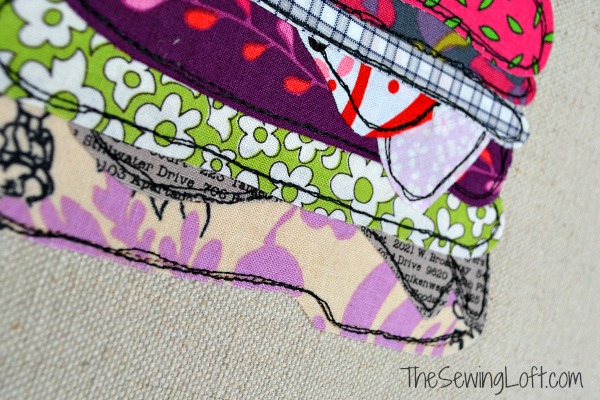
- With heat erasing pen, mark the thread position and stitch in place with contrasting thread.
- Add the next portion of the applique design. Press in place and mark with pen, then stitch.
- Repeat step 6 to add the remaining layers of the applique design to the front of the sewing machine cover. *You will notice that I added an optional piece of of ric rac trim on layer 14 of my fabric pile.
- Press the finished piece to remove any visible pen lines. Return machine to standard set up.
That’s it for today! Show off your designs on Instagram and Twitter, and be sure to tag me – @TheSewingLoft – so I can see what you’re making!
Tomorrow we’ll sew together the body pieces of the sewing machine cover, and Thursday we’ll wrap up our sewing machine cover with the finishing touches.
ps. It’s not too late to sew along with us! You can find all of the previous sewing machine cover instructions here.
Hello! Are you new to The Sewing Loft?
If so, I’m glad you stopped by and hope that something has inspired you to keep your needle moving! Don’t miss a single project and subscribe via email HERE! Bonus- free embroidery pattern with newsletter sign up. Another great way to connect with me is via Facebook, Pinterest, Twitter, Google+ or Follow along with Bloglovin. I’m looking forward to getting to know you and creating together!


Comments & Reviews
Are you going to go over the appliques of the letters on the sewing machine cover?
Hello Julie, the letters are stitched on with the same free motion stitching as the fabric pile. I evenly positioned them to the right of my fabric pile by eye.
~Heather