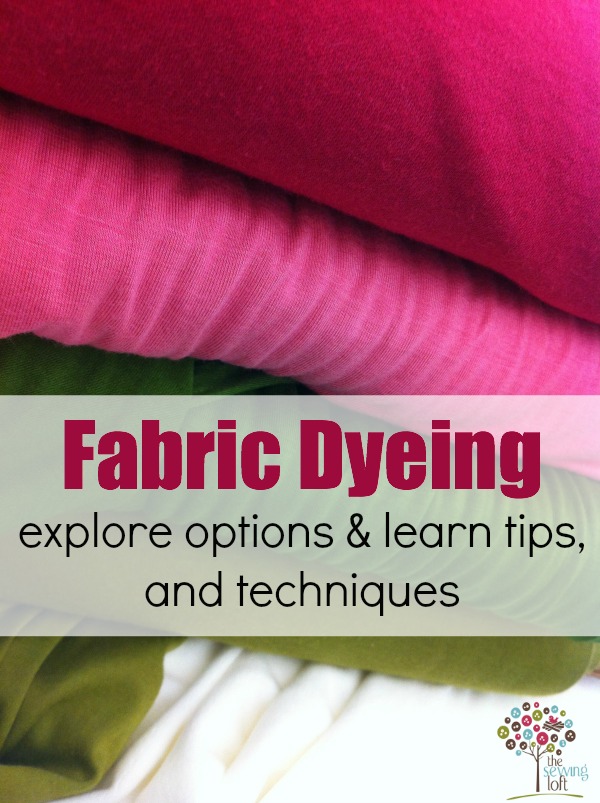
If you want to change the entire color of a piece of fabric instead of just adding a design onto the existing background, then fabric dye will come to your aid! Whether you want to make your fabric into one solid color or use the dyes to create your own designs, there are plenty of options available.
This post contains affiliate links to products I own, use and love.
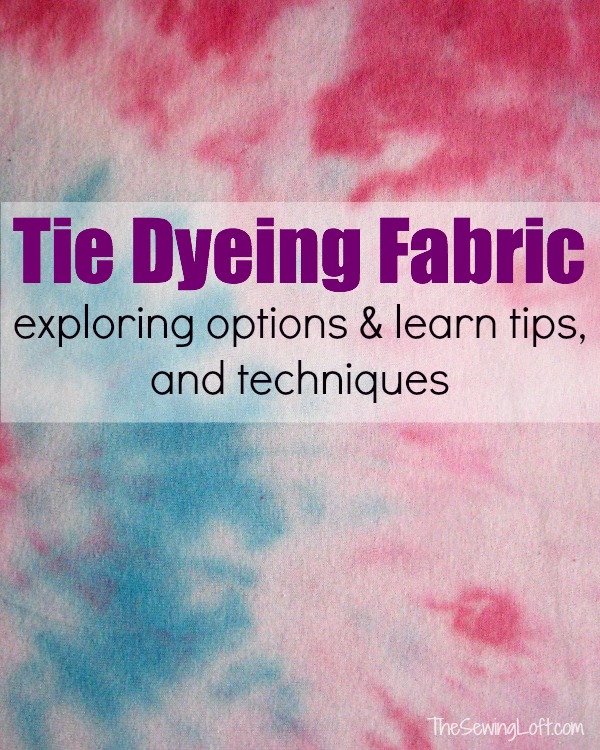
Today, it’s time to go back to your roots! If you ever made a tie-dyed T-shirt as a kid, then you’ve already got all the skills you need to dye your own fabrics. This method is a great way to create a batik-style design on your fabrics before sewing them, or to add retro flare to an old T-shirt in your closet.
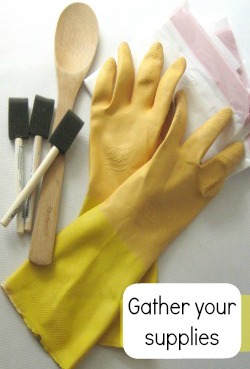
In order to tie dye fabric or clothing, you will need:
- fabric dye (such as Rit or Tulip brand clothing/fabric dye)
- fabric (cotton woven fabrics, knit fabrics, or clothing such as T-shirts or socks)
- large buckets (one for every dye color used)
- hose or sink for rinsing
- long wooden or plastic stirring spoon or painting sticks
- protective clothing, apron
- rubber gloves
- rubber bands, cotton yarn or twine
- scissors
Another Great Idea>> Ombre Dip Dyeing
How to Tie Dye Fabric:
-
Gear up.
Wear old clothing or a large, protective apron and rubber gloves as you work. -
Prepare the dye mixture.
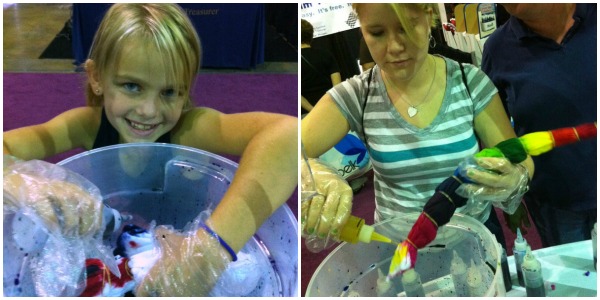
Mix up a package of fabric dye (such as Rit and Tulip dyes) in a large container or bucket. You can tie dye in one single color, or repeat this step in separate containers to use more than one color. Follow the directions on the package to make sure you get the proper ratio of dye to water (and add any other necessary ingredients).
Tip: This is a great activity to do outdoors with kids when the weather is nice. That way you don’t risk getting dye all over your house!
Tip: Be sure the fabric dye you have chosen will work well with the fiber content of the fabric you plan to dye! -
Prepare the fabric.
Take your fabric and tie it in a few different places. Use cotton yarn or twine or rubber bands – one method is to roll up the fabric and then tie it up every few inches across the roll. Another method is to lay the fabric flat and pinch it in the center, picking it up like a handkerchief. Tie it near where you pinched and then in several more places going out toward the edges.
Tip: Make your rubber bands or yarn ties nice and tight – the idea is that the dye won’t seep through to the areas under the ties as much as it will on the rest of the fabric; this is where the tie dyed design comes from! -
Dye the fabric.
Dip your fabric into the dye bucket. If you’re only using one color, put the whole piece of fabric into the bucket. If you plan to use more than one color, then only submerge one section of your fabric. Let the fabric sit in the bucket and poke it with a wooden or plastic spoon (one that you will NOT be using for food any time in the future) to stir it up and help spread the dye. -
Test the dye job.
Pull out the fabric and see if it is as dark as you wanted it to be – if not, put it back in for a while. Once it is fully saturated, pull it out and rinse it in cold water using a hose or a utility sink. -
Repeat.
Repeat steps 3 and 4 for any other colors you want to include. -
Let the dye set.
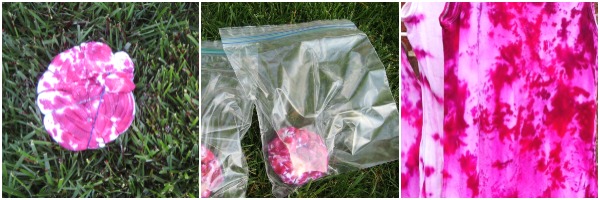
Wrap the fabric in a plastic bag to keep moist and allow the dye to set properly. Be sure to refer to manufacturer’s instructions for specific reaction times. -
Wash the fabric.
After the final rinse, remove the ties or rubber bands by cutting them off with scissors (be careful not to cut the actual fabric!). Wash your fabric in the washing machine and dry it as normal to see your tie dyed creation emerge!
Did you harken back to the 1970s with your tie dyed creations? We’d love to see them! Share a photo in our Sewing Loft Flickr Pool!
There are so many different ways to create fun patterns with tie dye. Click here for a complete breakdown of folding and tying in fold by Pro Chemical.
Fabric Dyeing Mini Series Round Up-
Come back next week, when we’ll talk about using dip dyeing to change the overall color of your fabrics in bold or subtle ways!
Hello! Are you new to The Sewing Loft?
If so, I’m glad you stopped by and hope that something has inspired you to keep your needle moving! Don’t miss a single project and subscribe via email HERE! Bonus- free embroidery pattern with newsletter sign up. Another great way to connect with me is via Facebook, Pinterest, Twitter, Google+ or Follow my blog with Bloglovin. I’m looking forward to getting to know you and creating together!



Comments & Reviews
Heather, I’m cracking up. When I was in my late teens, to tie dye or wear tie dye was the equivalent of announcing to the world “I’m a radical hippie type (or wanna be).” When you said “back to your roots,” it took me to a whole other place. Then it hit me – it’s very possible your grandmother taught you to tie dye. We grandmas sure have changed!
Love it Lou Ann! My Granny was so not that type. This was more of my moms wheelhouse. I actually made a few pieces last weekend with my girls and they loved it!
~Heather