I’m excited to be a part of DMC’s blog hop with my friend Bev from Flamingo Toes and have a real treat to share. Normally when you hear DMC you think of embroidery floss right away but did you know they offer other fun products like cork fabric? Sounds crazy right! Well, it’s true and I’m putting the fabric to the test with some zenbroidery today.
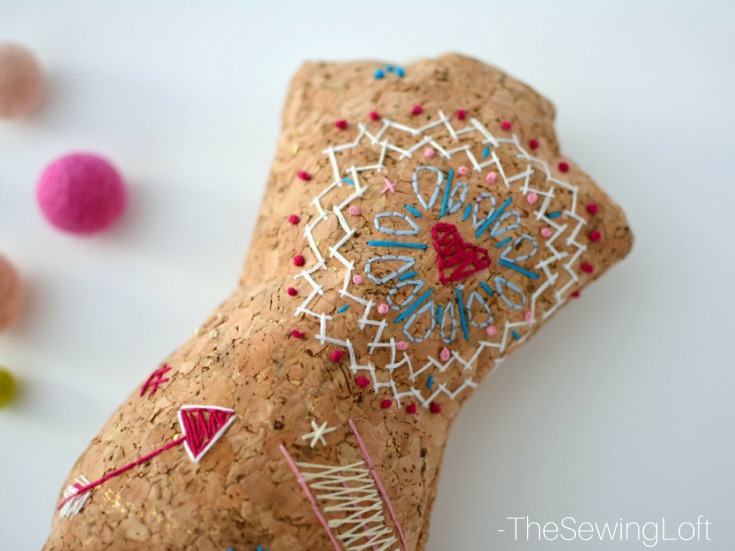
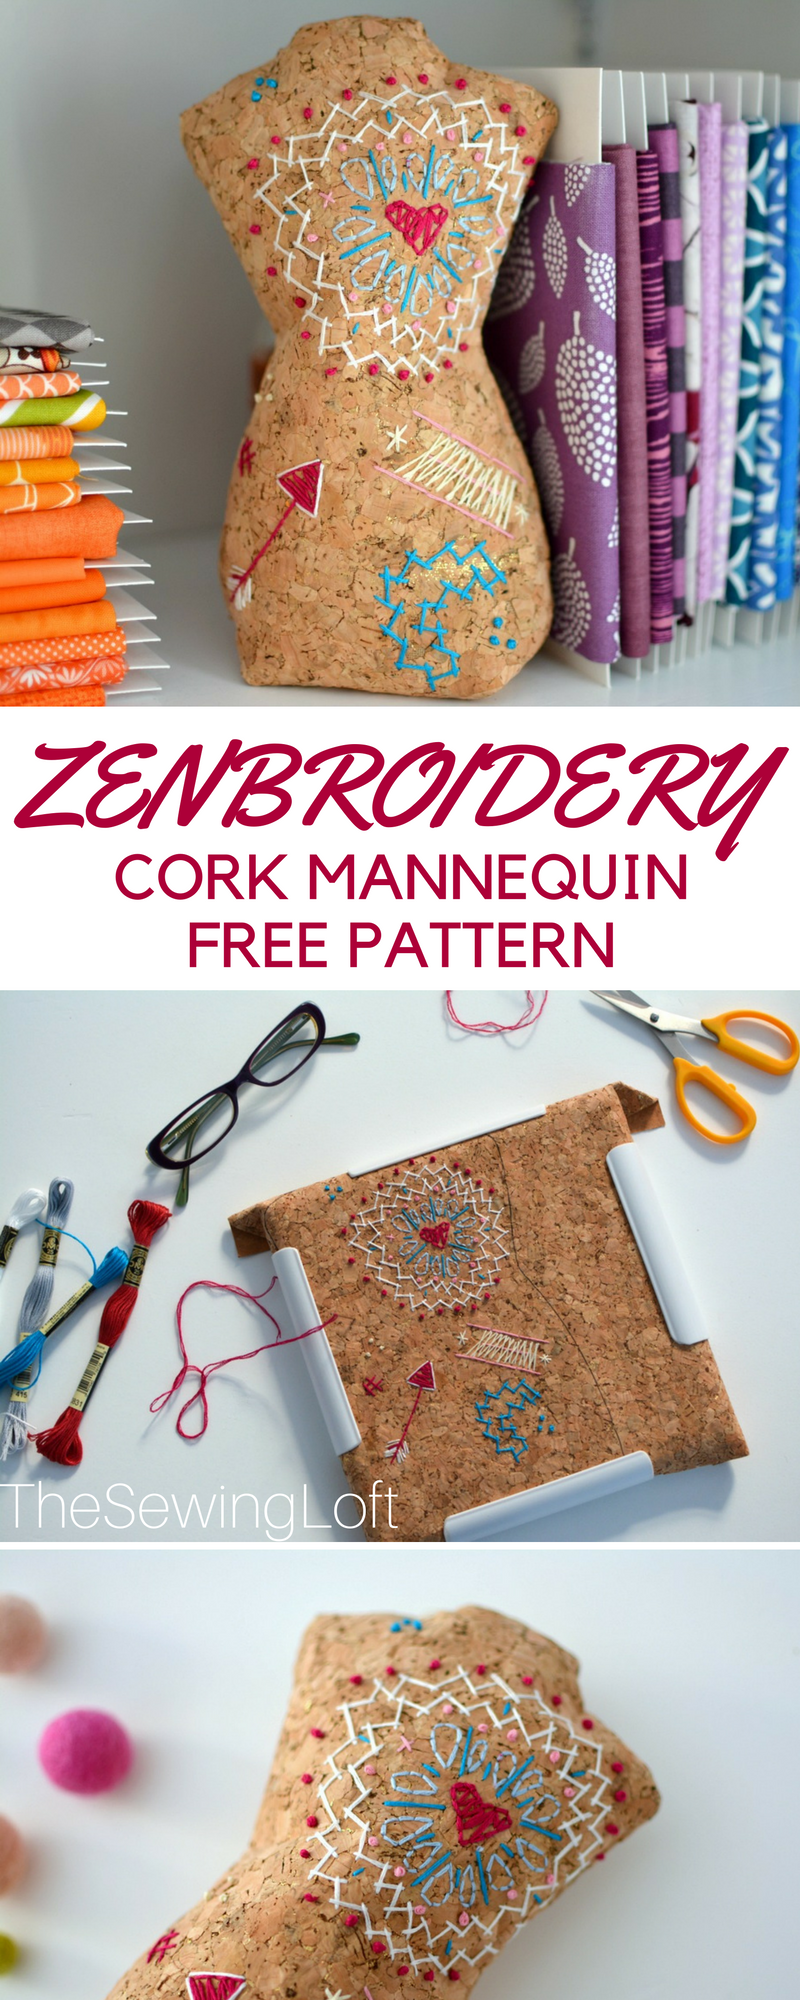
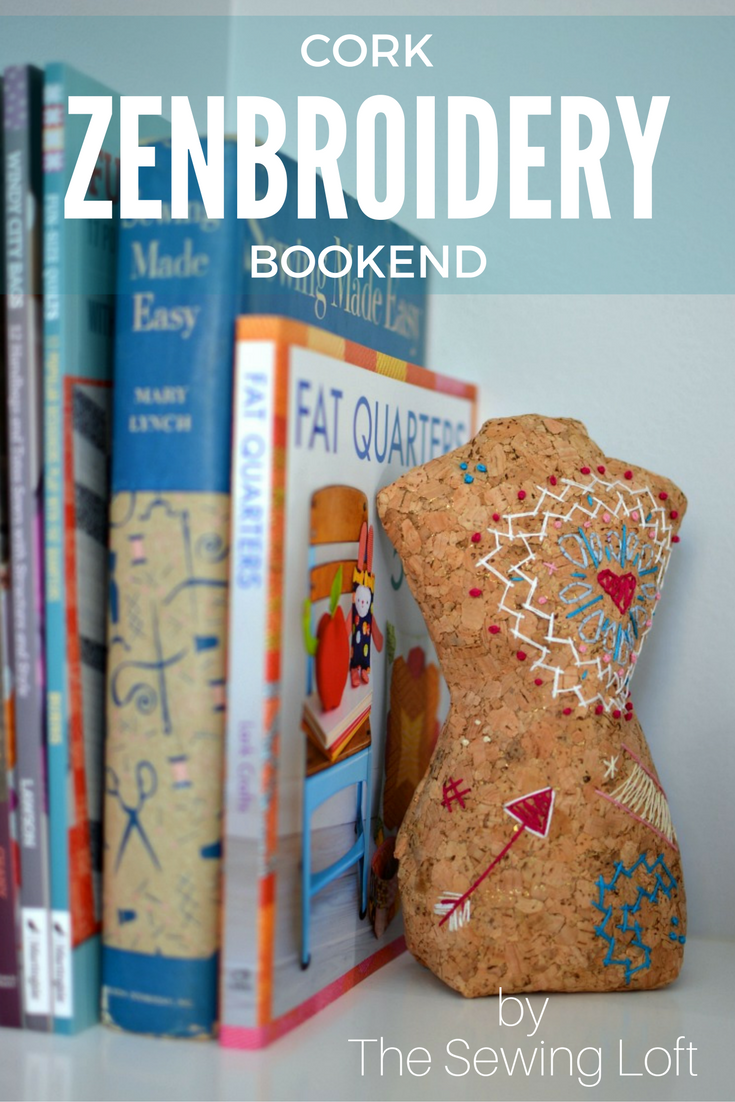
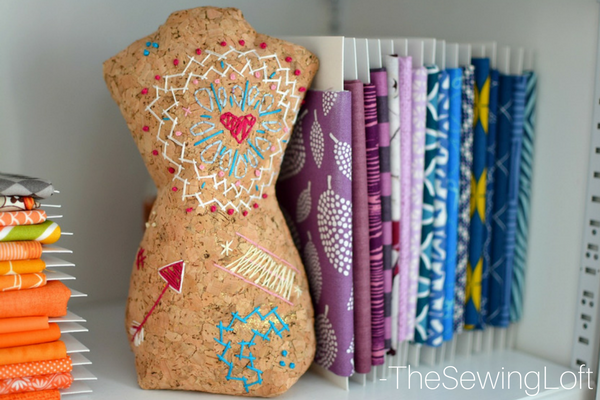
Zenbroidery Cork Mannequin
I’m gonna just give it to you straight. When I first heard the words fabric and cork together, I was extremely skeptical. Could I really stitch through it? Would it be flexible and not break or would it be too rigid to work with like fabric. So many questions lurking in my mind.
Well, this project really put those questions to the test.
Not only was I able to machine stitch through the fabric but I could hand stitch through it with ease.
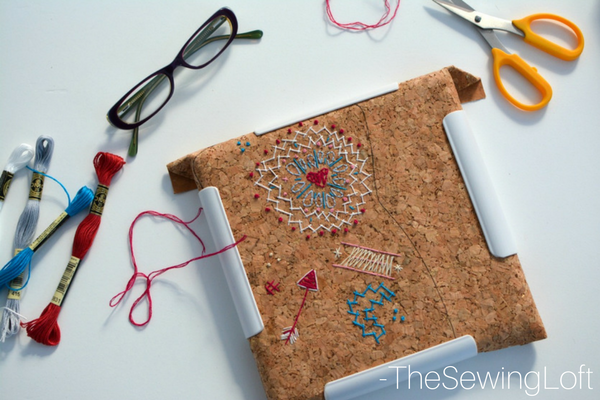
Heck, I even loaded it up on my Q-Snap frame with no issue. This made the free form zenbroidery easy to tackle.
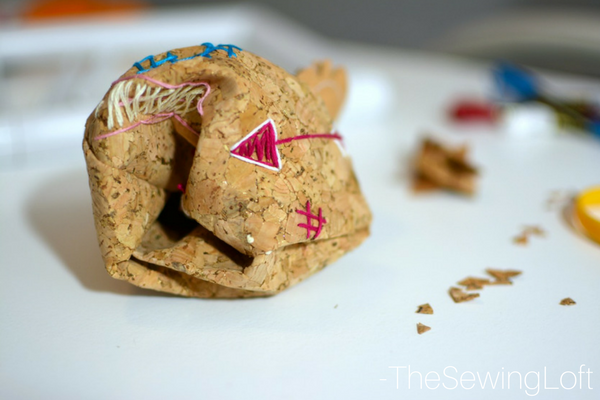
There was no special tools required for machine stitching but I will say that turning the mannequin right side out took some time. The hardest part was getting it started. I suggest using something with a soft tip like a pencil eraser for pushing out those points.
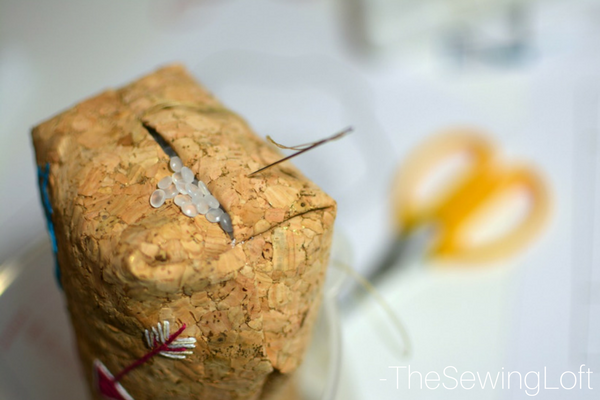
Instead of using standard pol-fil, I used stuffing beads. These gave my book end some weight and worked like a charm.
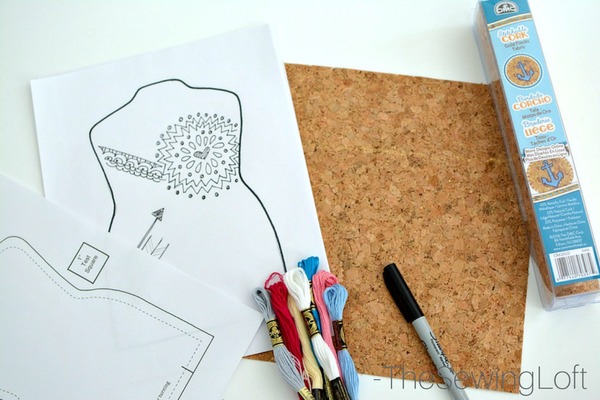
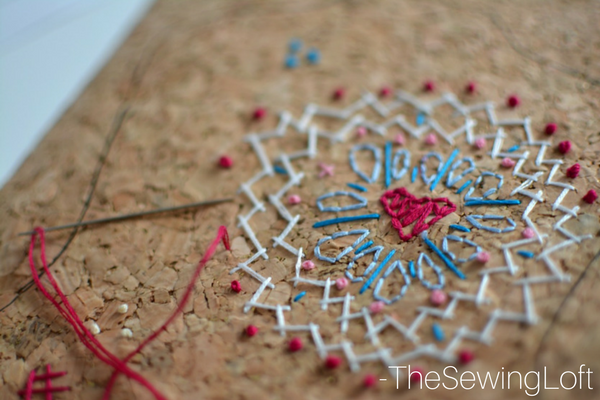
Ready to make your own? Here is the supply list and free template. It really was super easy and so much fun to create the doodle embroidery. Using the basic back stitch, I kept working around that main heart as my focal point in layers. I even used french knots.
Supplies:
- gold flecked cork (2 packs)
- assorted DMC embroidery floss
- hand sewing needle
- stuffing beads
- Q-snap frame
- free mannequin template (reduced 20%)
Even though I made this mannequin for my books, I think it looks better snuggled right up against my mini bolts. Love it!!
Cork Fabric Quick Tips:
- Allow the fabric squares to rest before cutting. (I used a slightly warm iron but am not sure that was a best practice.)
- Take your time! Do not rush through it. Especially when turning it right side out.
- A sharp hand needle is helpful.
- Bold colors really POP off the cork.
- Clip your corners and curves.
- It does not fray…. BONUS!
Special thank you to DMC for sending me such inspiring materials. I’m seeing more projects in my future with this stitchable fabric cork and might even have to try the mesh. Now that you know all about Zenbroidery and cork fabric what will you make today?
Hello! Are you new here?
Do you want to learn more about sewing? If so, be sure to sign up for our newsletter HERE and never miss a stitch! Daily Sewing Tips, Everyday Projects and Fantastic Inspiration delivered straight to your mailbox!
Bonus– free download with newsletter sign up.
Feel free to connect with me on Facebook, Pinterest, or Instagram. I look forward to getting to know you and stitching up a storm!


Comments & Reviews
Thanks so much for the feature!
~Heather