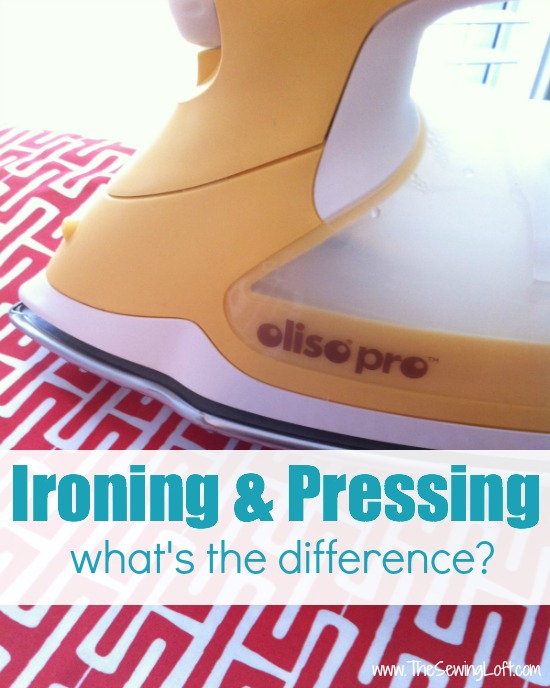
You may have heard the terms pressing and ironing being used interchangeably in casual language. In sewing terms, however, these two words have very different meanings indeed – and using the wrong one in your sewing projects could mean ruining that project before it’s even finished.
So – what’s the difference between pressing and ironing?
-
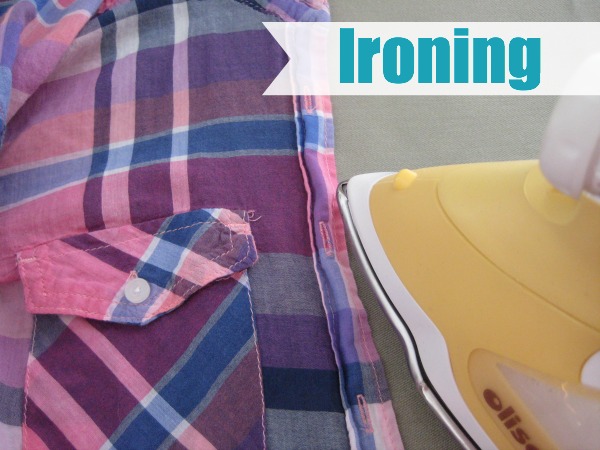
- Ironing is what you do when you want to get the wrinkles out of something that has already been made, such as a shirt or a tablecloth. When you iron, you press down with the iron onto the fabric and move it slowly back and forth until the wrinkles are gone.
-
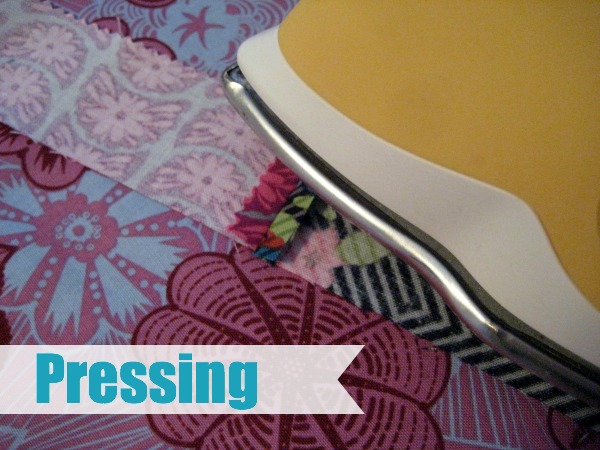
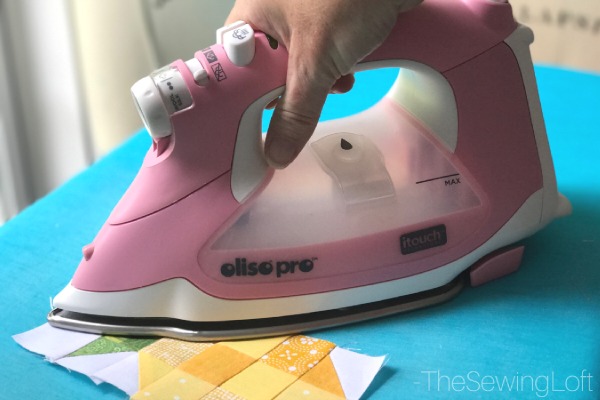
- Pressing is what you do when you’re making something out of fabric and it isn’t finished yet. When you press your sewn pieces, you lift the iron and place it gently down over the area (usually a seam), then lift it and move it again. It’s an up-and-down motion rather than a side-to-side motion.
What difference does it make? When you iron an unfinished piece of fabric, you risk distorting the grain of that fabric. This distortion can make a difference in the shape, drape, and size of your finished item. Pressing eliminates that risk by simply lifting and placing the iron onto the fabric instead of pushing and shifting the fabric underneath the weight of the iron.
Benefits of Pressing:
-
Your finished sewn item will look more professional in the end because you used pressing in the process. You’ll be far less likely to hear “Is that homemade?” when you wear your new blouse around town. Instead, you’ll have people asking you which fancy boutique you went to in order to score such an awesome top!
-
Pressing helps you to finish your seams. Whether you’re sewing a skirt or a quilt, setting your seams helps them to be stabilized, polished, and professional looking.
-
Pressing blends the stitches into the fabric, flattening and smoothing any puckers that may have occurred during sewing.
Tips for Pressing:
-
Lift and press your iron into the fabric with a gentle motion, applying pressure only for particularly stubborn seams.
-
Always press your fabric on the backside (wrong side) whenever possible. This will prevent the iron from damaging or altering the right or top side of the fabric.
-
Use a pressing cloth when pressing on the right side of the fabric. These are available in most craft/fabric shops, or you can use a scrap of muslin in a pinch. Layer the cloth between the fabric surface and your iron for an added layer of protection.
-
Start with your iron at a low heat setting and gradually increase it as needed to get a professional-looking finish in your pressing. Look at the fiber content of your fabric and be sure to use the recommended heat setting. It will be listed right on your iron.
-
Never press over pins – at best your pinheads can create dents in your fabric and at worst you will scratch your iron or melt the pinhead onto the iron or the fabric.
-
When you’re making something with a curved seam, such as a sleeve or a skirt, place a pressing ham or sleeve board (again, available at sewing shops) underneath the seam as you press. These will help maintain the shape of the curve while you press and prevent puckered seams.
-
Use a presser bar when you have to reach into a small area that your iron isn’t small enough to get into. A presser bar is a wooden stick with an angled tip that will allow you to hand-press your item (similar to finger-pressing but with a tool) in a pinch.
-
Practice pressing a scrap piece of your fabric before you press the actual item. This will help ensure the proper settings and that your iron isn’t going to alter or damage the fabric.
-
Keep your iron and ironing board handy as you sew so that you will not be tempted to skip the pressing step as you sew. Press every seam to make them look as professional as possible.
Pressing and Ironing
Ultimately, pressing and ironing are two very important techniques in the sewing world. Every sewist needs to take the time to practice a bit with pressing to find the methods that work best for each project. In the end, the time you take to press as you sew is time well spent. Remember, pressing yields professional results in all your finished sewn items.




Comments & Reviews
I always get something wonderful to take-away from the Sewing Loft email, but this one has to be among the very best. I can’t wait to share it with my sewing students, they always seem to have a bit of a ‘cocked head’ look to them when I try to explain this. Your blog post makes it so much clearer than I ever could, thank-you!
Thank you so much Sunnie! I’m so glad to hear that it helps. Would love to know what your students are working on.
~Heather
My children’s group (ages 6-10) are sewing sleep-over bags, and are about to move onto simple PJ sets; my adult learners (two different groups) are on blouses and men’s shirts, and what we call ‘soft furnishings’ here in the UK – home decor back home in the US:)
That is great Sunnie! Love to hear that you are sharing your knowledge with others.
~Heather
This is exactly what I was just teaching my student. I will be sharing this with her. Thank you!
Wonderful, I am so happy to hear that these types of articles are helpful!
~Heather
Great post!! I always laugh at how I refuse to iron clothes once they’re made, but I’m fanatical about pressing when I’m sewing. I’ve got a Craft Gossip post scheduled for later today that links to your tips:
http://sewing.craftgossip.com/heathers-tips-for-pressing-your-sewing-projects/2014/01/21/
–Anne
Thanks for the feature Anne! I’m the same way. Ironing clothes is not my fave but a sewing project is a totally different ballgame!
~Heather
Do you like that iron? I have been looking at one and trying to figure out if it is a good investment.
I do like the iron but I will say that I am experiencing some leaking issues with it right now. The company has advised that they will replace it and am I in a holding pattern until it arrives. I am hopeful that it will come soon!
~Heather
This is a really great guide for people who don’t know the difference between ironing and pressing. Thanks for explaining it so well!
I featured your post on my blog, you can see it here: http://www.sewingshop.net/blog/ironing-vs-pressing/
I just read the article you linked to about using (or not using) distilled water in your iron. I wonder if, in my case, I should continue using the distilled water, as my tap water contains sediment. At times, that’s a lot of stuff I wouldn’t want in my iron. And other times, it’s almost completely clear. My other option would be to run the tap water through my Brita filter first… Either way, it’s not often that I use the steam feature of my iron.