Whether you’re a novice sewist or a veteran, you want the items you sew to look polished and professional. With just a few simple steps, you can tweak your sewing habits to give your work that extra something special that will make anything you sew look like it could have come from an expensive boutique.
Just follow these steps and practice improving the smaller steps in the sewing process to see big results in the finished project!
Improve your sewing skills in 4 easy steps
Step 1: Cut your patterns carefully.
-
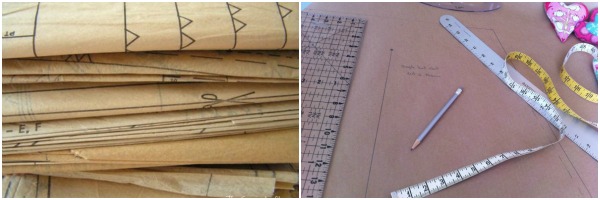
When you’re sewing something that has pattern pieces to cut around, be sure you press the pattern paper itself so the wrinkles won’t distort the shape of your cut fabric.
-
Pay attention to fabric grain: if the pattern tells you to cut something on the grain, this means that you should line up that pattern piece in the direction of the warp thread that was used to weave that fabric. (A way to check for this is to gently tug on the fabric; generally the “on the grain” direction will stretch less than the other direction.)
-
If your project calls for you to cut fabric in certain dimensions, be sure to measure twice before you cut. Use a ruler and a rotary cutter with a cutting mat to help you make clean, even lines that are also aligned with the fabric grain.
Step 2: Measure your seam allowances.
-
Don’t just assume that any old seam allowance will work for every project – a slight miscalculation in your seams for one part of your project could mean that the entire finished product comes out the wrong size.
-
Check the pattern directions and follow the seam allowance they specify, every time. Remember that the seam allowance may change for different parts of a project.
-
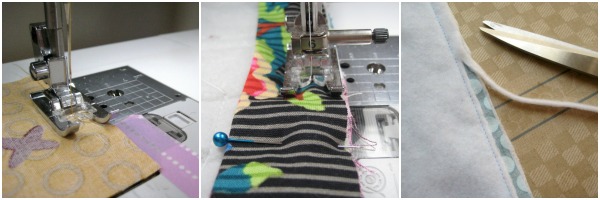
If you’re not sure how wide your seam allowance is going to be, try testing it on a scrap piece of fabric and then mark that position on your presser foot or sewing machine so that you can be sure to line it up properly every time.
-
Trim down your seam allowances after sewing, and make sure to clip around corners and curves. This reduces bulk and lets your project take on the proper shape.
Step 3: Press your fabric properly.
-
There is a difference between pressing and ironing, and that difference can make or break your project. Brush up on the basics here.
-
Use the proper pressing tools for your project – for curved edges or tight spaces it helps to have a pressing ham or a presser bar.
-
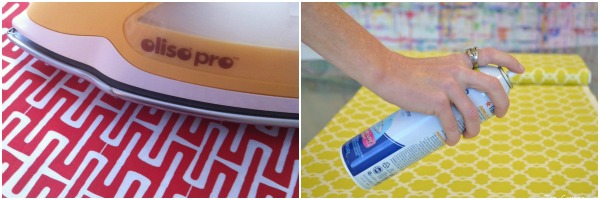
Use the correct heat setting for the fabric you’re pressing, and make sure to test a spare piece of the fabric with your iron before you press the actual project pieces.
-
Spray starch can help in pressing difficult fabrics or maintaining crisp lines, though there’s a bit of a debate about it in the sewing world.
Step 4: Details make a difference.
-
Don’t be afraid to sew something by hand if your project calls for it. Sometimes you have to stitch up the final seam on a stuffed toy, or hand-stitch the binding on a quilt, in order to get the best results from your project. Hand stitching does take more time than using a machine, but sometimes it’s time worth spending in order to make your project really stand out (in a good way).
-
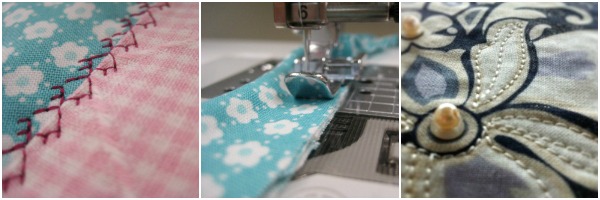
Use decorative stitches to highlight an area of your project. Whether you use your sewing machine’s built-in stitches or hand sew some embroidery onto a project, these tiny details really add that extra something unique to your finished project.
-
For home decor and garment sewing, piping is a great way to highlight a particular area of a project or to take an average, everyday item and make it something really special. You can even make your own piping – it’s really not that hard!
Do you have any tips for us on how to improve the overall quality of your sewing with a simple step? We’d love to hear it – please share in the comments!
Hello! Are you new to The Sewing Loft?
If so, I’m glad you stopped by and hope that something has inspired you to keep your needle moving! Don’t miss a single project and subscribe via email HERE! Bonus- free download with newsletter sign up. Another great way to connect with me is via Facebook, Pinterest, Twitter, Google+ or Follow my blog with Bloglovin. I’m looking forward to getting to know you and creating together!



Comments & Reviews
Hi Heather, my tip would be to learn how to overcast your fabric edges, even a simple zigzag stitch helps in keeping your sewing seams flat and lasting longer. Check your machine and look at your pressure feet for added stitches that can help make your sewing project look more professional.
That’s a great tip Lori! Finishing your seams is a clear cut sign of a pro. Thanks so much for sharing.
~Heather
Does warp threads generally run parallel to salvage , lengthwise grain? That is:
Warp thread is parallel to salvage (warp=salvage=lengthwise grain)
Hello Brenda,
Thanks for you note. Here is a quick article with a sketch to help shed more like to on the topic. https://textileapex.blogspot.com/2015/06/how-to-identify-warp-weft-yarn-of-woven-fabric.html
Heather
Don’t ever be afraid to ask questions if you get to a point in the directions you don’t quite understand. I have always found sewers to be so helpful with little techniques they have discovered along their sewing journey, usually by trial and error.
That is so true Cathy! That was one of the things that I cherished in my NJ sewing circle. Everyone was willing to help out and never made feel silly for asking a question.
~Heather
I have been researching and go ogling all afternoon. I am newish to sewing and started my first pattern and hit a major road block on step 2. “Reinforce bodice back through large circle at Centre back. Clip to large circle.” Is anyone able to help?
I’m still afraid of my sewing machine…but I’m pinning this for that moment when I’m not!!! 🙂
Don’t be afraid! What can I do to help with that?
~Heather
I agree, don’t be afraid! Start with something like a re-useable grocery bag, where you can practice techniques, but it won’t matter if there are errors! There are tons of free patterns out there, and they’re a great way to use up fabrics you bought and didn’t use! No one will be critiquing your “going green” bags!
Making a grocery bag is a great idea Jill!
Thanks for sharing.
~Heather
Thanks for the good reminders here. I’ve been sewing since age 5, and I still appreciate reviews of the good basics of sewing that reap good rewards! Thank you! E. Hansen, Chester County, PA
I agree, also been sewing since Tut!
Even the most professional seamstress started at the beginning. Your not making mistakes, just memories and progress!
These are great encouraging words!! Also, there are adult sewing classes at community colleges where you can get help with each step of a project.
Wash and iron the fabric before cutting and sewing!
I’ve been reading projects from this page just ten minutes ago and I’m absolutely in love with all of them. Very helpful, thorough, I wonder why I haven’t found this site before. Keep up the good work, peeps. ;D
Thank you so much for your kind words Marceline. We are happy to hear you have found us and excited to have you join the sewing circle!
~Heather
Learn to use your presser feet. The right foot can make sewing tricky things easier and make technical parts of your projects a breeze.
Great advice Joan! and there are so many different feet on the market today. I love finding new ones.
~Heather
Work slowly. Rushing sets you up for problems. And having to back up to fix mistakes can ruin your project and cause disappointment and dissatisfaction. Take a breath, slow down and enjoy the process
Great advice Eloise! I know when I am in a rush, I make silly mistakes and get frustrated.
~Heather
When I taught children’s sewing classes, I would tell to remember that ironing is like waltzing and pressing is like marching.
That is awesome! Thanks for sharing.
This is a really great article, thank you so much 🙂
Get to know your sewing machine. It may have unexplored features that will likely be helpful in your projects. And make sure to give those features a practice run before trying it out on your project.
Press/iron as you go. If the pattern says to press seams open before going to the next step, do it. It’s a little extra trouble, but it keeps things accurate and crisp. 🙂
Remember to change your needle often. A dull needle can make or break a project. Also, clean your machine frequently to prevent build up of what I call dust bunnies.
I find if things go wrong, which they do…just give it a break and get back to it later. It will work out a treat. Definitely wash and iron fabric.. Always iron/press everything as you go. I have discovered felt and am using this for all sorts of projects. play mats etc. I haven’t sewn in years and am a self learner. I am teaching my granddaughter to sew and I have now caught the bug once more. very contagious. happy sewing everyone
Great tip and so true. Thanks for sharing Yvonne!
~Heather
Just like “measure twice, cut once”, my tip is “read the instructions more than once to make sure you truly understand what you are supposed to do.” Always enjoy what you’re doing and you will find the work easier. Remember sewing is not an exact science, so be creative!
HI Heather and all Sewing Buddies!
First, I have to say that I so thrilled I found this site and was able to sign up. Thank you so much.
Second, I have to say that I have read one article and have already learned more than I did from expensive classes. So Thank you.
Finally, my tip for new or seasoned sewers is simple but has two parts.
1. KISS…KEEP IT SIMPLE AND WORK STEP BY STEP.
2. PRACTICE PRACTICE PRACTICE.
Just keep thing simple….don’t try things that seem to hard or that you dont understand until someone can either show you how or help you
Always work Step by Step when you do a project the 1st time…with time you may be able to consolidate simular steps but ALWAYS start with the order given to avoid unknown surprises.
Finally. .always practice . Start a new technique on, cheap fabric save,the good,stuff for the real project. Practice every stitch you have in your machine. I have three machines and even though the stitches look the same in the pictures. They may look different when stitched. I have done this may times and you will be surprised how many time the piece of fabric can be use to make a quick gift.
Practice: Cut a piece of muslin, an old sheet, or an fabric you choose (I have used solid color, batiks and prints). Size should be no smaller than a fay quarter…and as larger as your like.
You can use batting or stable with fusible Web or fleece but not required.
Thread your machine and bobbin thin stitch out every stitch in your machine ,use every setting each stitch has. Practice every one stitching at least two lines. Use the same thread or change colors as you wish. When the piece if filled you can keep it as,a guide or use it to make a tote ,pot holder, or mug rug.
Okay enough of my chatter..have to go read more.
Debi
.
I was recently trying to do a rolled hem on chiffon fabric, very thin and sheer fabric. This was a 3 thread overlock. The hem looked like it was skipping stitches. Someone suggested using fusing that disappears when wet. I didn’t fuse it on, I just placed it under the chiffon to give it a little more thickness and stability. I then wet it to remove it. This worked perfect. …I would imagine that it could be used with any operation, straight stitch or serged, when the fabric is sheer, thin or slick.
Thank you for that fantastic information it will be a big help for my sewing projects,