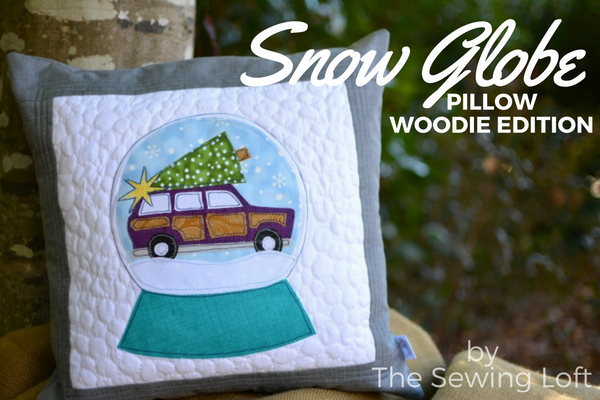
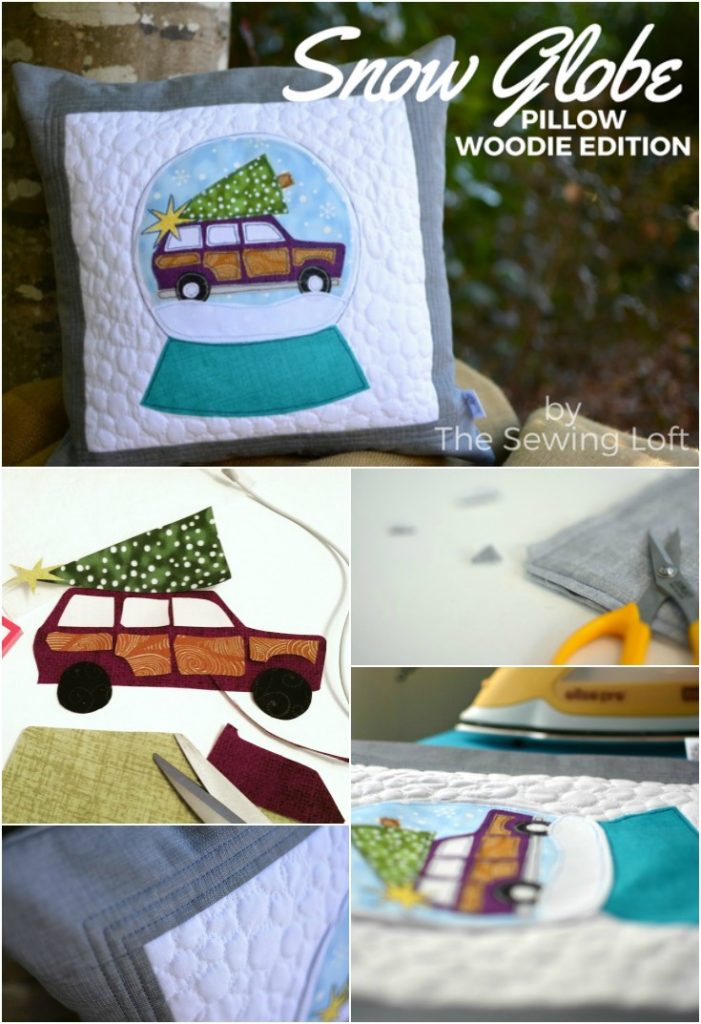
So the song goes- It’s the most wonderful time of the year. That’s the song that keeps playing over and over in my mind as I begin to gear up for the holidays. Seriously, it’s pretty much on repeat as I unpack the holiday decor and add festive touches around the house. This year, I wanted something new and thought a few Snow Globe inspired applique pillow designs would fit perfectly into the mix.
Snow Globe Applique Pillow
This project is for all levels.
Skill Level- 1 1/2 Button
Supplies:
- 12″ square base fabric
- assorted fabric scraps
- 20″ x 20″ square of batting
- 16″ Decorator’s Choice pillow form by Fairfield
- paper backed double-sided fusible
- free motion presser foot
- sewing machine | basic sewing tools
- optional piping/trim | zipper closure
- Snow Globe Trek Template
For my pillow, I used my Snow Globe Trek Pattern but any quilt block or applique design can be used. After your finished 12″ center block is finished, it’s time to attach the border. I centered my applique block on a piece of batting and stitched the border all around.
Cut fabrics as follows:
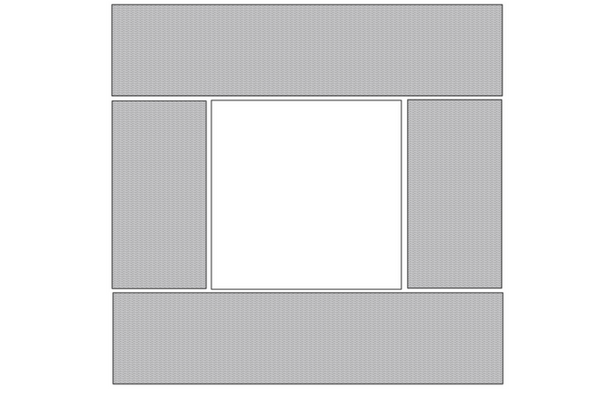
- center panel 12″ square
- cut 2 rectangles 3″ x 12″
- cut 2 rectangles 3″ x 16″
*cutting instructions is for pillow front only. Additional fabric is required for the back of the pillow. This will be determined by your pillow insert. My insert is a 16″ square Decorator’s Choice by Fairfield World.
Prep work:
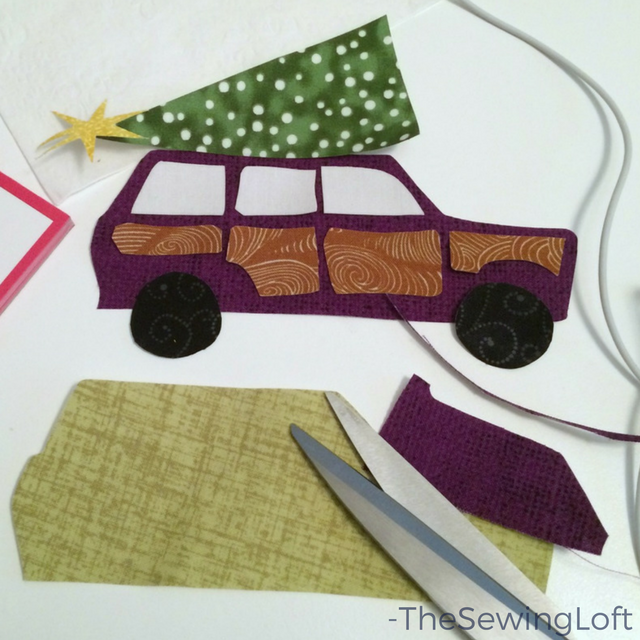
I prepped and cut out my applique design pieces with double-sided fusible, positioned them and ironed in place in my center square.
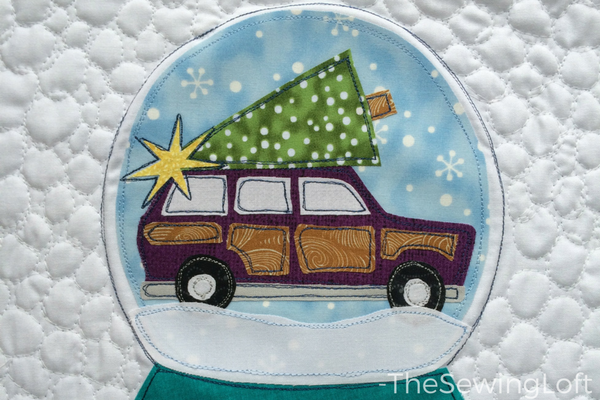
Then it was time to have fun stitching everything in place. Before I pulled out my free motion presser foot, contrast thread and got lost in the process, I centered my design on a layer of batting.
Not only does the batting provide a stabilizing layer but it also helps provide the element of texture with the pebble quilting.
Final Sewing:
Using 1/4″ seam allowance, join the additional pieces to create a finished block 16″ square.
Be sure to press each seam, add any additional topstitching and square up the final unit.
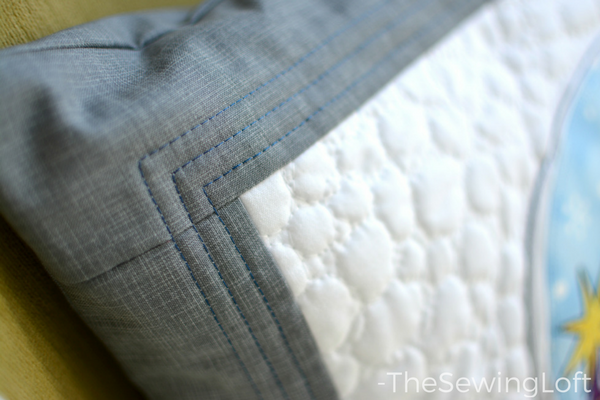
I added 3 rows of 1/4″ topstitching in contrast thread to really set off the center.
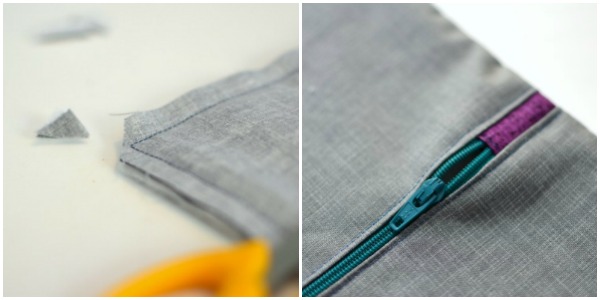
Since pillows like this are only brought out around the holidays, my closure method of choice is a zipper. They really are so much easier to install then people thing. Don’t forget to trim corners before turning right side out.
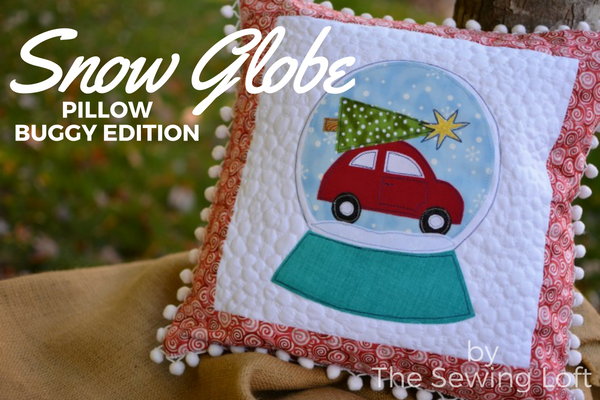
Because I love the snow globe trek design so much, I went ahead and created another applique pillow with the buggy. Don’t you just love that pom pom fringe? It reminds me of snow.
Now, I just need to stitch up the truck to complete the set. So go ahead, add a splash of holiday cheer to your home with this DIY applique pillow cover.
*Special thanks to Fairfield World for their continued support of The Sewing Loft. Working with their products is a pleasure!
Hello! Are you new here?
Do you want to learn more about sewing? If so, be sure to sign up for our newsletter HERE and never miss a stitch! Daily Sewing Tips, Everyday Projects and Fantastic Inspiration delivered straight to your mailbox!
Bonus– free download with newsletter sign up.
Feel free to connect with me on Facebook, Pinterest, or Instagram. I look forward to getting to know you and stitching up a storm!
