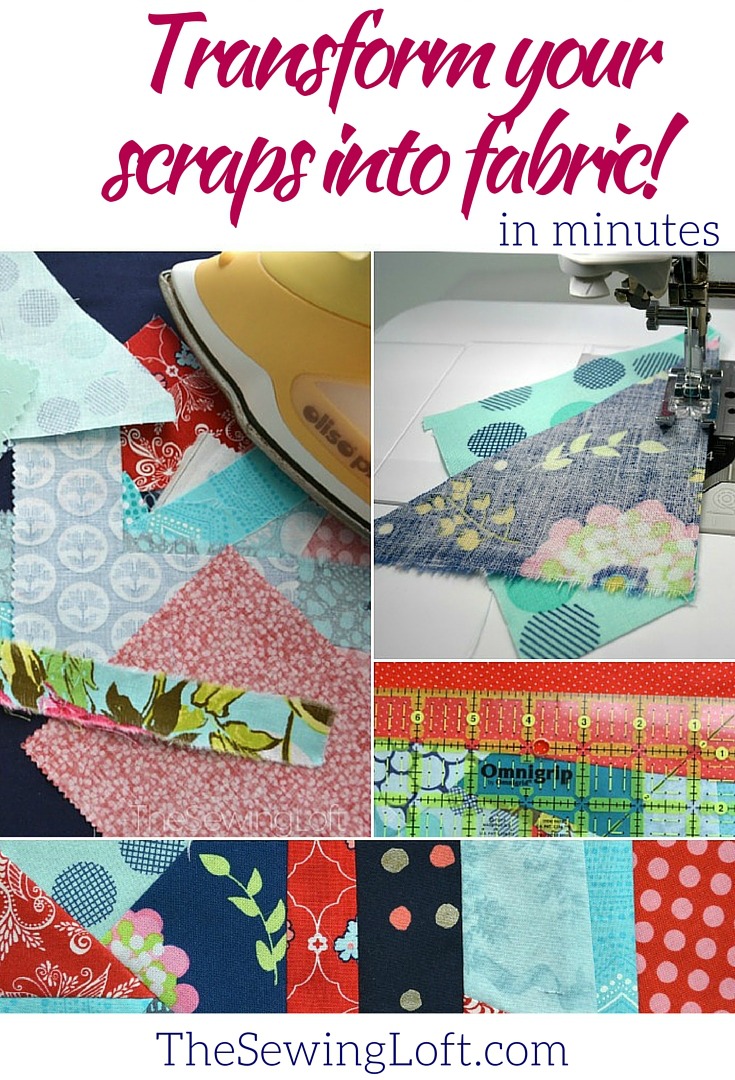
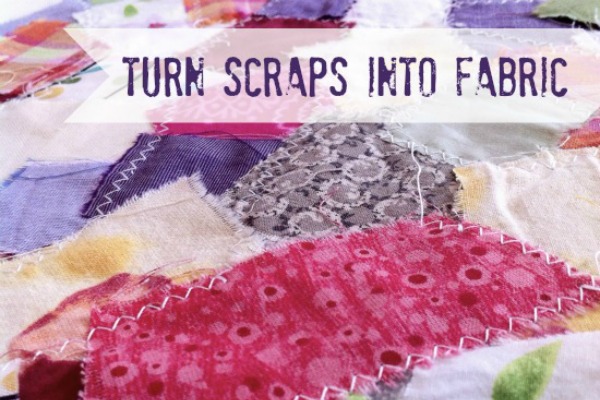
Every once in awhile I like to clear out my scraps and just start fresh but the fabric hoarder in me fights back. So instead, I like to take a day for what I call “scrap fabric management”. Basically, I get to look at all my pretty leftovers and create guilt free new fabric. It’s a win/win in my world!
This project is for all levels.
Skill Level- 1 Button
Supplies:
- basic sewing essentials
- iron/ironing board
- rotary cutter & self healing mat are helpful
Basic Instructions:
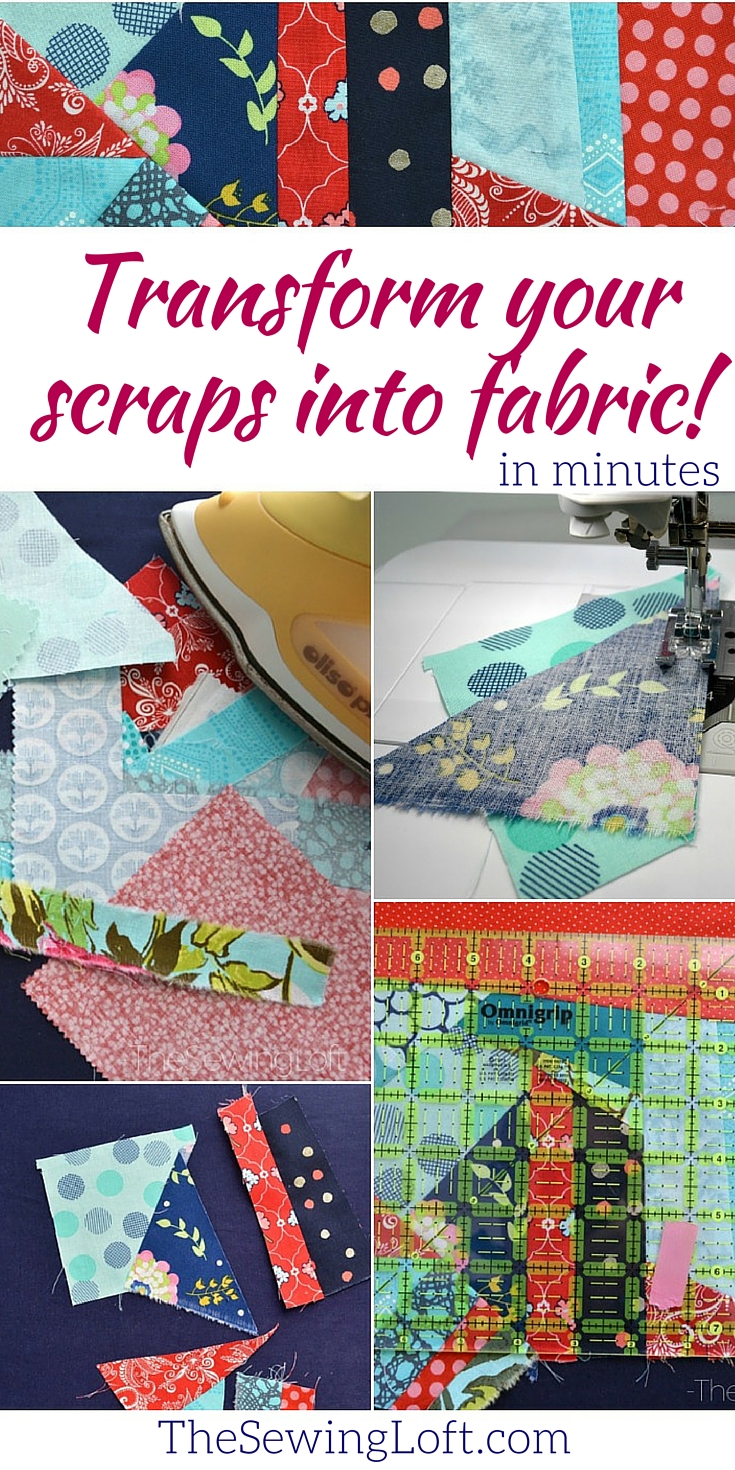
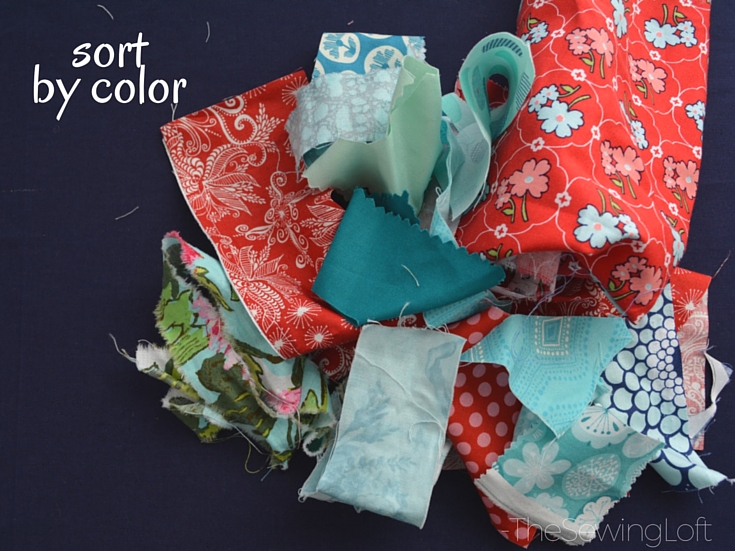
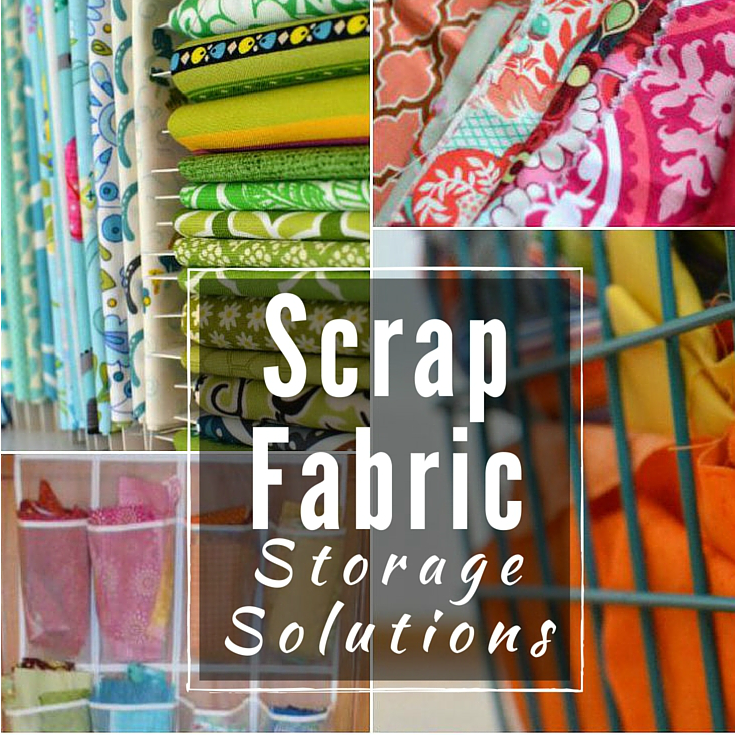
- Sort scraps into like piles. Thanks to my wire baskets, this step is a breeze.
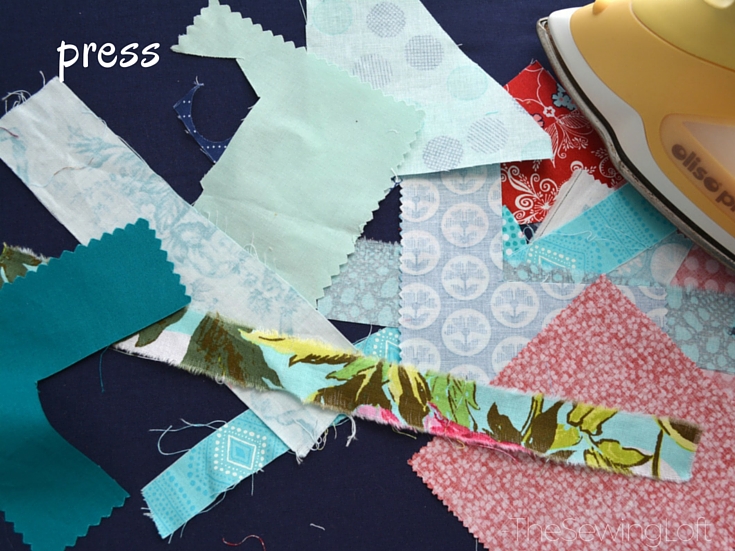
- Iron scraps flat.
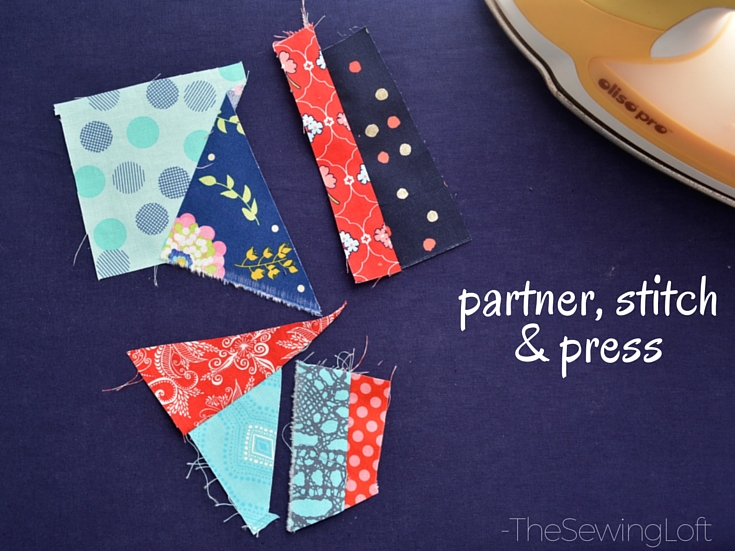
- Join two pieces at a time; stitch with a bunch and press seams flat.
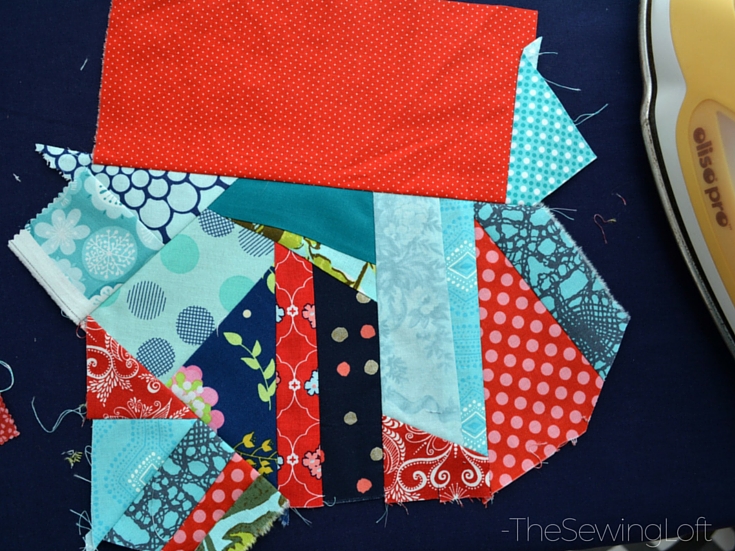
- Select two joined pieces and join right sides together. *Tip: Try to keep your seams straight. This will prevent buckling on finished piece.
- Repeat, Repeat, Repeat until you have built up your scrap fabric into a usable chunk. Trim to a square if you like or fold and put away for another day.
I just loving the way my new fabric is turning out and if you have been following along you might recognize them from my Scrappy Starry Night Quilt Block 1. I’ll be saving this fun section to use in another block along the way. Can not way to see what you create using this simple sewing method. Remember there is no wrong way to make this, no patterns to match and no sizing to worry about. Just care free sewing!
For more scrap fabric management ideas be sure to check out these fun posts and join our exclusive scrap club.
Hello! Are you new here?
Do you want to learn more about sewing? If so, be sure to sign up for our newsletter HERE and never miss a stitch! Daily Sewing Tips, Everyday Projects and Fantastic Inspiration delivered straight to your mailbox!
Bonus– free download with newsletter sign up.
Feel free to connect with me on Facebook, Pinterest, or Instagram. I look forward to getting to know you and stitching up a storm!



Comments & Reviews
I love this idea! Thanks for the inspiration.
I can’t wait to try this. I have lots and lots of little scraps. Someone always needs a quilt for on me.
Thanks.
Where do you get the boards to wrap larger pieces of fabric around? If, you said in your article, I don’t remember what you said. Thank you.
Great idea, I can’t wait to give it a try. I really get a lot from your newsletter and blog. Happy ???? sewing.
I Love this technique! I have been doing it for years & have taught it a number of times. I call it “Cookie Crumbs “. The only difference is I sew on a foundation piece (muslin ). I’m glad you are sharing it with all your followers. It’s such a wonderful “saver”!
Love learning
I’ve done this before; so happy to find that others do it too. I’ve made some really neat looking oven mitts this way, unique and personal. Thank you so much for sharing this. I just now found it on Pinterest and I’m going to save it to my board, the REmissionary.
What do you do with all those seams? Which way do you pres them?
I press them off to one side as I work.
How do you keep the ends (seams) from unraveling when you trim a flat piece out of the wonky ones that are all ready sewn?
That is a great question Greer, I typically stitch them all together right away into a larger unit and that joining stitch locks everything in place.
-Heather