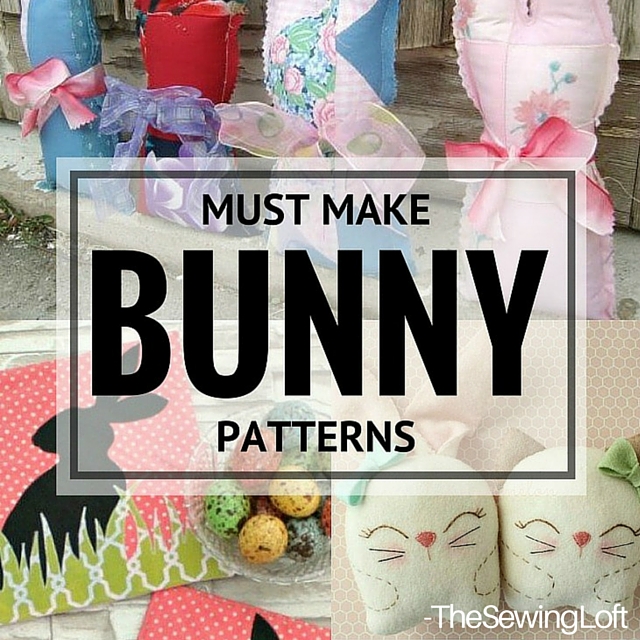
Last week I shared fun and easy bunny patterns to stitch up for the upcoming holiday but I thought it would be fun to have something to put them in like this Easter Bunny Basket.

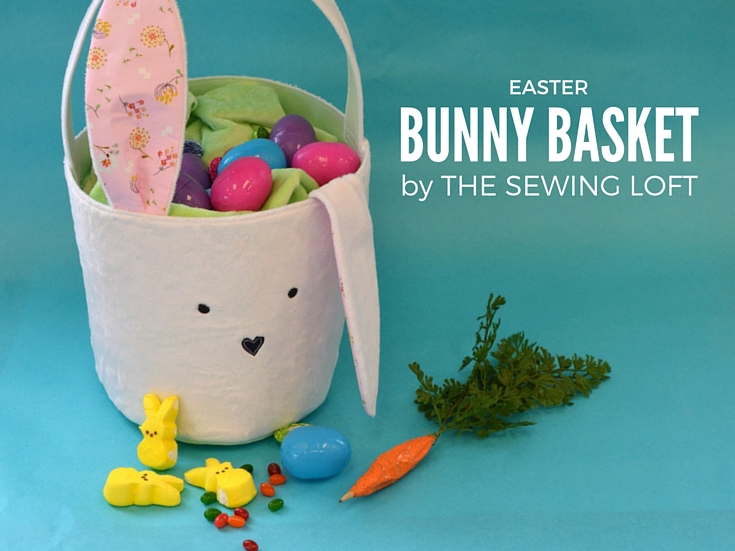
Easter Bunny Basket DIY
This project is for all levels.
Skill Level- 1 1/2 Button

Materials/Tools:
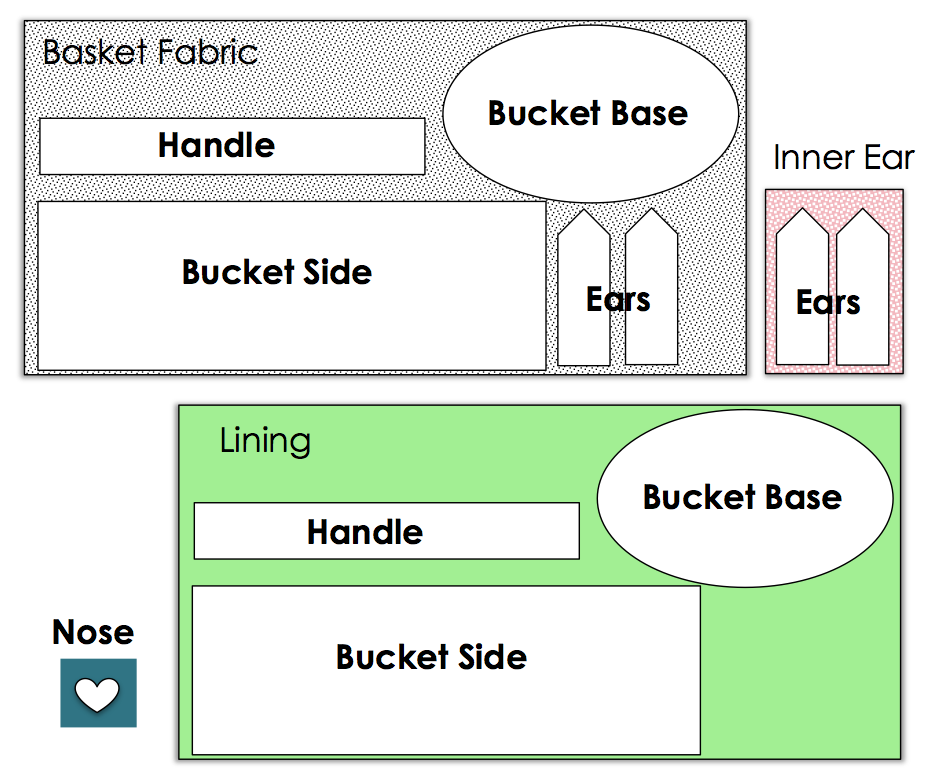
- scrap bucket pattern
- bunny ears pattern
- fusible rigid backing (I used Stiffen by Fairfield)
- white cuddle fabric
- lining
- pink print
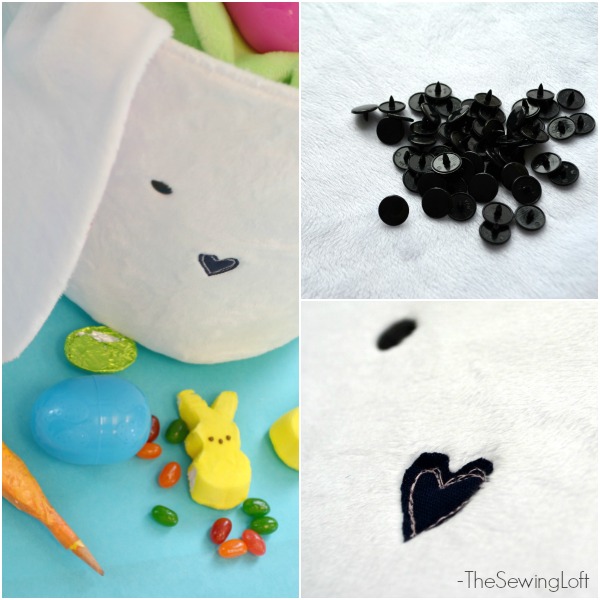
- scrap for nose
- 2 snaps or buttons for eyes
Cutting/Sewing Instructions:
- Follow cutting directions on the scrap bucket pattern, including ears, handle (2″ x 24″), and nose.
- To add structure, fuse the basket lining and handle with a fusible rigid backing. Layer lining and face fabric wrong sides together; fuse again (if using a double-sided fusible) or add a few rows of topstitching to create your sandwich.
- Position and applique the nose in place. I used free motion stitching but you can use any tip of decorative stitch you like. Attach the snaps/buttons in place.
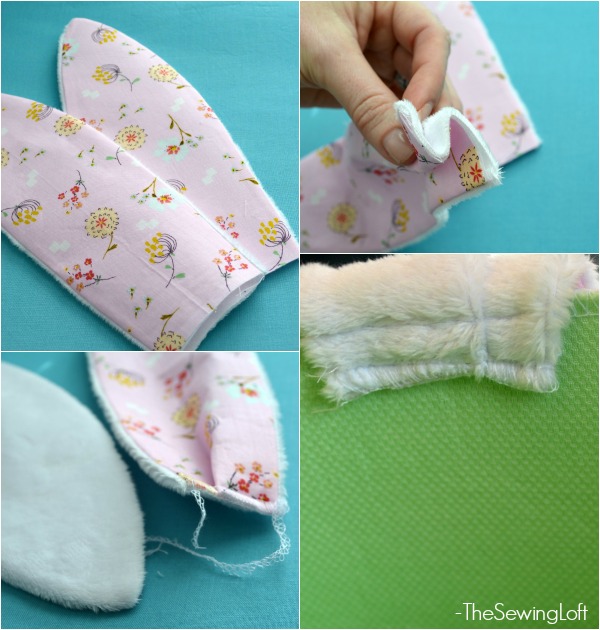
- Join inner and outer ears together; turn right side out and lightly press. Fold the bottom edge of ear to create a pleat and stitch in place; set aside.
- Run all pieces through your serger for a clean edge. With the right sides together, fold the rectangle in half to match the short sides together and stitch; attach it to the base of the basket. See additional instructions here. Position ears and handle in place; attach with a straight stitch.
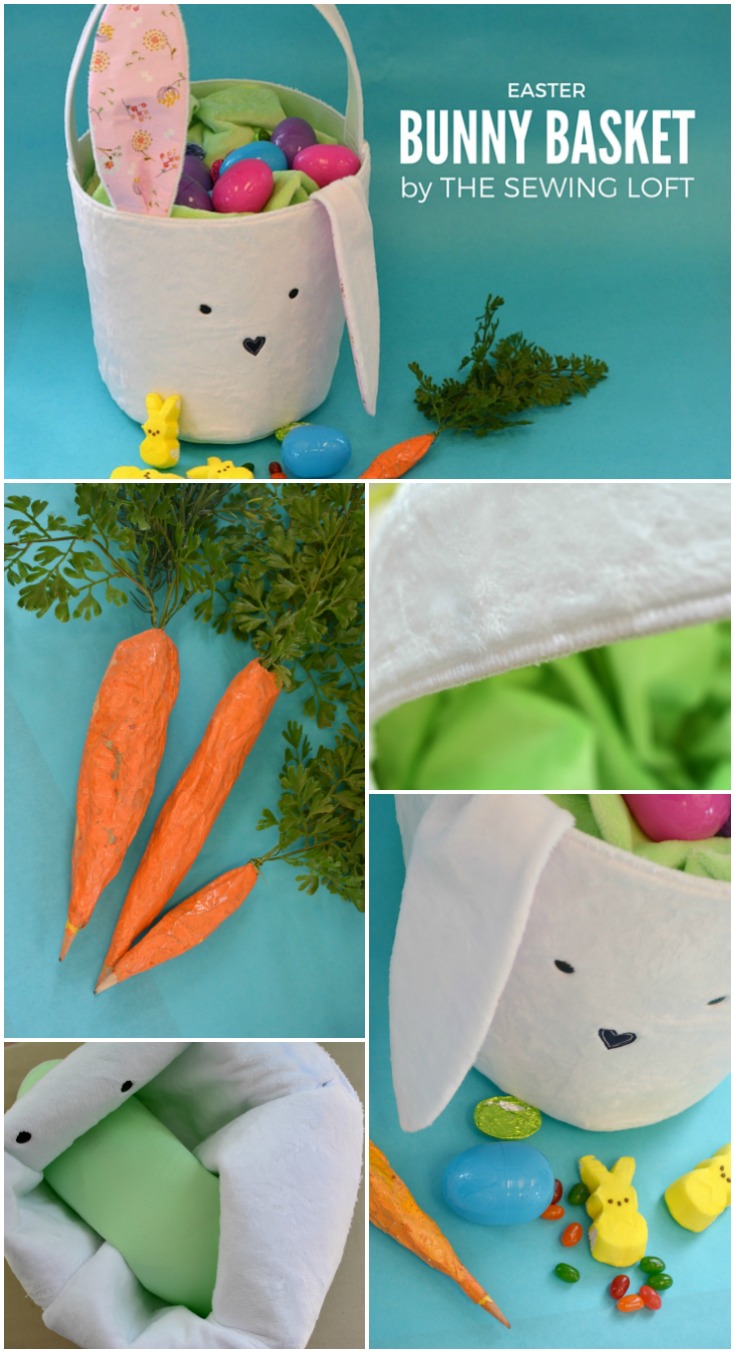
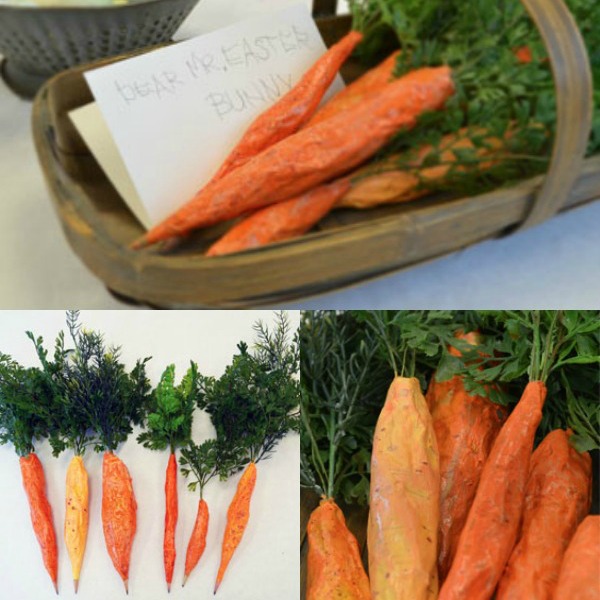
This is a make it once and use it year after year type project and if you are looking for something besides candy to slip in that basket be sure to check out these free bunny patterns and papier mache pencils.
