I love grabbing a cup of tea and spending an afternoon stitching at the machine. So today, I am flashing back to a block favorite, the Heart Mug quilt block. This block was first released during the early part of my Blocks 2 Quilt series and is perfect for this time of year.
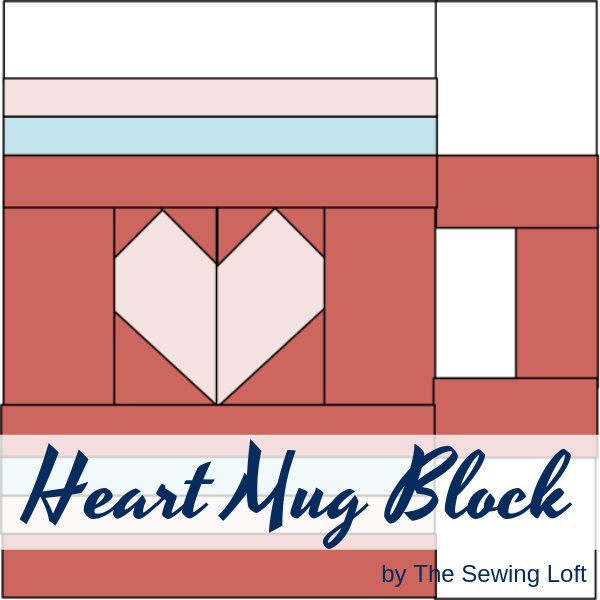
At the time of release, I was still exploring and learning EQ8 so, there was not much time to film a step-by-step instructions video. Luckily, I’m fixing that today but before we dive in, let’s chat about the block details.
Heart Mug Quilt Block Details
The finished Heart Mug Quilt block comes in 2 finished sizes.
- 6″ x 6″ (15.2 x 15.2 cm)
- 12″ x 12″ (33 x 33 cm)
Supply List
To get started you will need, the Heart Mug Quilt Block pattern which is available as a PDF download from The Sewing Loft Shop.
In addition to the PDF pattern, you’ll need a few basic sewing supplies, such as thread, your favorite acrylic quilting ruler and rotary cutter, an iron, and a wool pressing mat.
Heart Mug Quilt Block
The Heart Mug Quilt Block pattern includes 2 sizes, step-by-step instructions, and requires no special tools, templates or rulers.
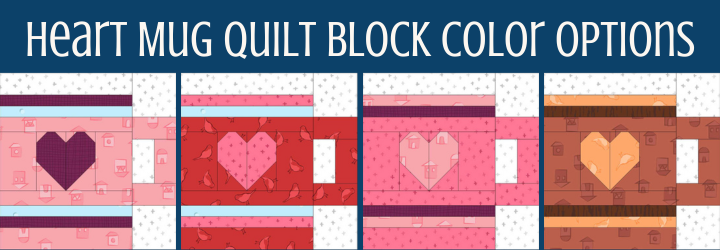
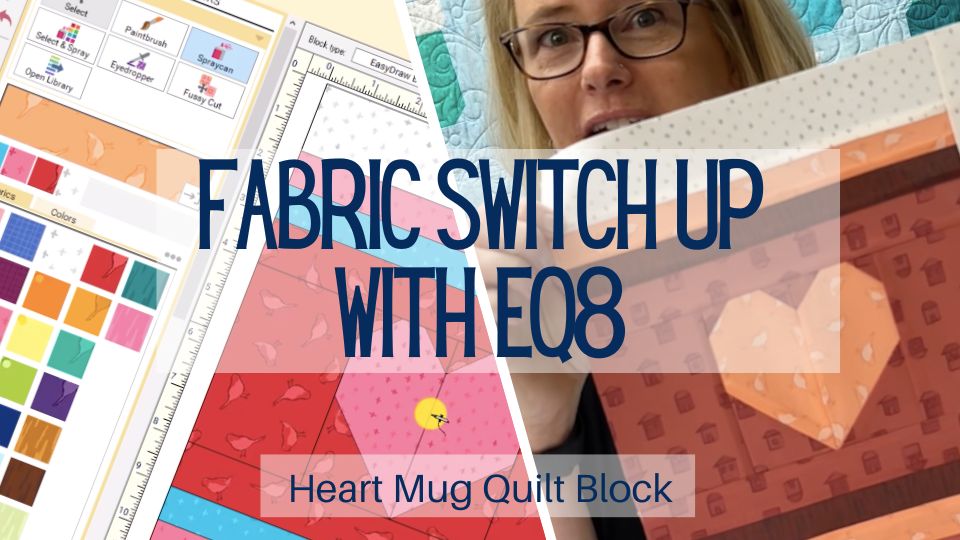
Now, when I first made this block, I used reds and blues but this time around I wanted to experiment more with color. So, I went back to my EQ8 library, imported my Color Club fabrics, and started to play. You can see from the video below just how easy the process is and how it takes all of the guesswork out of fabric selection.
In the end, I fell in love with the creamy cocoa color palette.
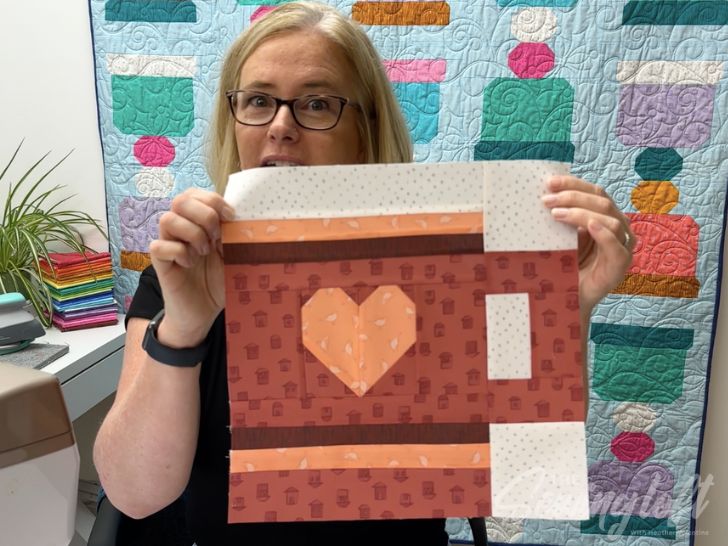
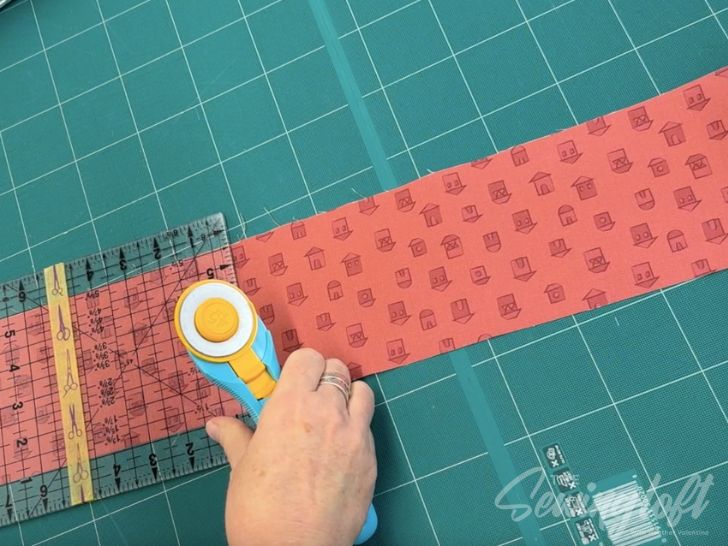
With my fabrics selected, it’s time to start slicing into my fabrics and stitch a few blocks together. This block is made using traditional piecing and highlights the stitch and flip method. You can the block in my shop here and download the cutting and sewing instructions.
Love the idea of creating your own blocks and patterns in EQ8 and want to learn more? Be sure to click here for an article I wrote about the design process.
Heart Mug Quilt Block Assembly
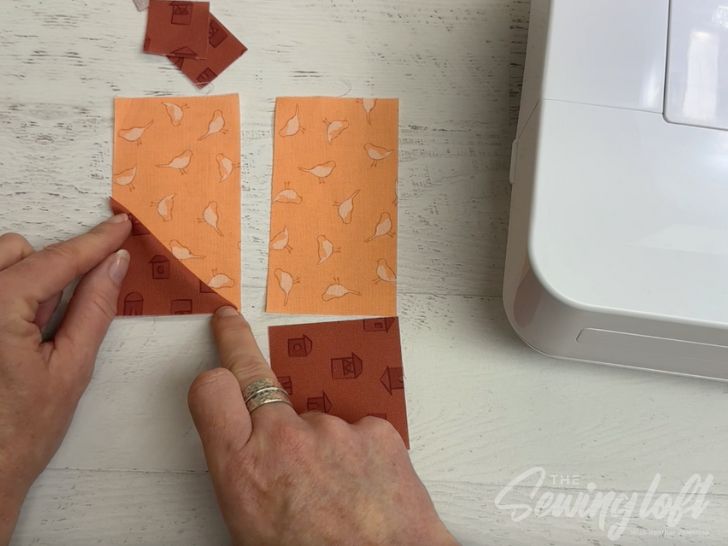
Okay, now let’s take a look at the instructions. After cutting out all of my fabric pieces, I started to create the center heart unit by snowballing the corners. This is incredibly easy with the stitch-and-flip method. Since I am using a directional fabric for my corners, I paid special attention before stitching my squares in place.
From there, I continued with my Heart Mug block assembly, building one section at a time. Pressing the seam allowance in the directions of the arrows provided in the instructions. This helped reduce bulky seams and ultimately kept my block flat.
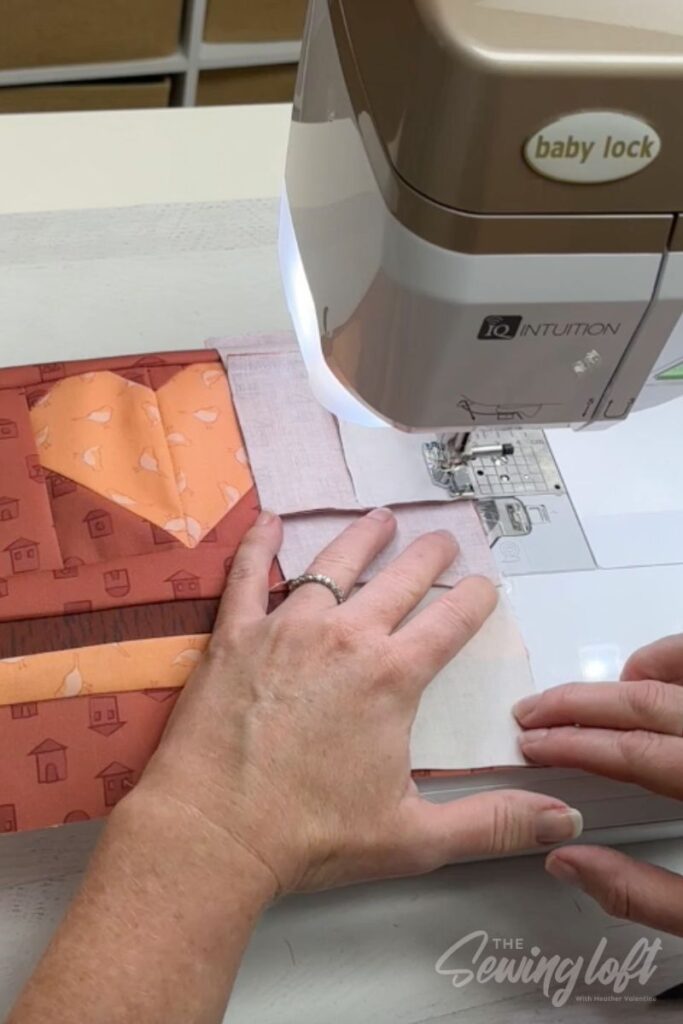
Ready to stitch along with me? You can watch the full video here. I’ll walk you through the entire block, step by step.
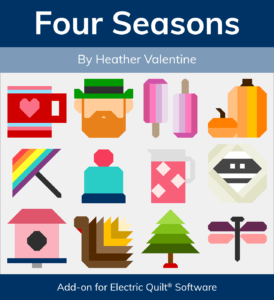
This block is part of my EQ8 Add-On, Four Seasons. For a limited time, you can add it to your quilt block library for 20% off using my link and code “VALENTINE” at checkout.
EQ8 Quilt Products
You can create stunning quilts, personalized blocks and so much more with EQ8 software. Shop the products here.
*Note that this special discount code is available through my special link above for a limited time. The discount offer ends on 02/16/2024.



Comments & Reviews
Thsi mug block is so cute! I can’t wait to sew it together.