Last week I shared my Sweet Peep Bunny block and today, I’m sharing a fun way for you to put it to use. Let’s take a look at the Sweet Bunny Pillow project.
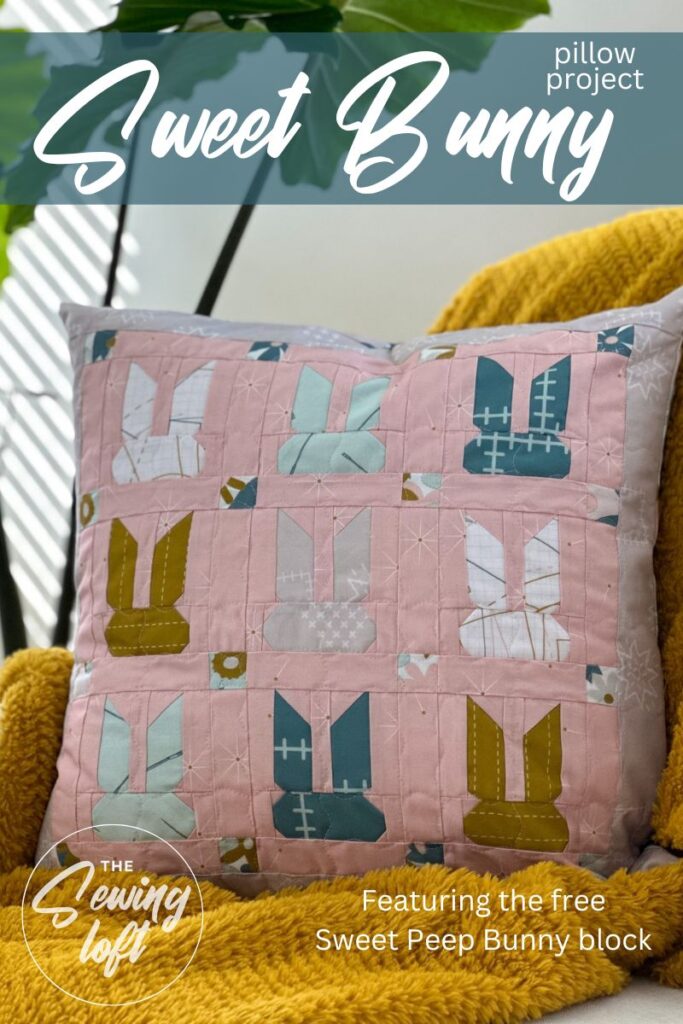
This little project is easy to stitch up and perfect for your scraps.
Sweet Bunny Pillow Details
The finished Sweet Bunny Pillow measures-
- 18″ x 18″ ( 45.72 cm x 45.72 cm)
Material & Supply List:
In addition to the fabrics needed for the Sweet Peep Bunny blocks, you will need:
- 1/8 yd sashing
- 1/8 yd sashing blocks
- 1/4 yd borders
- 1/4 yd backing
- 1/4 yd batting
- Cutting mat / rotary cutter/quilt ruler
- Heat erasing marking tool*
- Spray starch
- Basic sewing supplies
*This tool is helpful but not required.
Cutting Instructions:
Sashing
- (24) 1 1/2″ x 4 1/2″ rectangles
- (16) 1 1/2″ x 1 1/2″ squares
Contrast Border
- (2) 2″ x 16 1/2″rectangles
- (2) 2″ x 18 1/2″ rectangles
To start off you will need to make 9 of the Sweet Peep Bunny quilt blocks. I suggest chain piecing each section together to help keep the process moving along. You can sew them with me by watching my step by step video.
Remember, if you have not already downloaded your free Sweet Peep Bunny block, you can download it here.
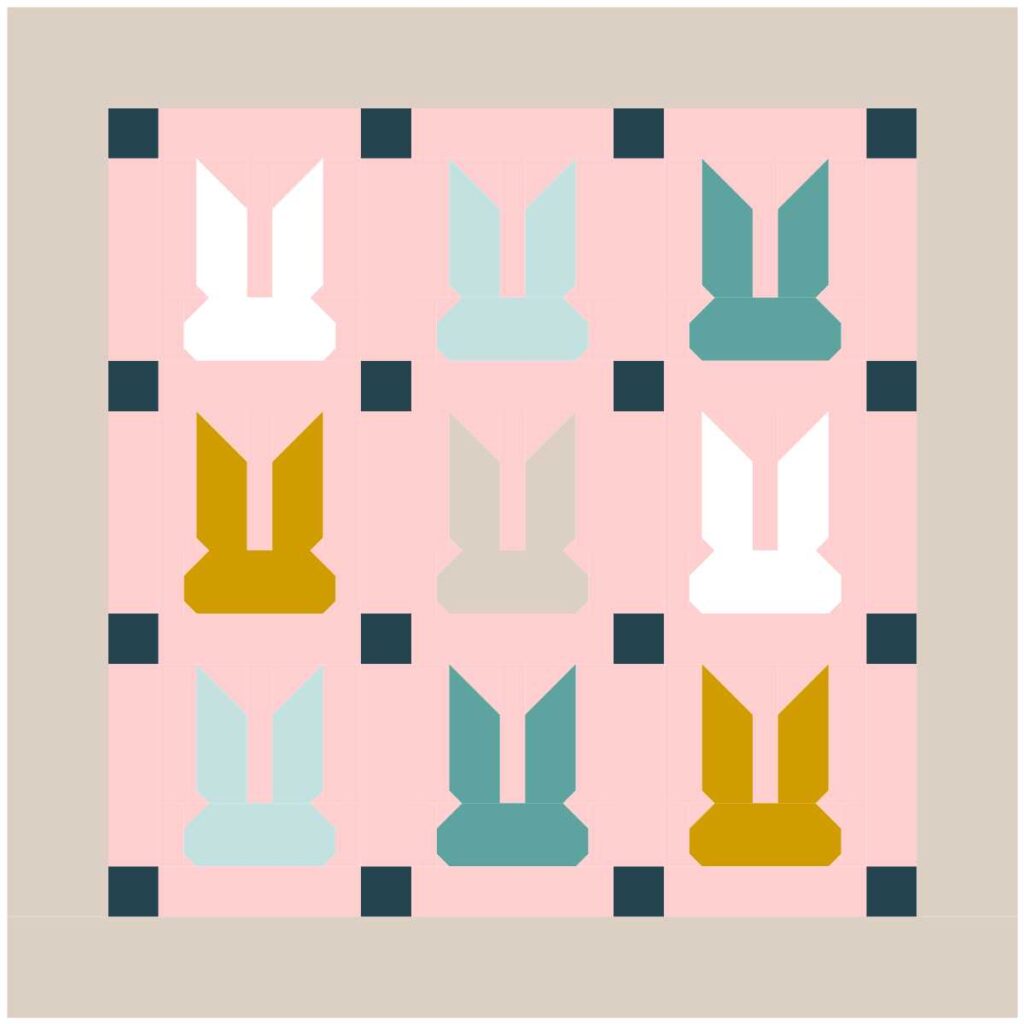
Once you have your bunny blocks all stitched up, you need to determine your layout. You can see that I stitched assorted colors and just created a simple pattern. The center sashing allows me to add another pop of color with center blocks.
While I’ll be sharing tons of pictures in this tutorial I know some of you enjoy the videos and you are in luck. I filmed the whole process. You can follow along and stitch with me here.
Pillow Sewing Instructions
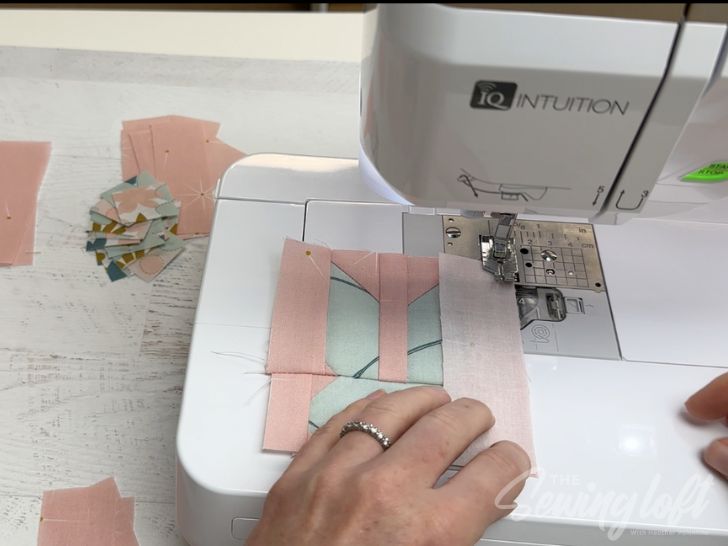
Then it is all about adding the sashing to each block to create your topper. Simple attach the center blocks to the sashing and press in opposite directions.
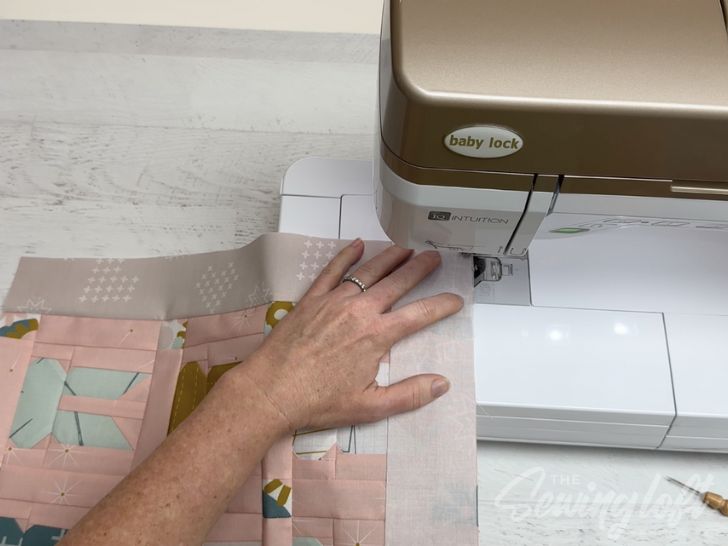
Now, depending on the finished size pillow you can stop here but I chose to add a border and create an 18″ square finished pillow cover. It will cover a standard size pillow insert and I have plenty of them at the house.
After adding my borders and giving everything a good press, it was time to add some quilting. Now, normally I would either do straight rows but this time I wanted to try something different. You see, my Baby Lock Altair has TONS of special stitches and I hardly ever use them.
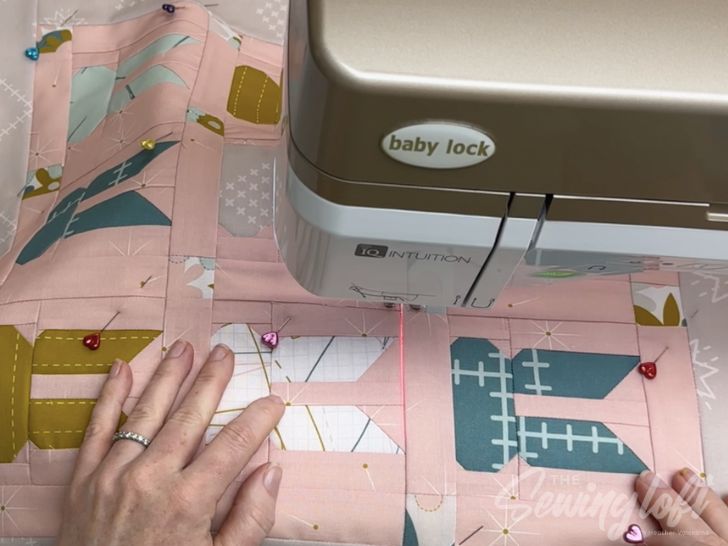
So, it was time to explore. I choose a wavy stitch and played with the length and overall width until I found the size I liked. Then, I just started stitching. I followed the sashing lines as a guide and then went back and added a few extra rows. The machine did all of the hard work moving back and forth. I even used the laser guide feature to help make sure that I was staying straight in line with my blocks.
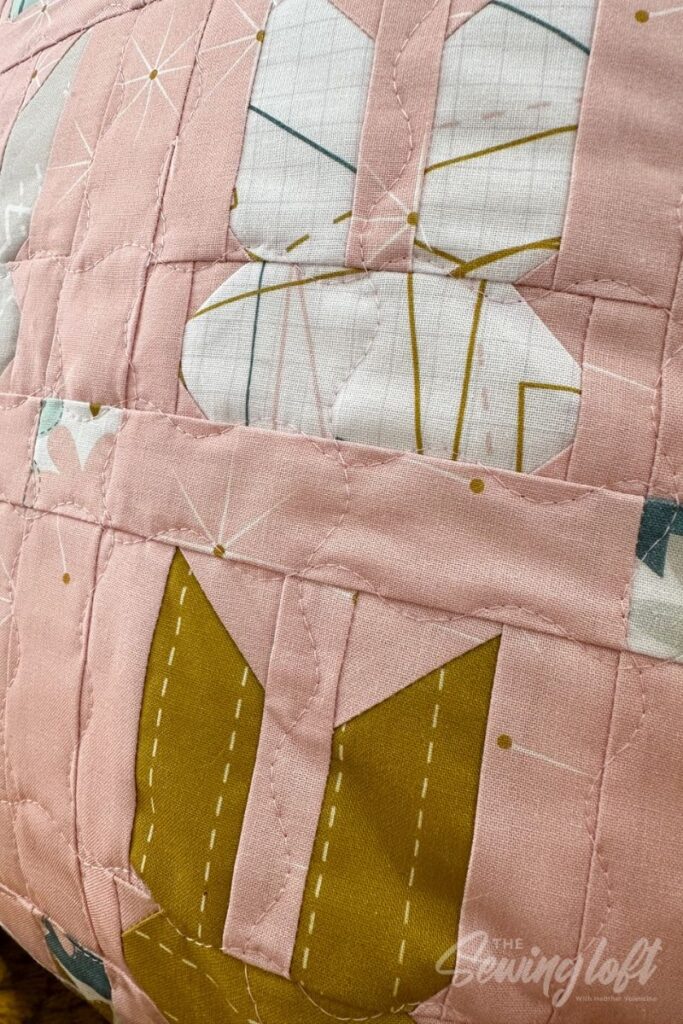
The results are simple and stunning.
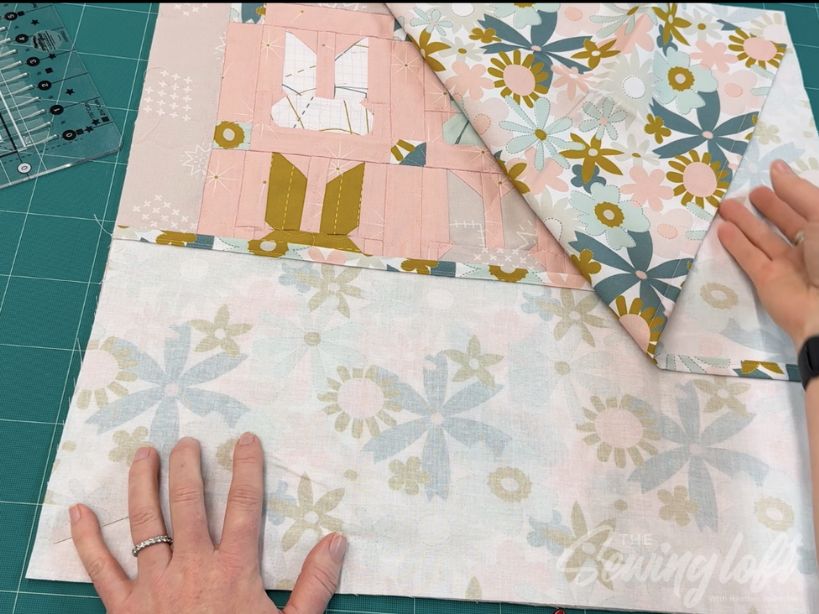
I finished my pillow topper with an envelope backing so that I could easily slip it on and off as the seasons changed.
Originally I had plans of inserting coordinating piping but I’ve got a different trick up my sleeve and I think you’re gonna love it. Let’s just say that I’ll be turning this Sweet Bunny Pillow cover into a multi-use home decor project.
Be sure to stay tuned until later this week as I walk you through it step by step.
NQM: Sweet Peeps
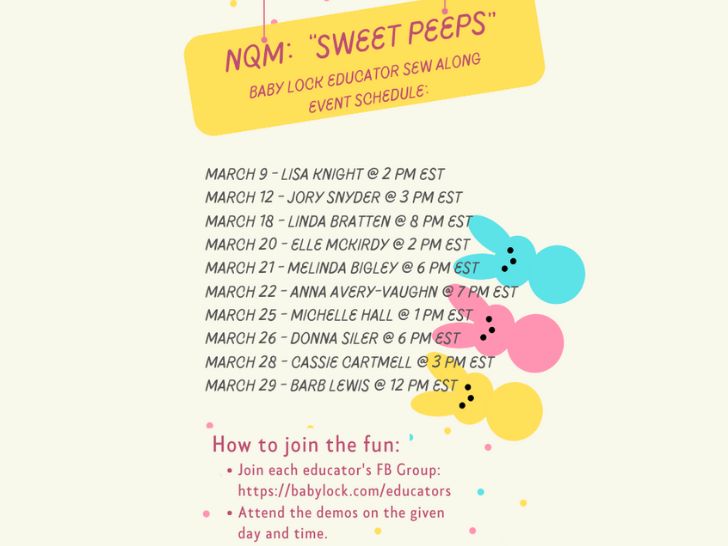
Plus, don’t forget it’s National Quilting Month and I’ve teamed up with friends from Baby Locks Educator team to bring you fresh ideas for using my Sweet Peep Bunny block all month long!


Comments & Reviews
Thank you Heather for another great pattern.
Oh you are so welcome, DeeDee. I’m so glad that you enjoyed it!