Today I’m participating in Susan from Living with Punks ‘Home Sewn’ series sharing these easy to make placemats. Since I selected vintage fabric, the first task was to clean it. If you are unsure how to do this, I would suggest being gentle and click here for more of my easy tips.
I love vintage fabrics and feel like I have a terrible habit of squirreling them away for another day. Well, not today! Today, I pulled out this amazing floral print that I picked up years ago at an estate sale. It has been tucked away high up my storage shelves for many years. I actually had to pull out the ladder to get it down. Anyone who knows me gets that me + heights = no good. Let’s just say that I tend to steer away from the ladder.
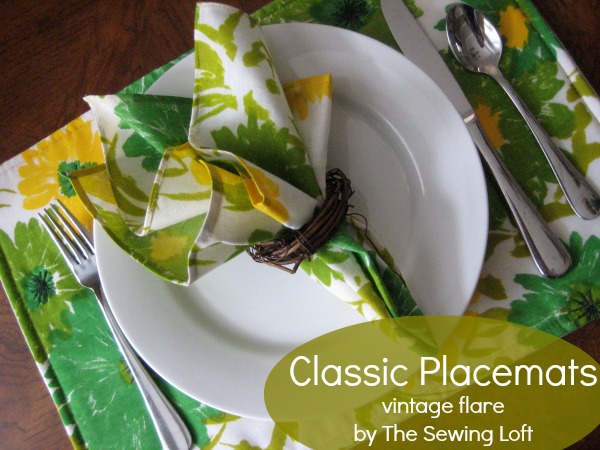
Classic Placemats
This project is for all levels.
Skill Level- 1 Button
Supplies:
- fabric (front & back)
- batting
Tools:
- sewing machine/thread
- basic sewing supplies
- free motion foot is optional
Basic Instructions:
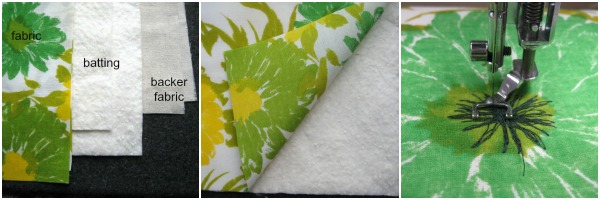
- Cut 2 pieces of fabric and 1 piece of batting 14″ x 19″ for each placement. I selected the vintage floral for the front and a plain canvas for the back.
- To enhance the print with a personal touch, I pulled out my free-motion foot and added a contrast stitching detail to the center of a few flowers.
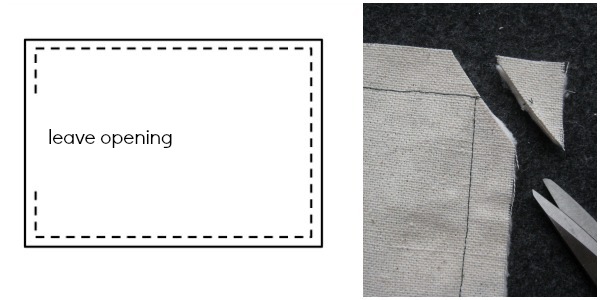
- Once stitching is done, sandwich your layers with right sides kissing. Being sure to leave an opening for turning, I stitched all around the perimeter of the placemat.
- Clip corners, press, and turn right side out. Push out corners and press again being sure to turn in your seam allowance at opening.
- Add a quick top stitch all around 1/4″ from the edge and you are all set! This topstitch detail will close your opening and finish your placemat off. Repeat the process to make as many as you need.
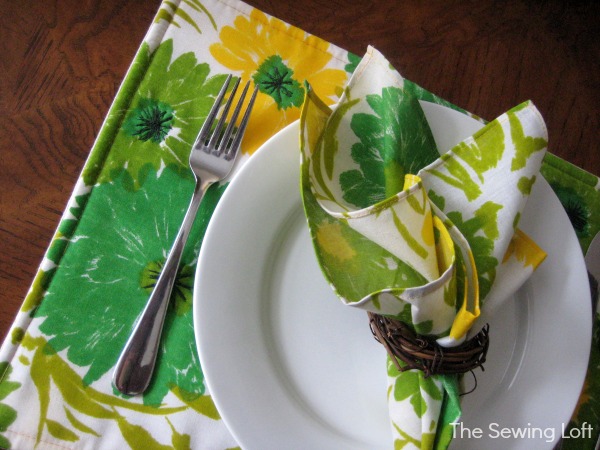
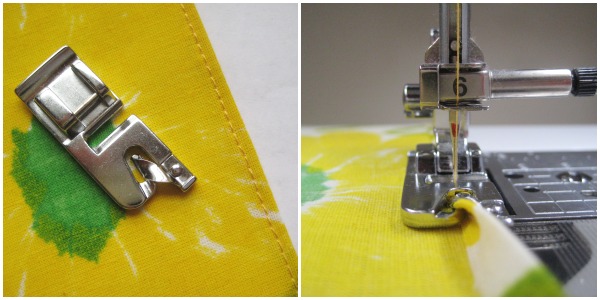
Since I had plenty of yardage, I took the project a step further and cut out napkins. I cut out a generous 17″ square and finished each edge with a narrow hem. (this is also called a baby or rolled hem.)
Classic placemats are the perfect project when sewing for your home. They are something that can be used every day and will help you practice your straight seams.
Interested in more fun ideas for the home? Be sure to check out these table runner projects from years past.
Hello! Are you new to The Sewing Loft?
If so, I’m glad you stopped by and hope that something has inspired you to keep your needle moving! Don’t miss a single project and subscribe via email HERE! Bonus- free design with newsletter sign up. Another great way to connect with me is via Facebook, Pinterest, Twitter, or Follow my blog with Bloglovin. I’m looking forward to getting to know you and creating together!


Comments & Reviews
Love the fabric you used for the placemats! Thank you for sharing!!
thanks so much Heather! I love these and the vintage fabric is to die for!
Pretty!!! I’ve got a Craft Gossip post scheduled for later today that links to your tutorial:
http://sewing.craftgossip.com/tutorial-classic-placemats/2014/03/23/
–Anne
This is exactly what I’ve been looking for! Thanks for such a great, easy tutorial. I can hardly wait to get some new placemats and napkins made.
Thank you Heather for your very clear tutorial regarding vintage placemats
I have dozens of napkins and nearly an equal number of placemats BUT these are absolutely darling so I guess I’ll have dozens plus one!
I’m having trouble turning the placemat right side out with the batting
Sorry to hear that Agnes. Try leaving the opening slightly larger. This will provide a larger area for turning.
Keep me posted!
~Heather
Awesome! Do you have tutorial for the matching napkins?
I’ve made placements and used thick lining fabric in between instead of batting, and they came out really GREAT! I’ve got photos on my craftydiygirl website on facebook! https://www.facebook.com/CraftyDIYGirl
what size fabric do I need for the front and back? I see that the batting needs to be 14″X 19″, but is the fabric the same size?
Thank you
Hello Darlene,
Step 1. Calls for cutting your fabric & batting 14″ x 19″. The total number depends on how many placemats you are making. Hope that helps get your project off the cutting room table and on to the machine!
~Heather
thank you for the help.
Hi Heather, when the fabric is right sides together do you just place the batting on one side before you start sewing?
Yes Dawn, it is placed on ones side.
~Heather
Thank you so much for this posting. Could you do a tutorial on how to do corners on the napkins when using the narrow hemming foot please?