Gift Wrapping Ideas
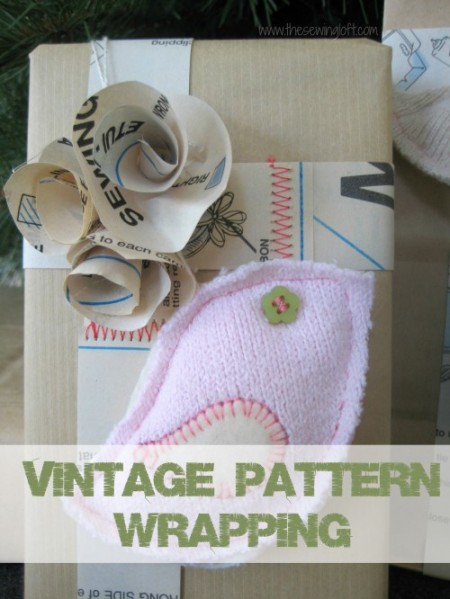
Every year, I like to do something special for my gift wrapping. This year I thought I would take a different approach with the ribbon.
This project is for sewers of all levels.
Skill Level- 1 Button
Supplies:
- old pattern instructions
- thread
Tools:
- sewing machine
- iron and ironing board
- rotary cutter and self healing mat
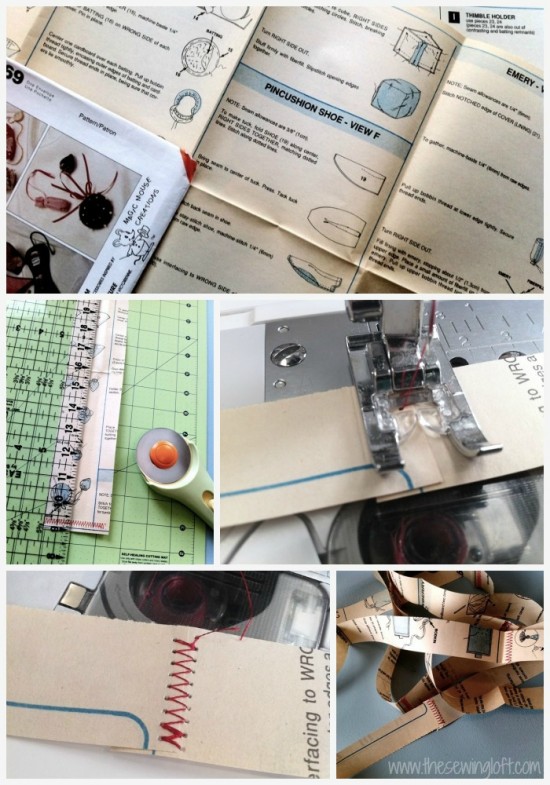
- I pressed my pattern instructions on a mid level heat setting to help remove some of the creases. Not necessary but how I started my project.
- Cut pattern instructions into a manageable size. I cut them 6 1/2″ wide. (the width of my quilting ruler)
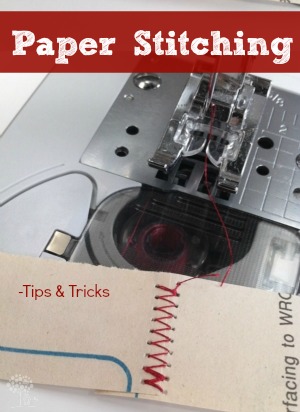
- Overlap short sides to short sides. Zig zag stitch the pieces together. (I like to use a contrast color here for fun.)
- Continue adding stitching pieces together until you think you have enough. To make things easy, I worked in sections of two.
- Then with rotary cutter, self healing mat and ruler- I cut my paper into 1″ strips. You may want something smaller.
- Back to the machine to connect the last bits with zig zag and let the wrapping begin.
For more fun holiday craft ideas be sure to check out the Craft Lightening Holiday Edition with The Country Chic Cottage & 30 Minute Crafts.


Hello! Are you new here?
Do you want to learn more about sewing? If so, be sure to sign up for our newsletter HERE and never miss a stitch! Daily Sewing Tips, Everyday Projects and Fantastic Inspiration delivered straight to your mailbox!
Bonus– free download with newsletter sign up.
Feel free to connect with me on Facebook, Pinterest, or Instagram. I look forward to getting to know you and stitching up a storm!


Comments & Reviews
i like the pattern and wil look at the post later