There is something about the simple act of giving that brings me great joy and this season offers so many opportunities. Let’s take a look at these cute Halloween Treat Bags.
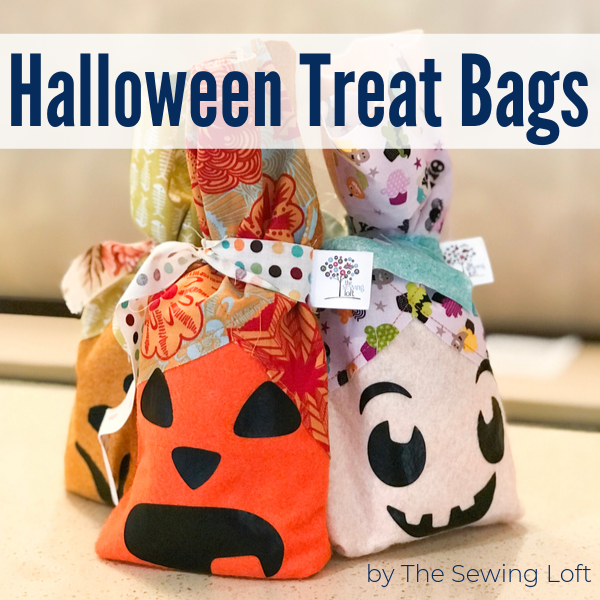
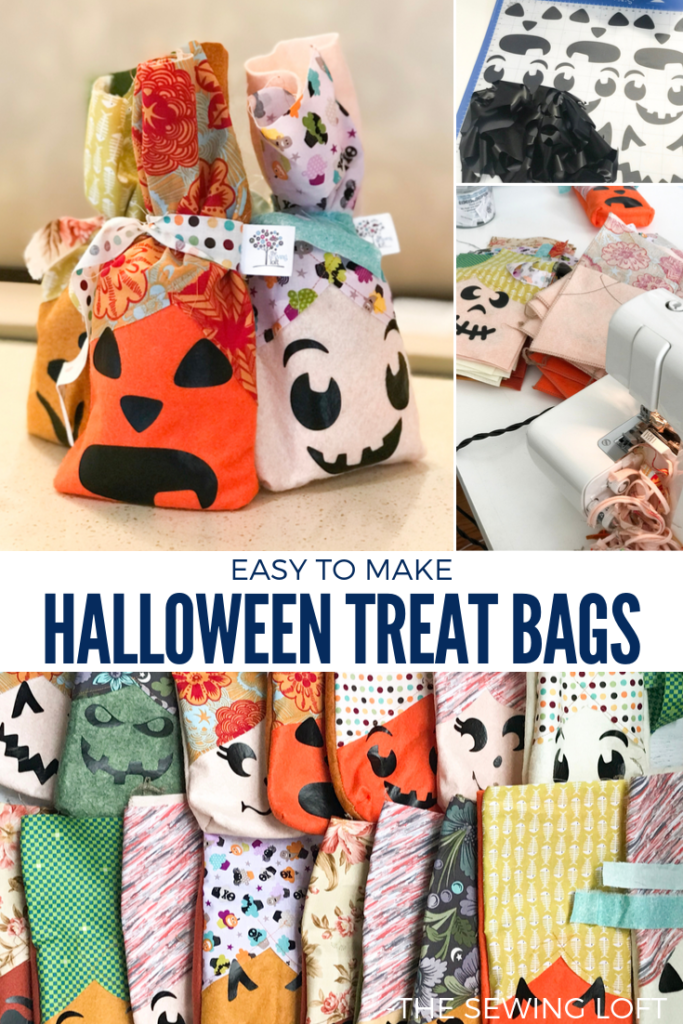
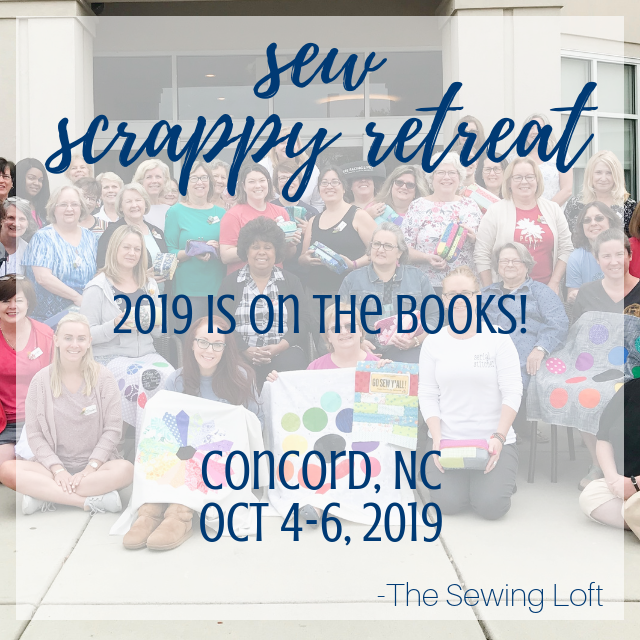
They are easy to make, quick to put together and perfect for scrap leftovers. I made this little collection for the attendees of my Sew Scrappy Retreat earlier this month.
The gift itself does not need to be anything extravagant or even expensive. For me, it’s more about the thought behind the gift that counts. Just think about how fun it would be to give a small treat to a friend for no special reason.
These little treat bags were filled with a salty snack but they could just as easily be filled with candy, a small toy or any other small trinket.
The video shows just how easy they are to make and did you happen to catch how amazing they look when grouped together? Talk about high impact at a party!
Halloween Treat Bags
Materials & Tool Supply List:
- Assorted colored felt
- Assorted fabric scraps
- Heat transfer vinyl
- Cutting mat/ Rotary cutter/ Quilt ruler
- Cutting machine*
- SVG file
*There are many cutting machines on the market today. Ones to look at include: Circut Maker, Silhouette, and Sizzix to name a few.
Cutting Instructions:
- (1) 6″ x 6″ square felt face
- (1) 6″ x 11″ rectangle, felt back
- (1) 6″ x 7 1/2″ rectangle, fabric hair
- (1) 1″ x 14″ rectangles, fabric ties
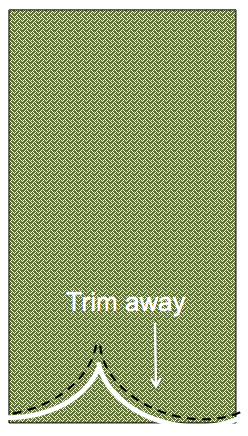
Basic Instructions:
To create the hairline, we will need to trim away and create shape along the bottom edge of the fabric rectangle. Using my rotary cutter, I freehanded this part. To give you a guide, mark a dot 2″ up from the bottom edge and then trim away.
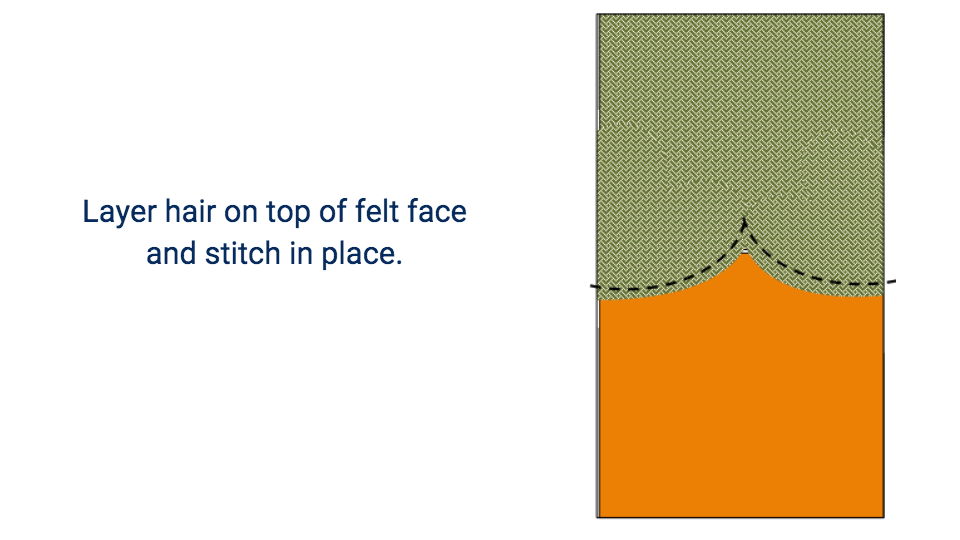
After trimming to shape, layer the fabric wrong side down on top of the felt. Stitch in place with a contrasting thread. Then it’s time to create those adorable faces!
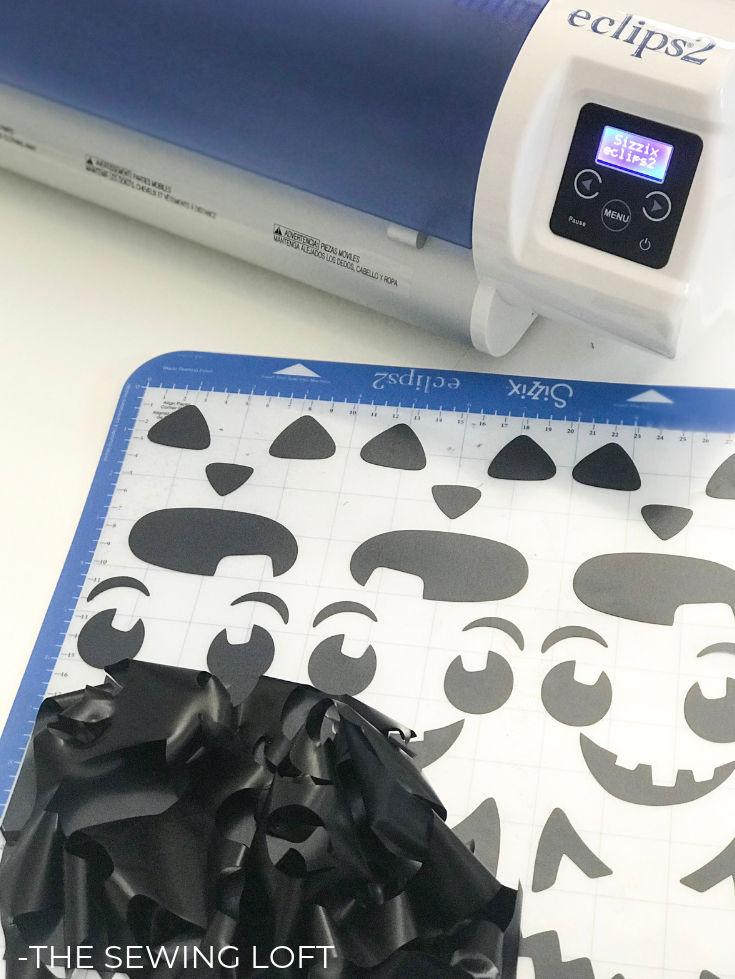
One of the first things I looked for to make these treat bags was an assortment of faces. Straight to Etsy I went and boy, Oh Boy are there many to choose from. Click here and here to see two of my favorite bundles.
I use my cutting machine to make quick work of this step and ironed them in place.
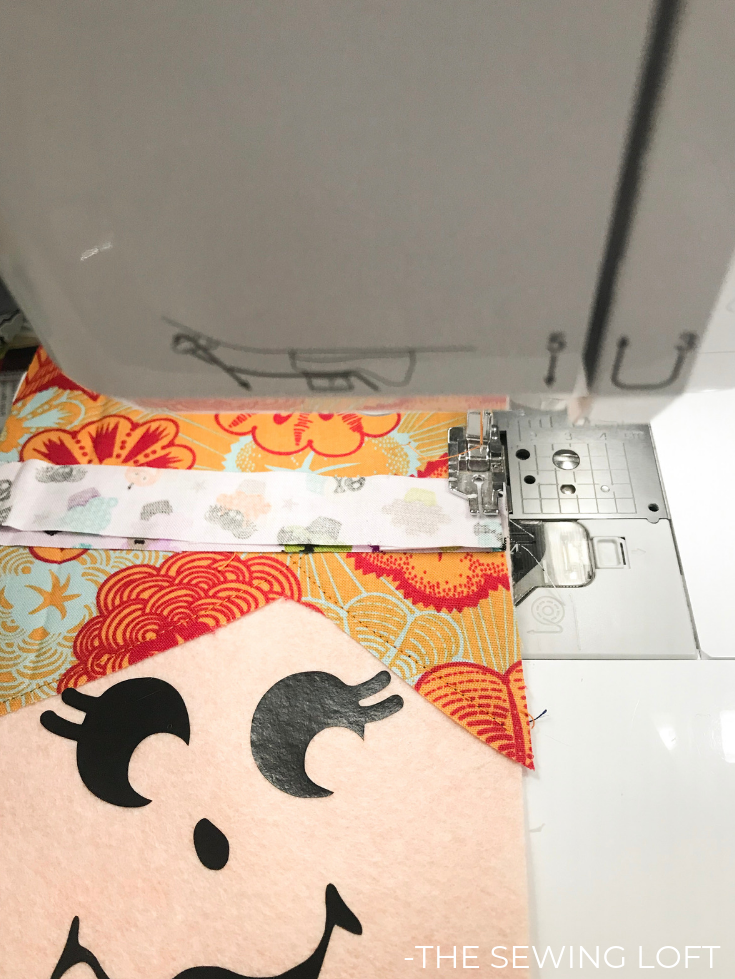
With right sides together, fold the strap in half and place 6″ from the top along the side and attach.
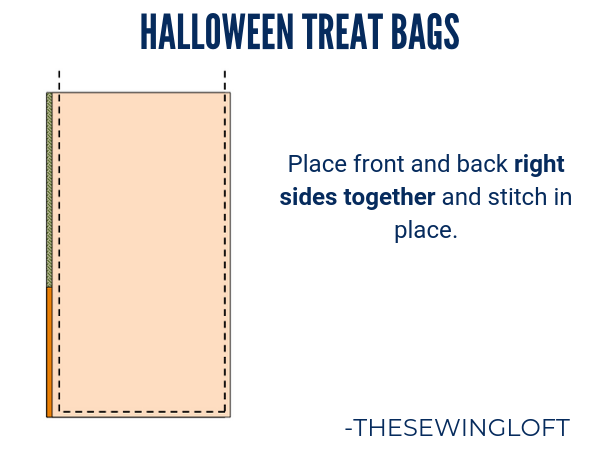
Place the front and back sides together and stitch along 3 sides. Leaving the top open.
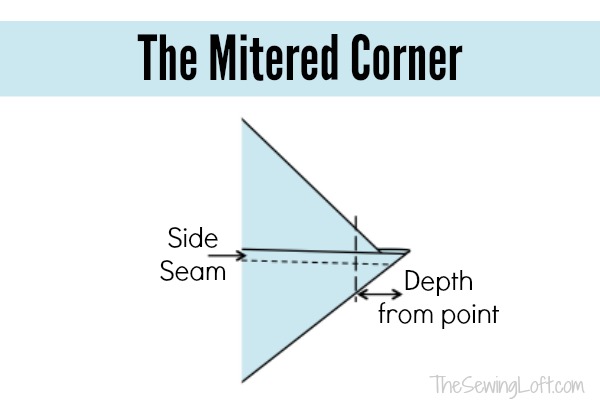
Fold the corners to align the side seam to bottom seams together. Measure 1″ from the point and stitch to create a mitered corner. Repeat to both sides and trim away the excess.
Turn right sides out and fill your Halloween Treat Bags with something fun!
Seriously, I can see these made for classroom parties, costume parties and handing out on Halloween night. Just make them in batches and group them together for a presentation with impact. (just like in the video.)
Remember, the gift itself does not need to be anything extravagant or even expensive. For me, it’s more about the thought behind the gift.

The Halloween Treat Bags were part of my Sew Scrappy 2019 Retreat. You can learn more about the event and it’s sponsors here. For more information on future retreats, please be sure to sign up here.

Hello! Are you new here?
Looking to learn more about quilting & sewing?
Be sure to sign up for our newsletter HERE and never miss a stitch! Daily Sewing Tips, Everyday Projects and Fantastic Inspiration delivered straight to your mailbox!
Bonus– free download with newsletter sign up.
Feel free to connect with me on Facebook, Pinterest, or Instagram. I look forward to getting to know you and stitching up a storm!

