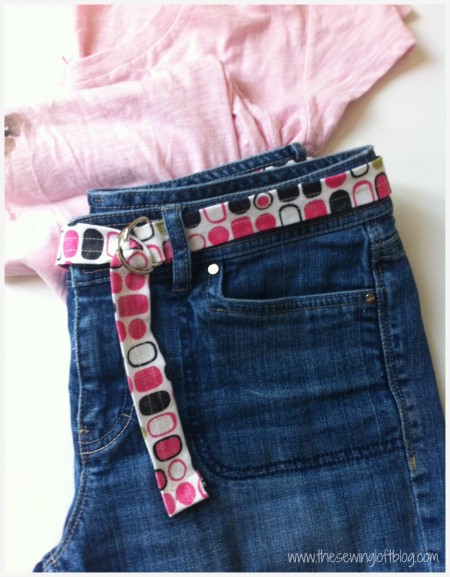
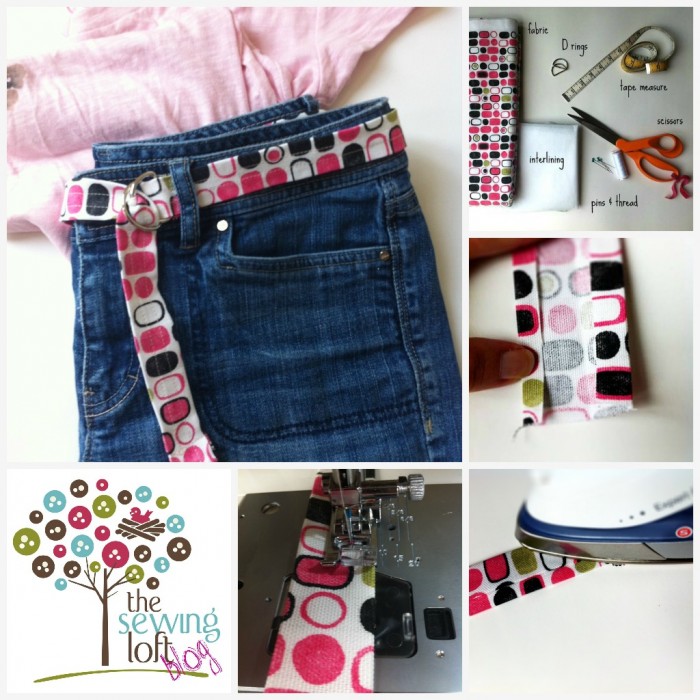
With school back in session, my girls are always wearing jeans. So, I thought it would be fun to reclaim a few D rings and make a fabric belt!
This project is for all levels.
Skill Level- 1 Button
- fabric
- 2 D rings
- interlining *depending on the weight of your fabric
Basic Instructions:
- Measure your waist and add 12″. This will include all seam allowance and extra for the tail. (Waist + 12″ = X)
- Measure the inside of your D ring. Minus 1/8″ – this will be your finished belt width. (Inside ring – 1/8″ x 2 + 1″ = Y)
- Cut fabric X” by Y”. If your fabric is light weight, cut the same size piece of interlining.
- Fold under 1/2″ seam allowance each side and press. Fold in half and stitch along each side. Have fun here and get creative. Think about using a decorative stitching, embroidery thread or even adding a layer of ribbon.
- To clean finish the tail end, double fold and press. Stitch in place.
- At the loop end, fold & press 1/4″ seam allowance; stitch in place. Slip 2 D rings through; fold back and stitch in place. Be sure to back-stitch here for stability.
Grab your favorite jeans, toss on a tee and you are all set!


Comments & Reviews
This is a great project for the beginner. No doubt your girls are using up all of your fabric scraps to make dozens of great D ring belts.
I think I will have to make a couple of these. thanks for the really clear instruction.
Hi Heather. Well I guess I am on the right blog at the right time. The youtube video did help me out. The video clip just made the job easy. 🙂
How awesome is that! Thanks a bunch for the visit and letting me know.
~Heather