Today, I have a simple project that is perfect for every skill level, including beginners, the jewelry bag.
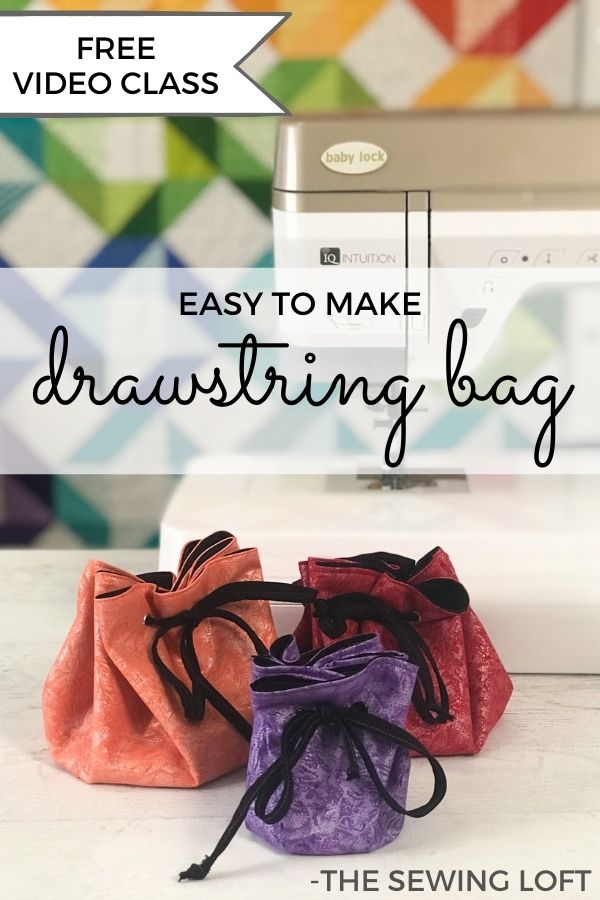
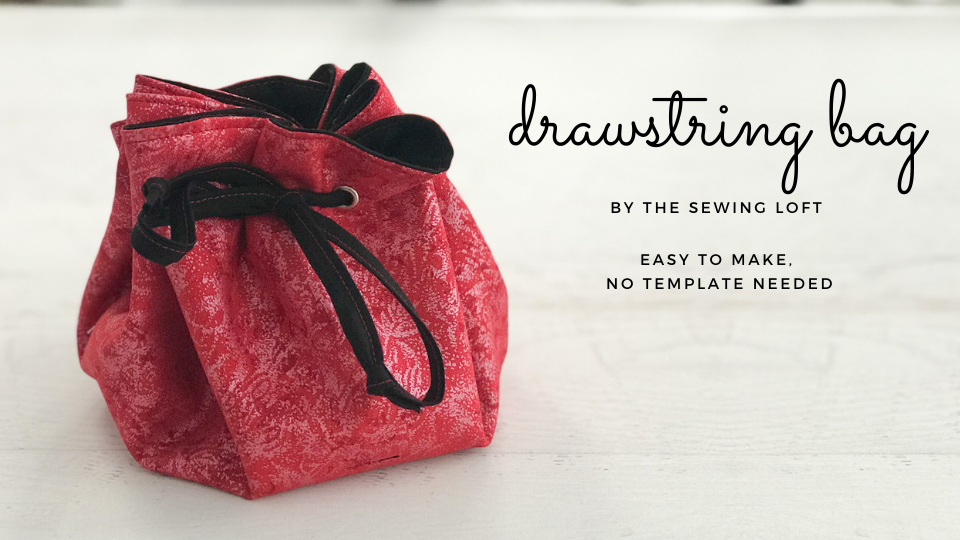
Whether you are new to sewing or just getting back into it after a long break, this easy to make drawstring bag is the perfect project for you. The simple bag requires no special pattern or rulers and can be made with your favorite fat quarters. The best part, there are so many ways to use it. From jewelry storage to gift-giving, this bag is a winner.
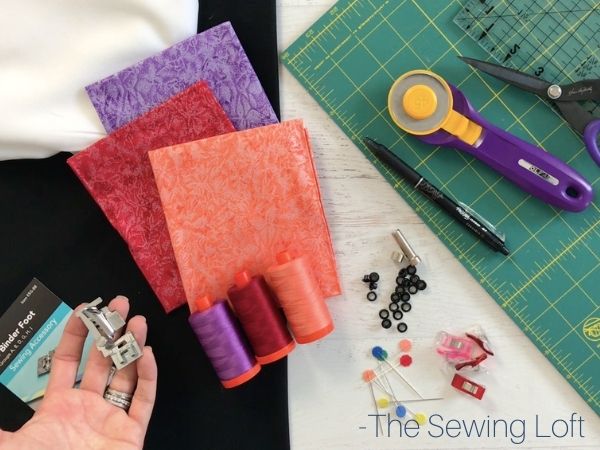
SUPPLIES:
- 2 fat quarters*
- lightweight fusible
- eyelets
- heat erasing pen
- sewing thread
- sewing machine
- bias binder foot
- basic sewing supplies
Quick Note
Interested in an Ad-Free, printable PDF version of this tutorial? Scroll to the bottom for more info!
*The colorful fabrics used are from the Fairy Frost collection and the lining is Jet Black from Cotton Couture. Both are from Micheal Miller Fabrics.
Once you have the technique down, you can make the jewelry bag in almost any size. I just don’t recommend going smaller than a dinner plate.
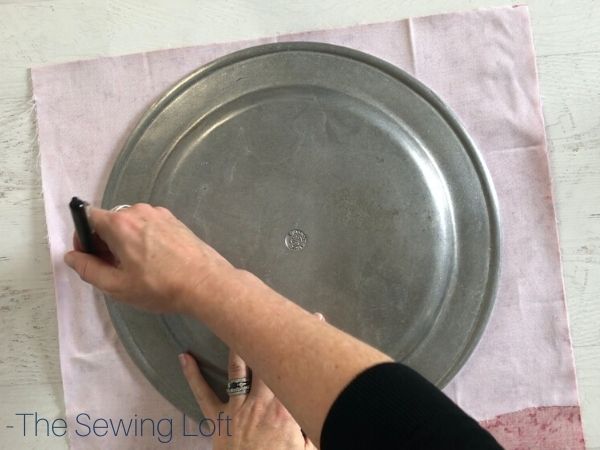
I have found that the best size for my needs was a 15″ diameter serving plate I haven’t used in years. The red drawstring bag pictured was made with this.
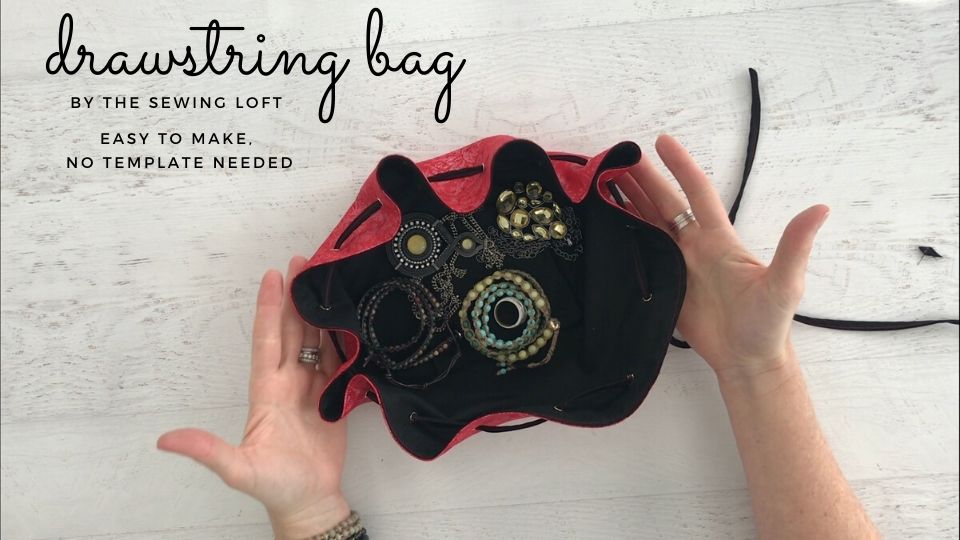
Since I am a visual learner, I decided to do something different and film the whole thing. So gather your supplies and get ready to stitch with me. I’ll show you just how easy it is to make this special little pouch.
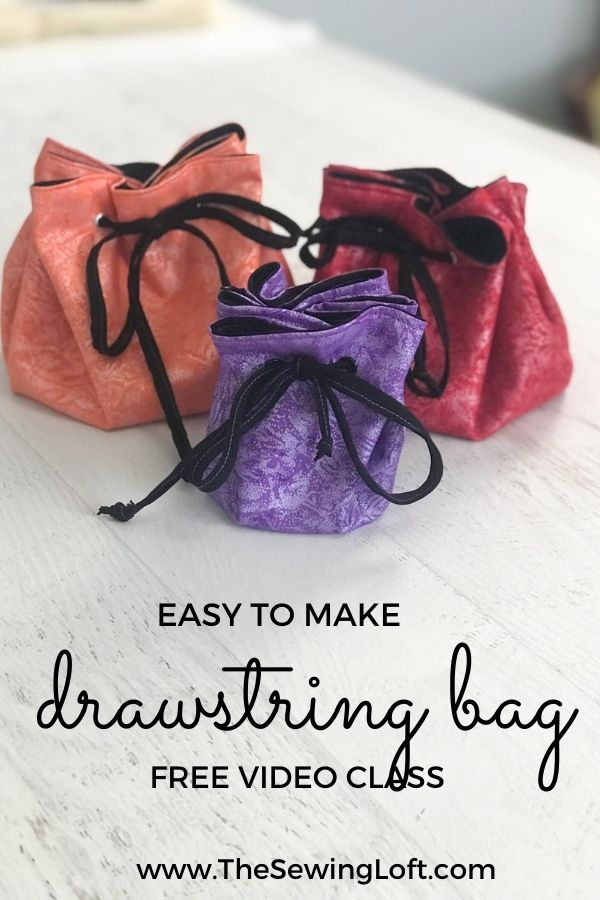
To give you an idea of size, I used the following for each bag pictured:
- Purple Bag: 10″ plate, 16 eyelets, 22″ of drawstring
- Red & Orange Bags: 15″ server, 16 eyelets, 24″ of drawstring
The most important thing is having an even number of eyelets evenly spaced around the outside edge of your bag.
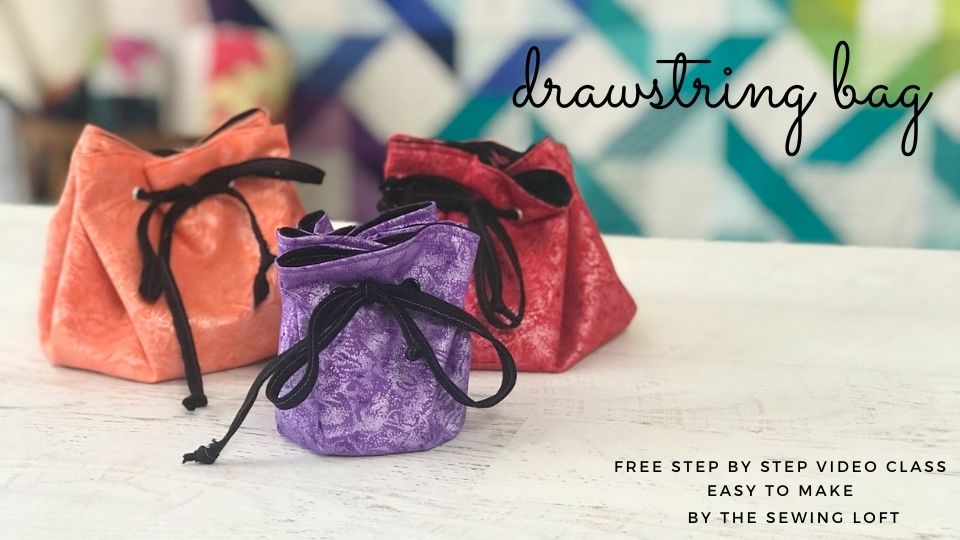
Drawstring Jewelry Bag
In my video class you will learn how to:
- create your pattern
- fuse interlining
- join and turn your fabric
- trim seam allowance
- turn out and pressing
- close small opening
- topstitching
- create thin drawstring
- install eyelets
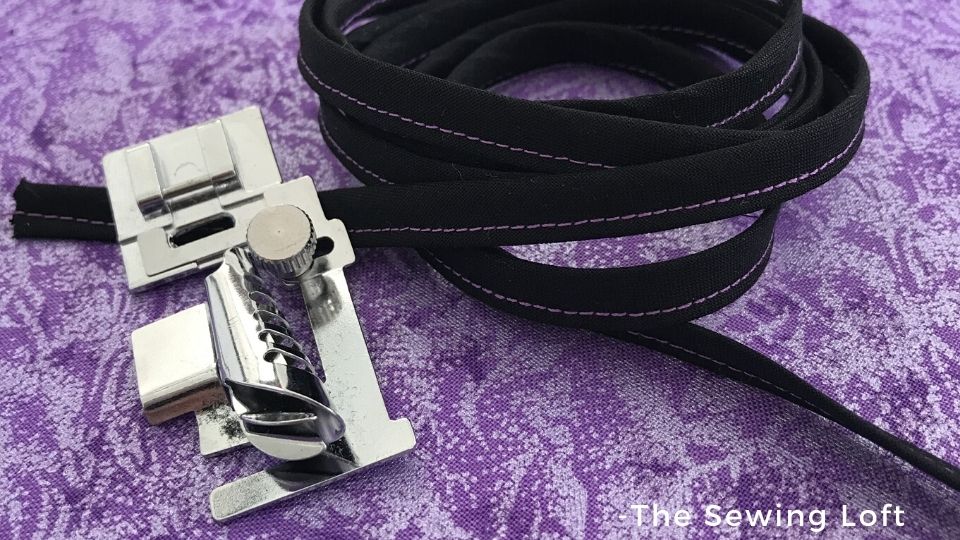
For those of you that have never used or even heard of the bias binder foot before, it is wonderful. This accessory foot snaps directly to your machine with ease and requires the bias fabric to be cut 1 1/8″ wide. If you have never made bias strips before, I have a great article here.
Remember, at any point during my jewelry bag DIY video, you can hit the pause button and rewind. Okay, let’s get started with our easy-to-make drawstring jewelry bag.
Get the ad-free PDF
Click below to download the full printable PDF and print at home!
Now, if you would like to add a bit more shape and structure to your bag, you may want to consider adding a piece of acrylic or cardboard to the bottom. I just covered mine with lining and tacked it in place for a clean finished look.
I’m sure you’ll find so many uses for this easy to make drawstring bag and can’t wait to see the fabrics you stitch it in. Be sure to PIN THIS to your favorite sewing board on Pinterest for easy finding later on.


