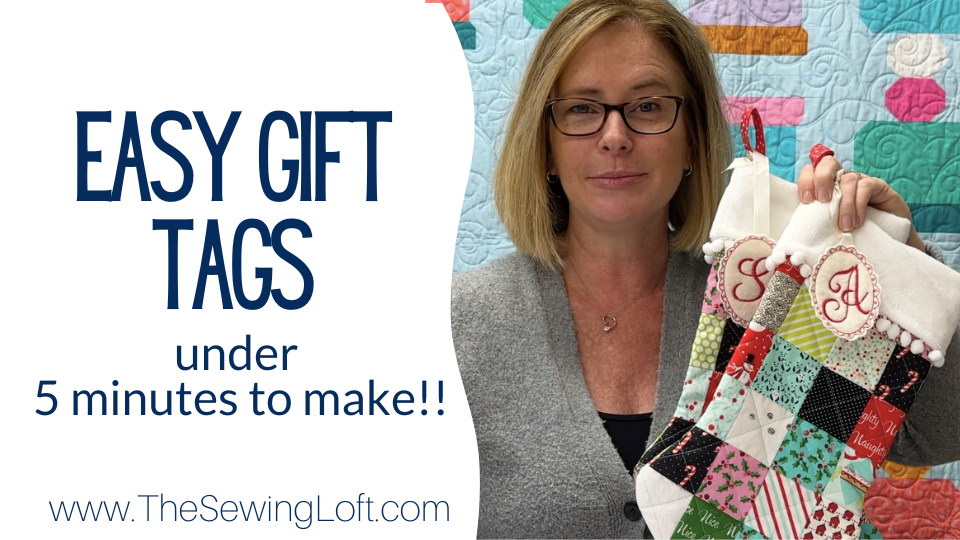
‘Tis the season for gift-giving, and even though Christmas is only a few short days away, there is still time to create something personalized for anyone on your list! That’s right, I have a quick and easy embroidered gift tag project that will take only a few minutes for you to stitch up.
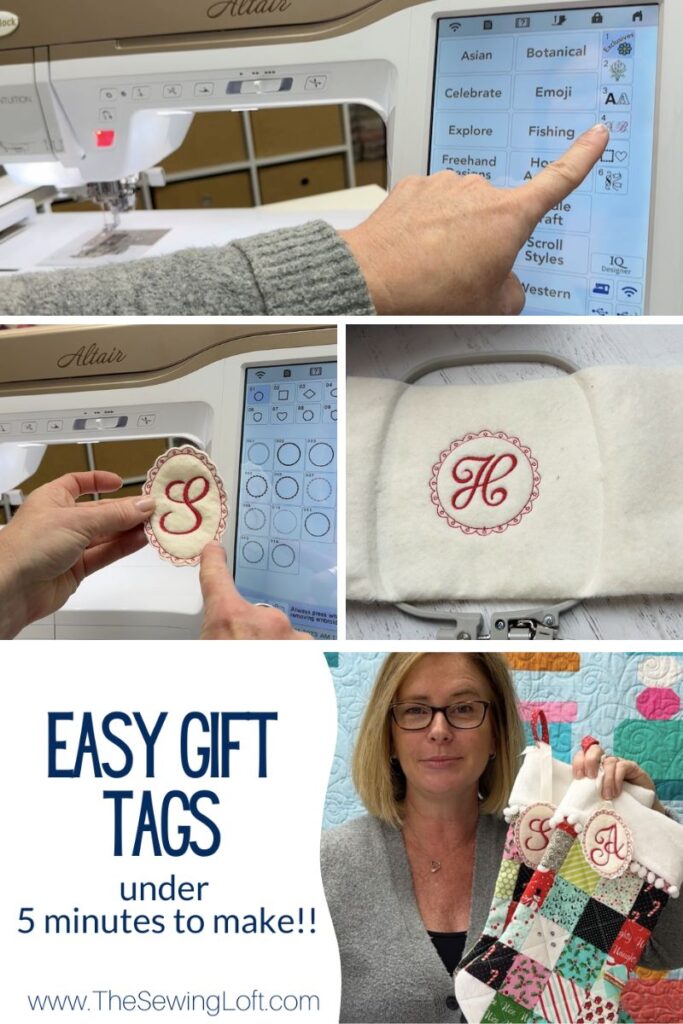
With the help of my Baby Lock Altair sewing machine and the embroidery component, I turned a plain piece of felt into a personalized masterpiece in under five minutes. Thanks to the machine’s built-in fonts and frames, I can stitch up a few of these charming embroidered gift tags in a flash. The best part? You’ll only need a few supplies and I’ll bet that you already have them on hand.
Supplies Needed:
- Felt
- Colored embroidery thread
- Craft ribbon
- Bobbin thread
- Baby Lock Altair sewing machine
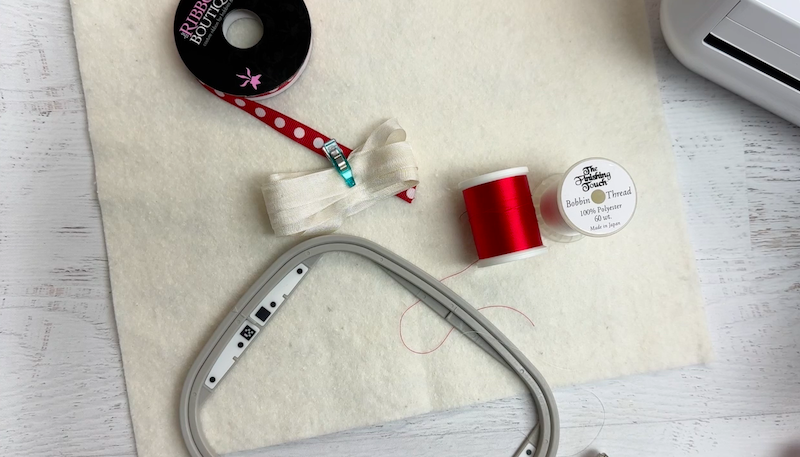
To get started, grab your supplies and prep your machine by attaching your embroidery component and presser foot. Be sure to wind a bobbin with your 60-weight thread and place it in the basket.
To show you just how easy they are to make, I put together a quick video showing every step!
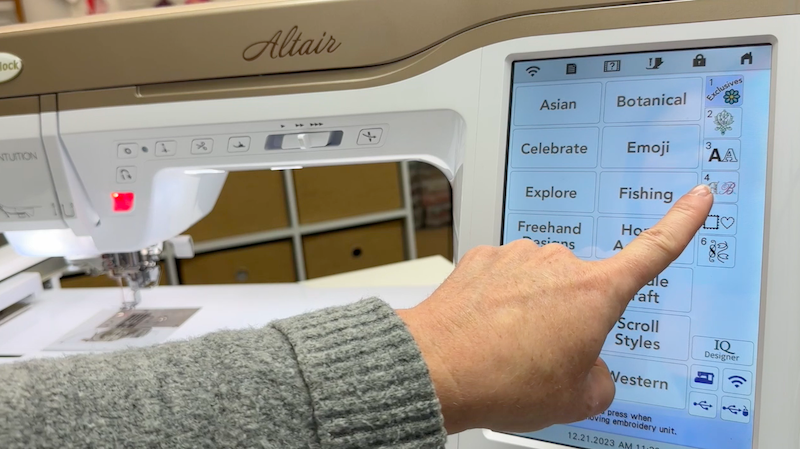
One of the standout features of the Baby Lock Altair is its user-friendly interface, making it a dream for both beginners and seasoned stitchers. The machine comes equipped with a variety of fonts and frames that can be easily accessed through the touchscreen display. Navigate to the embroidery menu, and you’ll find an array of options to suit any occasion.
Steps to create your embroidered gift tag:
- Choose your felt color:
Select a felt sheet that complements your overall gift theme. Traditional Christmas colors like red, green, and white work well, but feel free to get creative with your choices. - Select a font and frame:
Navigate to the embroidery menu on the Baby Lock Altair, and choose a font that resonates with the recipient’s style. Combine it with a decorative frame to add an extra touch of elegance or playfulness. - Thread the machine:
Load the machine with colored embroidery thread for the design and coordinating bobbin thread. The self-threading feature on this machine makes the process simple, so you can focus on your creative vision. - Secure the felt:
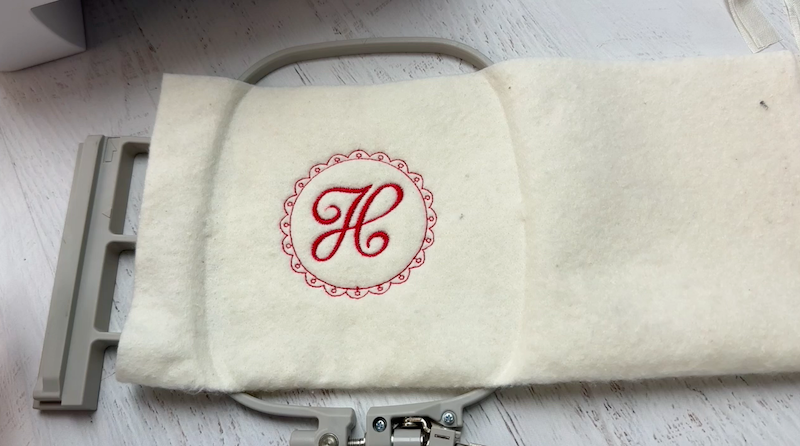
Hoop the chosen felt securely in the embroidery hoop in a double layer. I just folded mine in half. This ensures that the design is stitched precisely onto the material. (Since my felt was substantial I did not need to use a stabilizer.) - Start stitching:
Once the machine is set up, press start, and watch as the machine effortlessly brings your design to life. The machine’s precision and speed mean your tags will be ready in a matter of minutes. - Trim tag:
After stitching is complete, unhoop your design and carefully trim along the outside of the stitched frame detail. - Add a ribbon for flair:
To elevate your gift tag, attach a craft ribbon through the top. Just fold your ribbon in half to create a loop for easy attachment to a gift, stocking, or envelope.
In just a few easy steps and with minimal supplies, you’ve created a personalized gift tag that adds a handmade touch to your presents. The Baby Lock Altair’s embroidery component makes the process quick and enjoyable, even for those pressed for time during the holiday season. So, whether you’re adding the finishing touch to a carefully wrapped gift or personalizing a last-minute stocking stuffer, these embroidered gift tags are sure to bring joy to your loved ones.
Happy stitching, and may your holidays be filled with warmth and creativity!


Comments & Reviews
Those are adorable! I wish I could afford an Altair! What size hoop is the ornament? I only have a 4″ hoop, I have a baby, the BL Verve.
Hello Donna, I understand, this machine is a beautiful beast! You can totally use a 4″ hoop. The only reason why I have it hooped in a larger size was so that I could do another one later.
-Heather
Thank you so much for this darling idea. I went a little farther and used my first name.